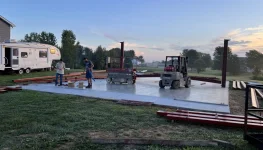
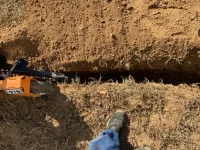
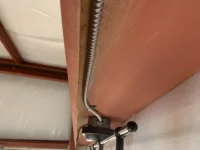
Using one of those fancy spinning laser things (exact name eludes me) & sight level
Trimble laser scanner
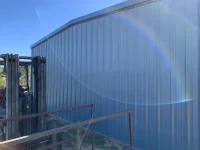
") . This is a pretty awesome project, it's fun to read about your progress.
. This is a pretty awesome project, it's fun to read about your progress.Using one of those fancy spinning laser things (exact name eludes me) & sight level
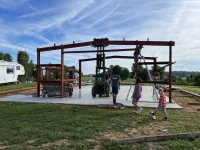
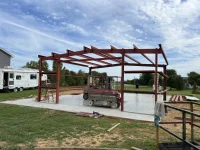
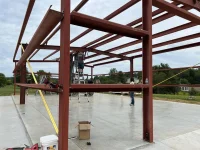
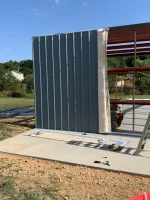
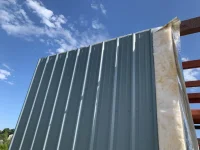
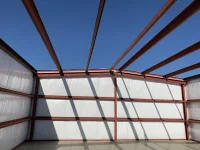
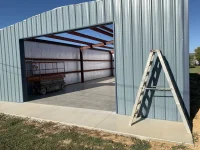
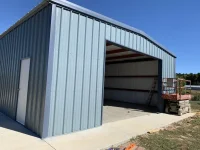
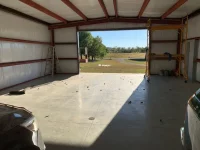
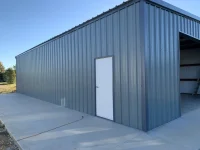
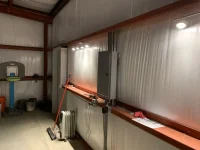
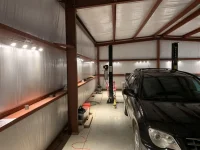
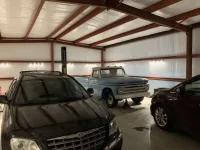
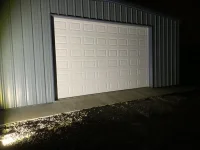
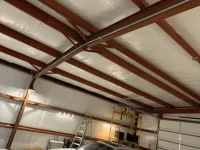
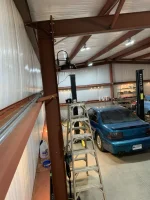
. This is a pretty awesome project, it's fun to read about your progress.Basically because it was what I'm familiar with and was comfortable putting up myself. It's also largely clear span, and allowed me (if my math is correct) to get my vehicles over my head with a 2-post lift, while keeping a 12' eave height and low roof pitch (to save costs). I work for a structural steel fabricator and have been in that line of work for nearly 20 years, so I had access to helpers that knew their way around steel objects with holes in them, which is essentially all these kits are-- I was amazed how easy it was to put it up. I still have to install the sheeting/insulation though.Would you share with us why you went with the heavier PEMB red iron type versus the newer, "lightweight" metal building?
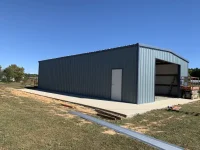
I was looking at doing a 30x40 and about to get started in March 2020 and then...... So I waited, then materials doubled, tripled, so I bought a boat instead.


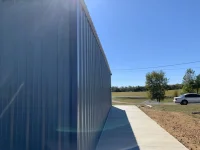
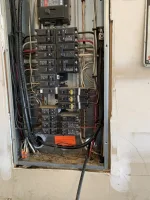
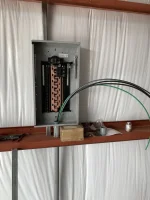
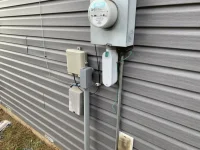
Still need to get my county inspector out here to finalize my building permit, wonder how long it takes before my tax bill goes up...
You're exactly right. I got my tax bill last month and the property value went up $50K. They made no mention of the new building, so I naively thought it was ordinary appreciation (property values going up like crazy here), so wanted to dispute it.Not long, At times I think that's the only reason they have you pull permits....So they can tax you accordingly. The guys that "inspected" my shop building didn't inspect anything.