2005 Toyota Corolla Detail

Status
Not open for further replies.
Joined
Apr 30, 2013
Messages
2,151
Location
Tinton Falls NJ
Ok so the story goes like this: my neighbor's daughter with a CR-V backed into my neighbor's other daughter's (her sister's) trunk. The CR-V didn't have a scratch, the Corolla needed a new trunk. After telling us the body shop estimates around $950 (and the sister would have to pay for it out-of-pocket) my wife and I figured Corollas are a dime a dozen so odds are the part was available from a junkyard. Sure enough we helped them find a same gen. trunk lid, in the SAME color, and WITHIN driving distance. They had a local mechanic put it on for a reasonable price. The paint on the new one wasn't in as good shape as the rest of the car (which wasn't saying much). Also the salvage yard wrote on it with a yellow paint pen which left its own damage. The idea was I'd help them get the new trunk lid to match the rest of the car. Note this detail was NOT meant to achieve perfection, just to get the car looking better all-around.

*Note my usual wash gear was left at a friend's house so the wash was done with generic stuff, figured it was OK for this car.

Products used:
Sonax Full Effect Wheel Cleaner
P21S Total Auto Wash
Generic wash soap, mitt, towel, brushes
Nanoskin Autoscrub fine pad
Uber Classic Microfiber Towels
Nanoskin Glide (lube for the autoscrub pad)
Menzerna SI1500 Polish (trunk lid only)
Menzerna SF4500 Polish
Collinite 845
Adam's Super VRT

I did the jambs, engine bay, and wheels first followed by a wash. I did something different for the prep and polishing steps this time. I did a car in June that needed three steps and by the third step I though, "Oh [censored] I've got to go all around this thing again." So this time on a per-panel basis I did the Autoscrub pad, wiped, changed to the polishing pad for SF4500, wiped, and did the Collinite. I liked working this way and will probably do it again (maybe save the wax for last next time).

Here's why you clicked on the thread:

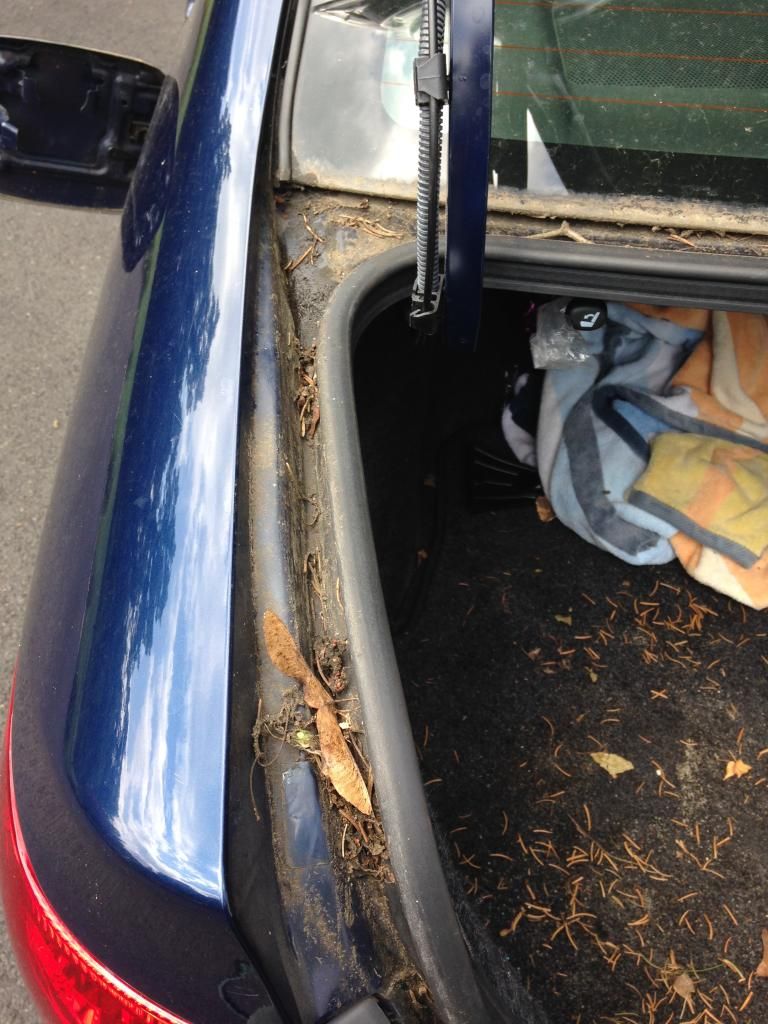
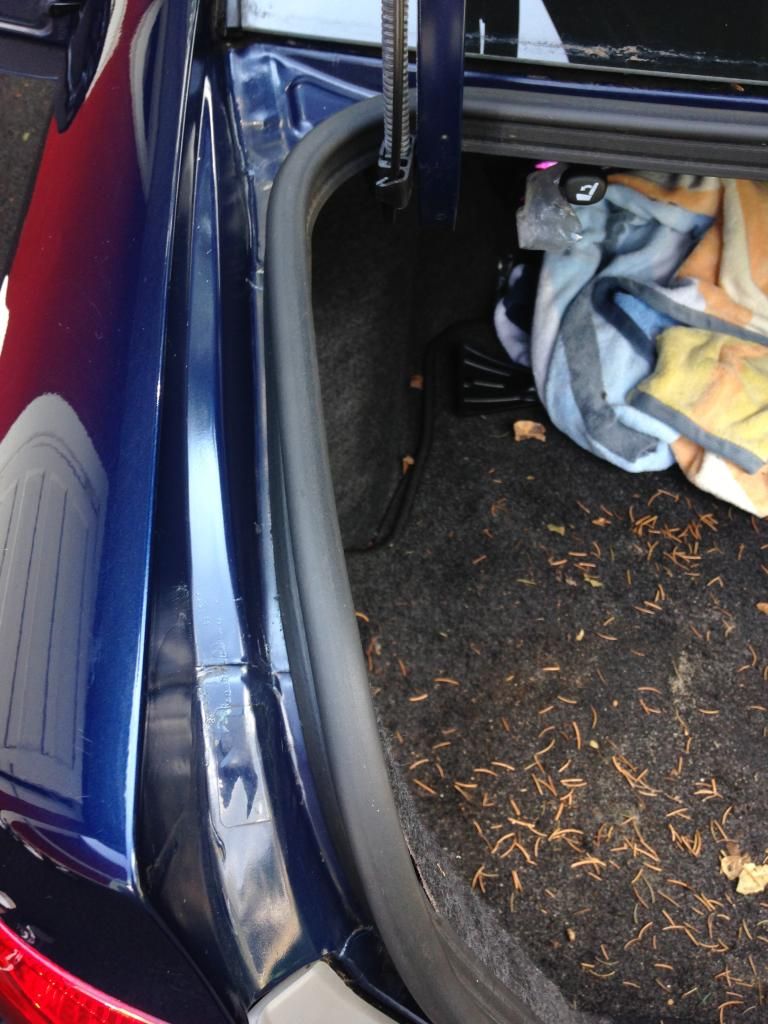
Trunk jamb before and after:
EB64CF6D-758A-48D3-AF1C-17B8CA8DD635_zpsblhbm5z8.jpg


B2CF83BA-36A7-4DDF-81E6-5631B38DDFCE_zpsrqzbgpcb.jpg


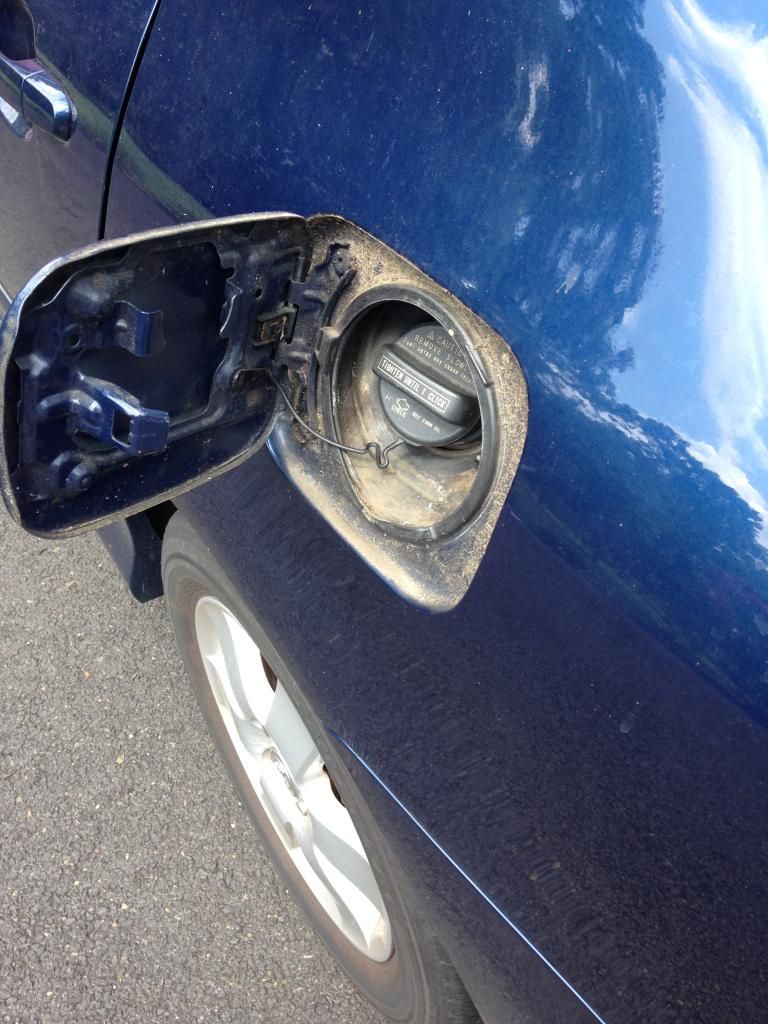
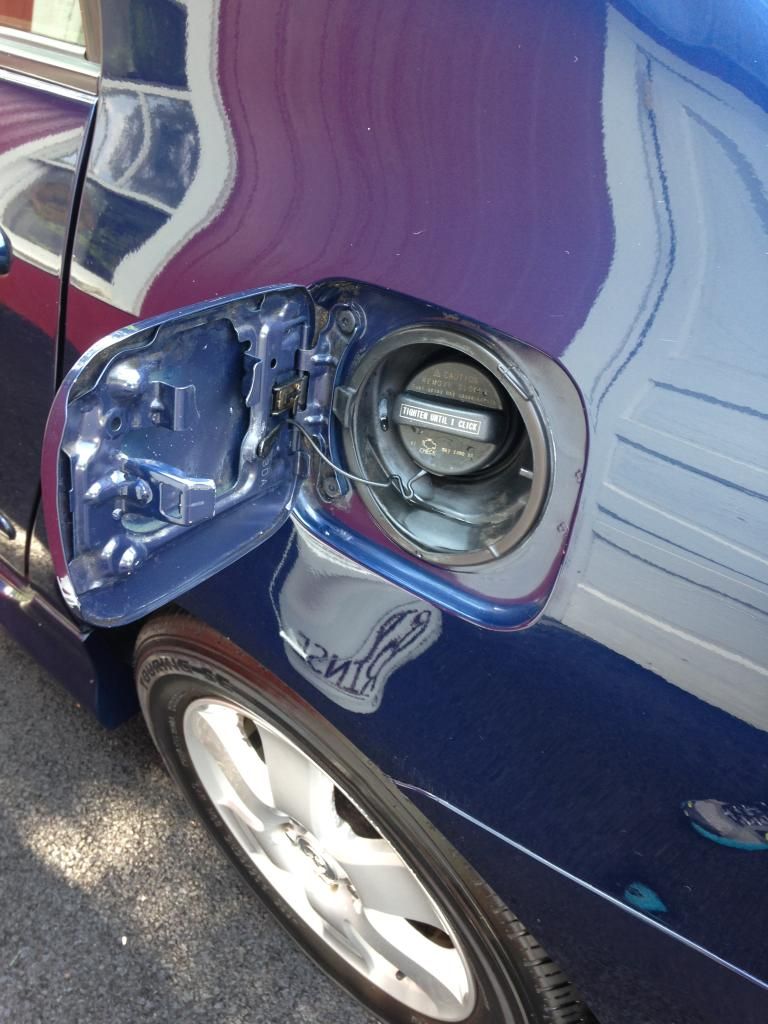
Fuel door jamb before and after:
65640876-4E9C-4A84-BAC0-AF68ADECCB08_zpspq7m334z.jpg


806823AF-9932-4649-B6FC-2ADEEFA153EB_zpsbht1ermb.jpg


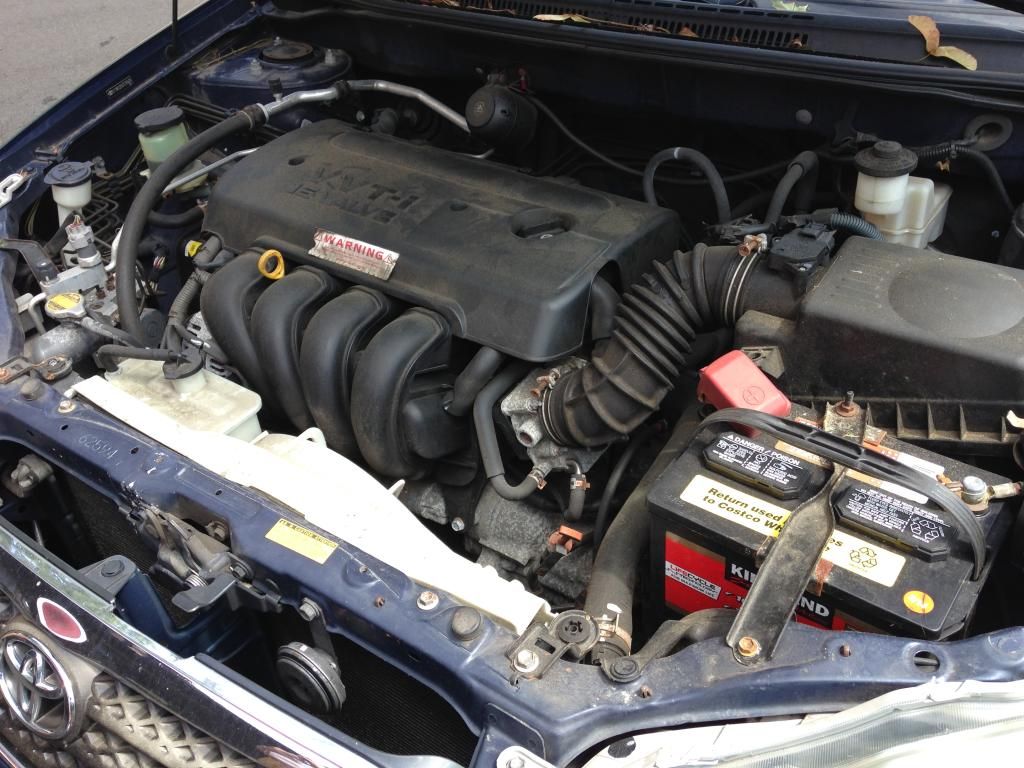
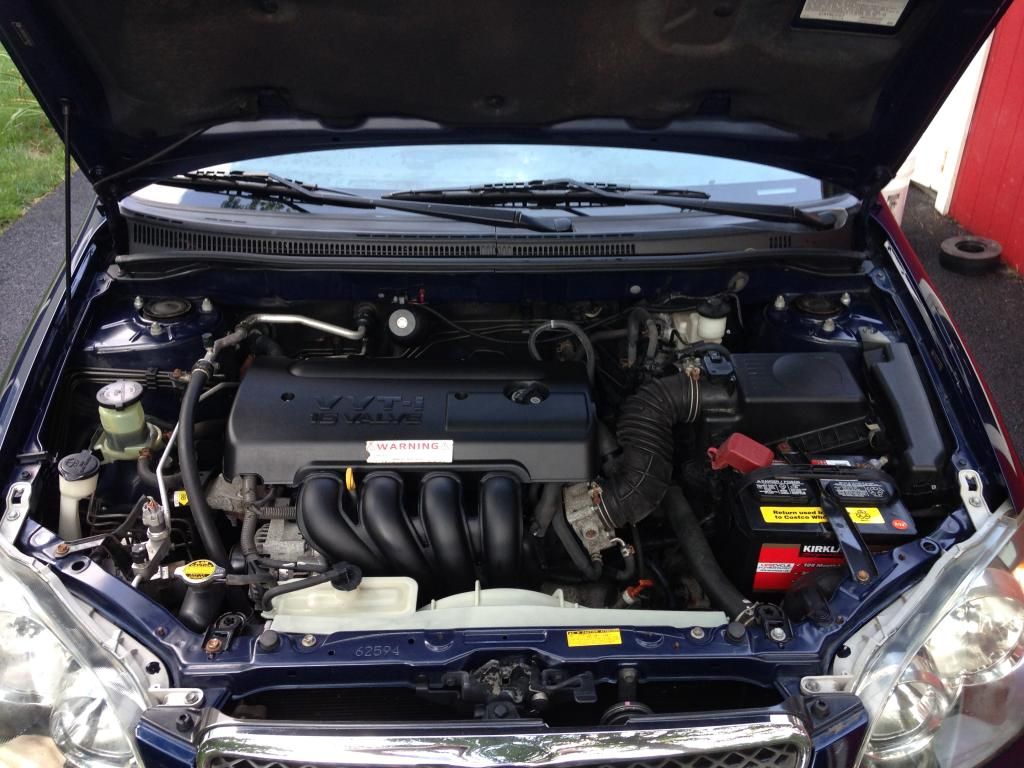
Engine bay before and after:
EDABA5E8-CB74-46B2-B91C-1E47198200BE_zpsrxd78hfq.jpg


B193F237-3AFF-4889-A495-C28B32F71F4F_zpshpbu36q3.jpg


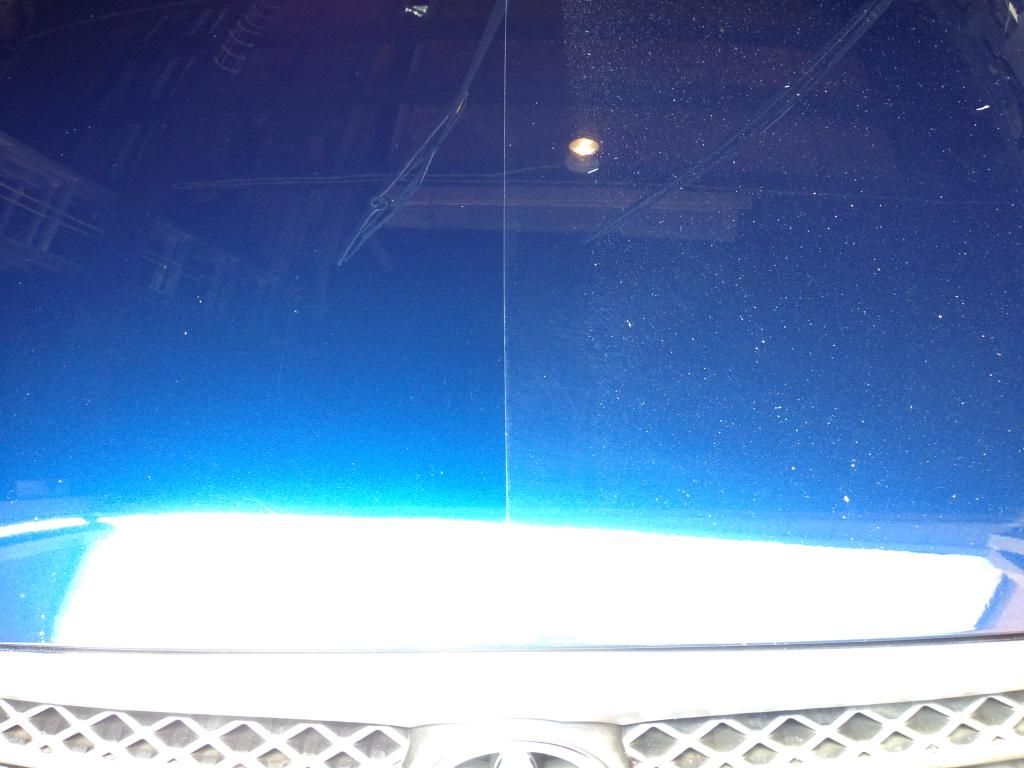
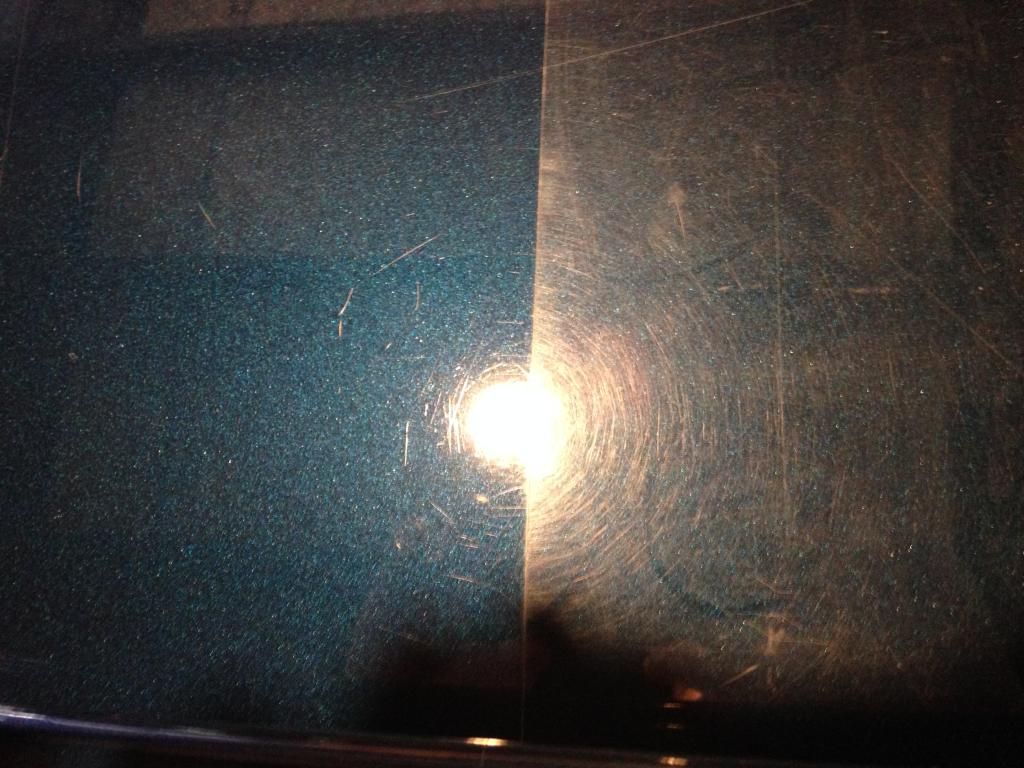
Hood before and after:
A4609664-BED5-411F-8A93-5AEA1E98237F_zpsp86yffeo.jpg


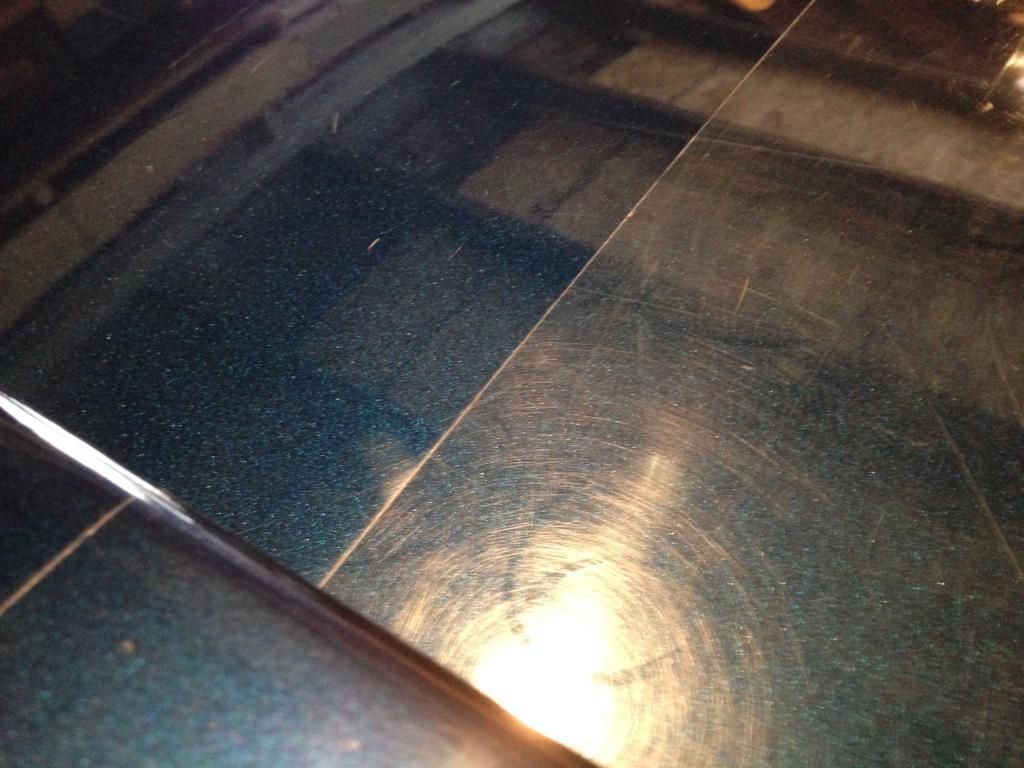
Trunk lid before and after:
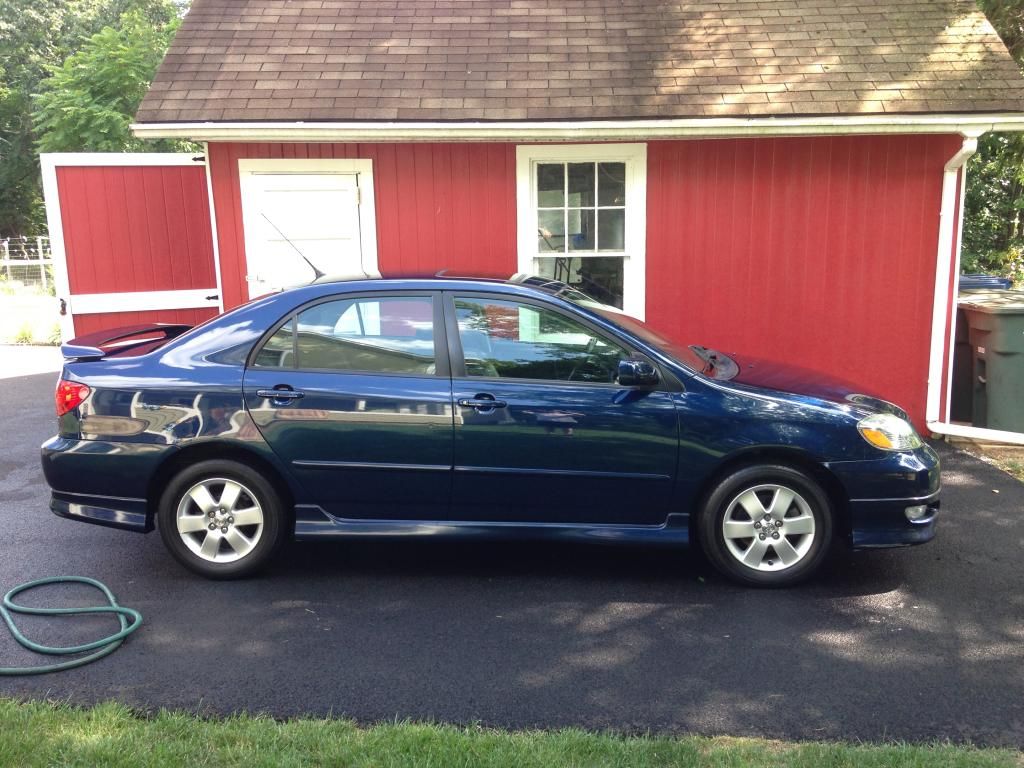
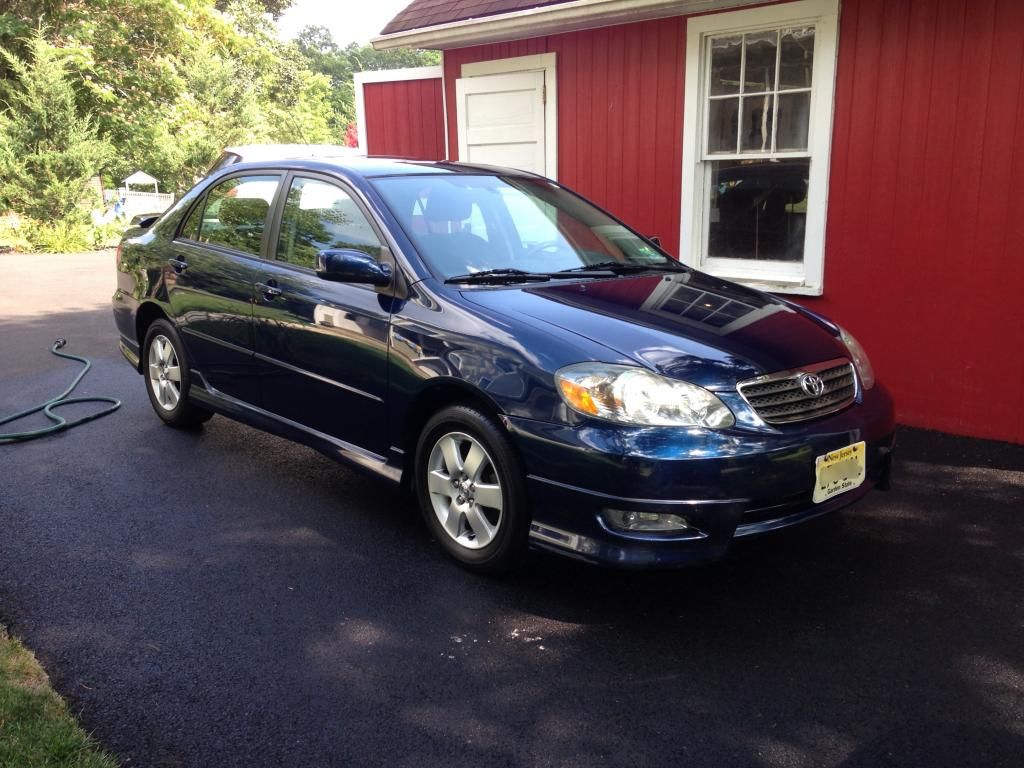
FDBEB7C8-3FB2-4C3A-8E9B-3BF724646445_zpsusfxbfi5.jpg


9001687E-18DD-4C3D-A424-E1A8F6D35828_zpstxzt8ewr.jpg


Whole thing after:
75A8BFAA-F296-4133-9BC6-8B3AB93BDF1C_zps7awwuika.jpg


C17024CE-CA0C-435B-97C8-99D239DB5A08_zpsbbashhq5.jpg


So I'm really happy with how it turned out. Unfortunately, at the right angle and in the right light you can see an outline of the numbers on the trunk (you really have to be looking and know they were there). I'd have thought a salvage place would take better care of the things they want to be saleable but, it is what it is.
Cheers.
 
Last edited:
I doubt you're as good looking as my neighbors are!
wink.gif
But in all seriousness they're also very good neighbors, very nice and help us out with dog-sitting whenever my wife and I want to go somewhere. I think being a good neighbor is important.
 
Last edited:
Great job. Couple of questions, what is on the warning sticker and what is mounted on the firewall to the right of the AC low line?
 
Thanks! Not sure what the sticker is. I figured it said something stupidly obvious and didn't bother to read it. Next to the AC line is an aftermarket alarm. It was there when they bought the car a few years ago; I'm not sure whether it works but it's there.
 
Great job.

I'd pay someone to detail my car properly, but around here the prices are so exorbitant, and places do such a half-[censored]ed job that it's not even worth it.
 
Originally Posted By: mikered30
what is on the warning sticker


Looks like a "Warning, this vehicle is equipped with a remote starter system that may cause the engine to start unexpectedly. System must be switched off prior to performing any underhood operations" or something like that, sticker.

Nice job, OP!
 
Last edited:
So I have to ask, how do you get the nooks and crannies so clean?

I can never seem to get things like door jambs, trunk openings, and underhood that clean.

Perhaps I m too afraid of getting water and mess everywhere, but there is always dirt left behind when using a small sponge, a boars hair brush and a microfiber rag.

Some come out looking ok, but others, like underhood and in door jambs especially, just are too tight to fit implements or fingers in easily.

So what do you use tool wise and how do you do it?

How do you get it wet/soapy/rinsed/waxed without making a mess?

Looks good!
 
Looks good. We need to get you using something other than SF4500 for light correction - something quicker, less oily and with more cut.

HD Adapt, M205 or even PF2500...

Originally Posted By: JHZR2
So I have to ask, how do you get the nooks and crannies so clean?

I can never seem to get things like door jambs, trunk openings, and underhood that clean.

Perhaps I m too afraid of getting water and mess everywhere, but there is always dirt left behind when using a small sponge, a boars hair brush and a microfiber rag.

Some come out looking ok, but others, like underhood and in door jambs especially, just are too tight to fit implements or fingers in easily.

So what do you use tool wise and how do you do it?

How do you get it wet/soapy/rinsed/waxed without making a mess?

Looks good!


If it is really really bad, steam.

Otherwise, your favorite paint-safe APC.

For normal routine cleaning, I use Optimum No Rinse diluted to QD strength.
 
Originally Posted By: JHZR2
So I have to ask, how do you get the nooks and crannies so clean?

I can never seem to get things like door jambs, trunk openings, and underhood that clean.

Perhaps I m too afraid of getting water and mess everywhere, but there is always dirt left behind when using a small sponge, a boars hair brush and a microfiber rag.

Some come out looking ok, but others, like underhood and in door jambs especially, just are too tight to fit implements or fingers in easily.

So what do you use tool wise and how do you do it?

How do you get it wet/soapy/rinsed/waxed without making a mess?

Looks good!

If they're really bad they need to be done separately from the wash and done first. If that's the case use an APC like Critic suggested. In this care I saw it was all organic matter and not much grease so I use a separate bucket of wash water and a separate (junky) mitt than the one I use to wash. Just scrub and shove the mitt in the nooks and crannines and they'll come clean.
To rinse I use the hose with a strong stream, it will seem counter-intuitive but with proper aim very little water gets in the car, especially when doing the door jambs (the trunk is harder to keep dry). When you do this, the outside of the car will look terrible, worse than what you started with, particularly around the front and rear quarter panels after doing the engine and trunk. Don't worry, you're going to wash next.
After the jambs are cleaned well they shouldn't need any attention other than a wipe-down after normal washing (provided you wash on a normal basis).


Edit: the engine bay is done with APC, my P21S Total Auto Wash, then rinsed and gone over with the "jamb mitt". That APC is so good it achieved 85% of the result by itself.
 
Last edited:
Originally Posted By: The Critic
Looks good. We need to get you using something other than SF4500 for light correction - something quicker, less oily and with more cut.

HD Adapt, M205 or even PF2500...

Originally Posted By: JHZR2
...


...

Haha, I'd like to try something new and that's quicker. Its just that I have a HUGE bottle of SF4500 so I use it every chance I get and it works very well for what it is. This car would've been a great candidate for a good one-step. Oh and the trunk lid was done with SI1500, it's the strongest polish I have, it could've used something stronger like a compound to really get the trunk perfect but that wasn't the goal in this case.
 
Wow man! Looks great! I need to learn how to do this stuff, I always just do old fashioned hand waxes with a big box wax. My cars always look nice, but I like how well you corrected that finish!
 
Originally Posted By: gofast182

Haha, I'd like to try something new and that's quicker. Its just that I have a HUGE bottle of SF4500 so I use it every chance I get and it works very well for what it is. This car would've been a great candidate for a good one-step. Oh and the trunk lid was done with SI1500, it's the strongest polish I have, it could've used something stronger like a compound to really get the trunk perfect but that wasn't the goal in this case.

Sell the SF4500.
56.gif
 
What's so bad about it? It's served me pretty well! What specifically would I gain by using PF2500 or something similar so I can keep that in mind next time I fill my shopping cart?
 
Originally Posted By: gofast182
Originally Posted By: JHZR2
So I have to ask, how do you get the nooks and crannies so clean?

I can never seem to get things like door jambs, trunk openings, and underhood that clean.

Perhaps I m too afraid of getting water and mess everywhere, but there is always dirt left behind when using a small sponge, a boars hair brush and a microfiber rag.

Some come out looking ok, but others, like underhood and in door jambs especially, just are too tight to fit implements or fingers in easily.

So what do you use tool wise and how do you do it?

How do you get it wet/soapy/rinsed/waxed without making a mess?

Looks good!

If they're really bad they need to be done separately from the wash and done first. If that's the case use an APC like Critic suggested. In this care I saw it was all organic matter and not much grease so I use a separate bucket of wash water and a separate (junky) mitt than the one I use to wash. Just scrub and shove the mitt in the nooks and crannines and they'll come clean.
To rinse I use the hose with a strong stream, it will seem counter-intuitive but with proper aim very little water gets in the car, especially when doing the door jambs (the trunk is harder to keep dry). When you do this, the outside of the car will look terrible, worse than what you started with, particularly around the front and rear quarter panels after doing the engine and trunk. Don't worry, you're going to wash next.
After the jambs are cleaned well they shouldn't need any attention other than a wipe-down after normal washing (provided you wash on a normal basis).


Edit: the engine bay is done with APC, my P21S Total Auto Wash, then rinsed and gone over with the "jamb mitt". That APC is so good it achieved 85% of the result by itself.


Thanks. Call me dense, but what about the hinges and door checks? Will hinges need to be re oiled? Won't water get inside the door skin via the door check?

A mitt can only go so far. Wouldn't a small brush be better?

With the hose spraying, I'm assuming you have it set as a pretty narrow jet, and that you throttle back the flow pretty far?

Thanks!
 
Status
Not open for further replies.
Back
Top