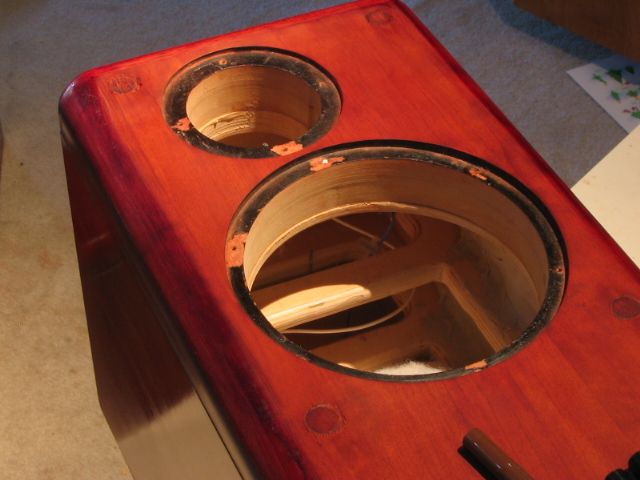
I've been refinishing a loudspeaker I built several years ago that was veneered in american cherry with the corners made of solid brazillian cherry (different species).
Due to cherrys tendency to blotch, I used a red/brown alcohol-based dye mixed into shellac and sprayed it on. To minimize splotching, I sprayed on a light 1.5# cut of shellac. The color came out very nice, however the cherry still splotched. On the other hand, it could also be due to ray flecks in the wood.
Having learned much about using shellac a few years ago on some custom wood boxes, I decided to build a film on top of the existing finish, then flatten it to remove defects and polish it to a smooth, soft glow.
Well, that was the plan anyway. . . .
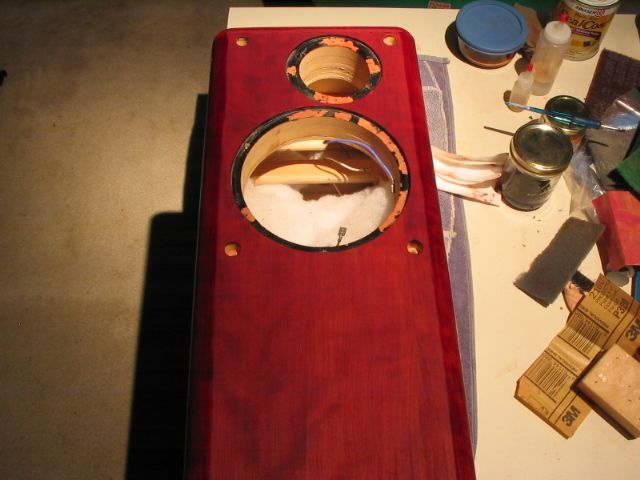
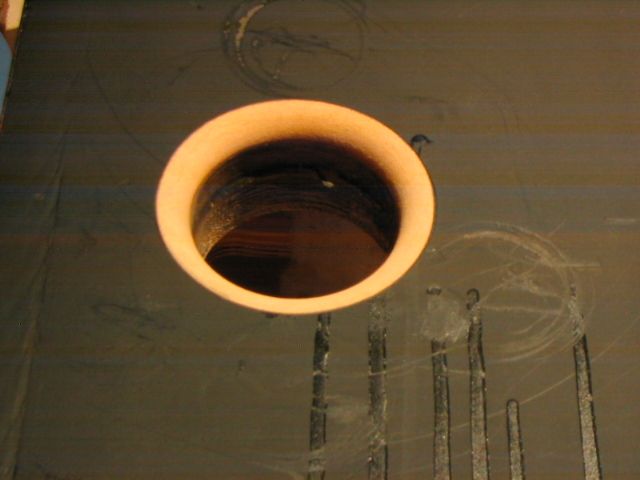
Removing one of the tweeters caused a small piece of the veneer to separate and crack. Now this repair was added to the list.
Next, it quickly became clear that while I had sanded the veneer smooth, I didn't flatten it. As such, every time I cut back the finish, I ran into problems sanding through the original finish right down into wood. I would fix these areas with dye and a fine brush, recoat and run right back into the same problem.
The final straw came when I sanded one panel up through 1500g with sandpaper, 2500g with syn. steel wool and polished with Meguiar's #7 polish (which I later discovered has no grit at all). It looked awful in harsh, raking light: uneven, ripples, scratches, etc. A far cry from what I was expecting.
Frustrated, I decided to remove the finish, flatten the veneer, then rebuild the film, flatten the finish, then polish. In other words, start over from scratch....
While listening to football on the radio, I started yesterday pulling the finish off, then flattening the veneer. The difference between just sanding something smooth and flattening it is that a rigid block is used to back the sandpaper in the later (the larger the better) while the former is done by hand or machine. The distinction being that just because a surface is smooth doesn't mean it's flat and smooth. Building a film finish requires both.
I originally chose shellac because it dries very fast compared to oil-based finishes and when I was applying the finish, it was quite hot and humid here in Tx. Oil would take days to dry and weeks to cure. Multiple coats of shellac can be applied in a single day. I also hadn't used it before and wanted to learn to apply it. In addition, shellac is an excellent vapor barrier, easily repaired, can be padded on and moved around to level it and completely removed with denatured alcohol when necessary. This is due to it being an evaporative as opposed to curing finish. It doesn't polymerize and cross-link like polyurethane does. Finally, it can be wet-sanded with mineral spirits or even non-curing oil to achieve a smooth finish, and greatly reduce sanding dust without either affecting the curing of the shellac.
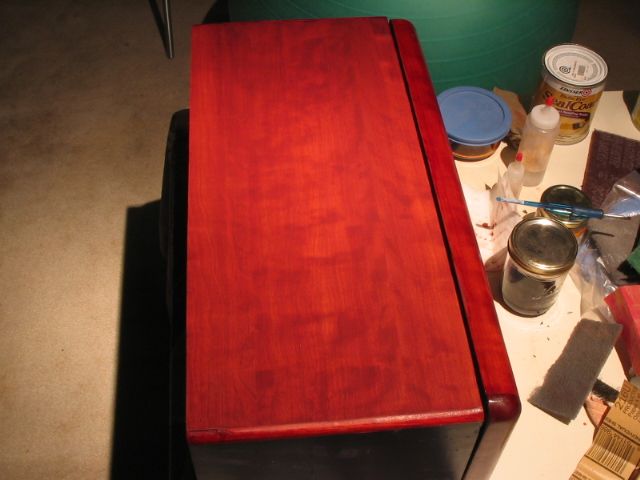
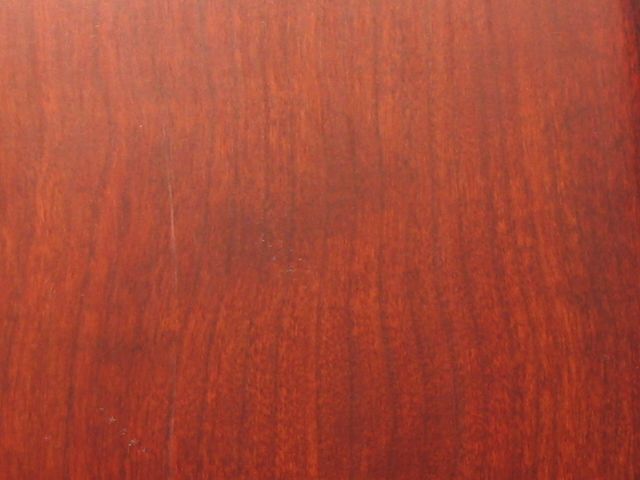
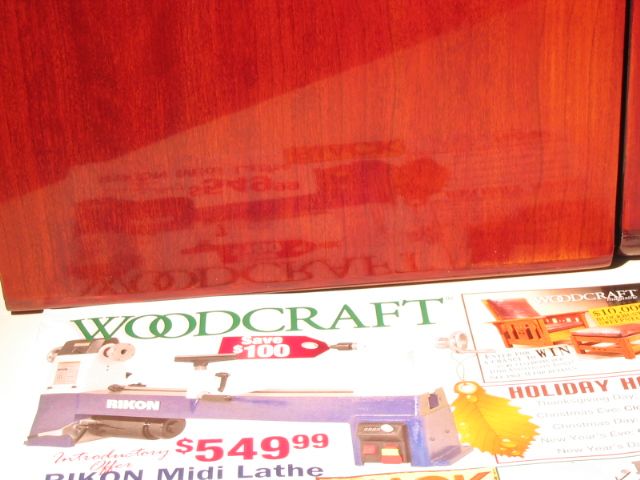
Here's what it looks like. Very nice deep red/brown color. The darker areas are 'splotches' where the grain density is lower thus absorbing more dye. The thin shellac wash coat was supposed to prevent this, but no joy.
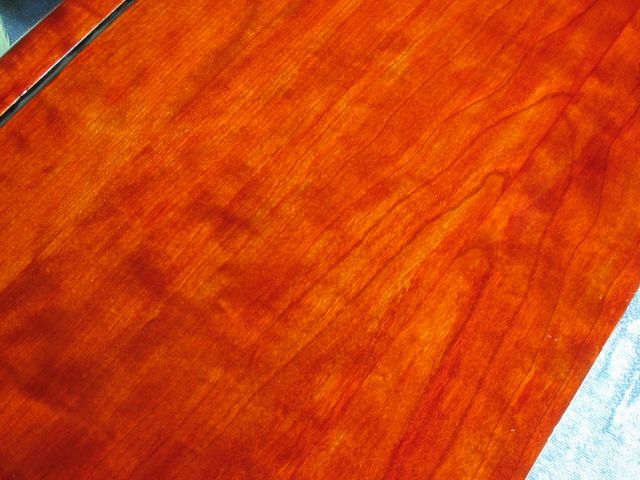
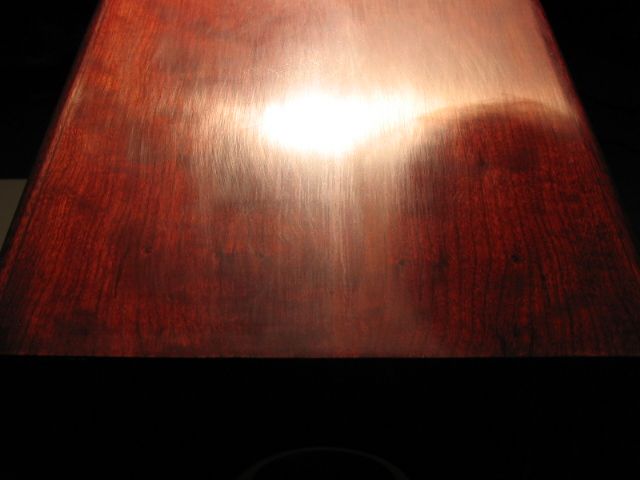
In flat light, it looks beautiful. However, in raking light you can see brush marks and other defects. It also looks insanely glossy. (I wish the sled looked this glossy!)
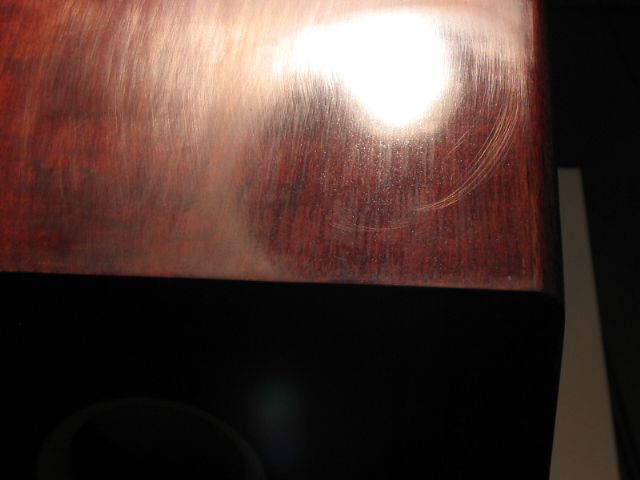
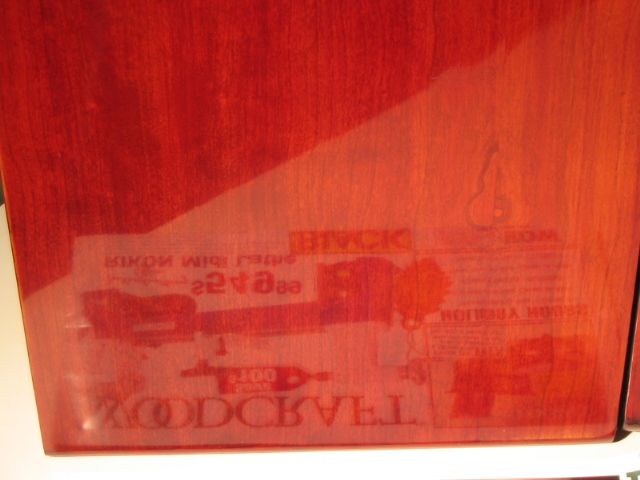
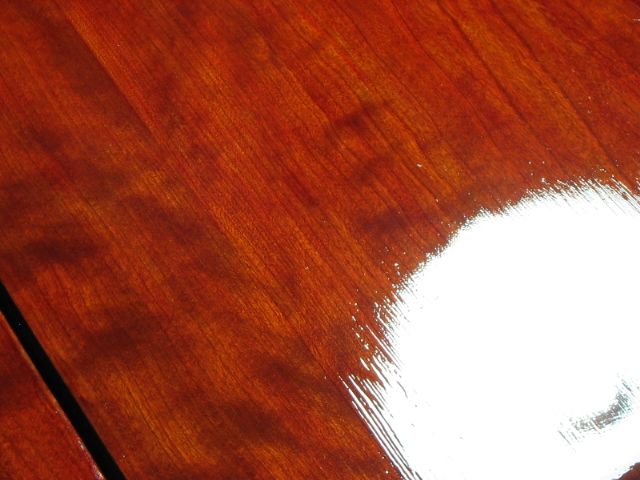
With the work light showing, brush marks reveal themselves:
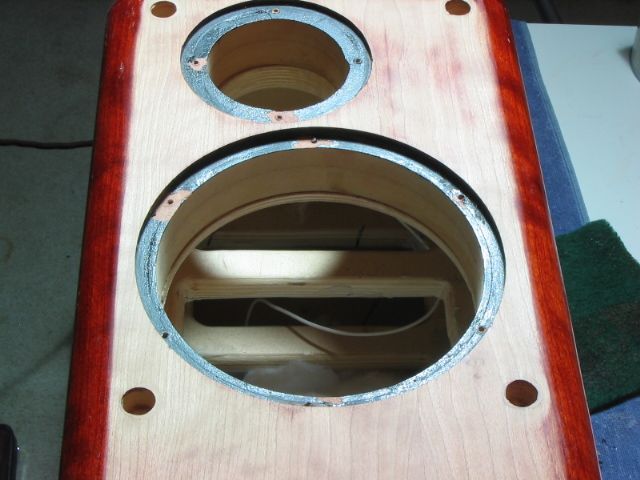
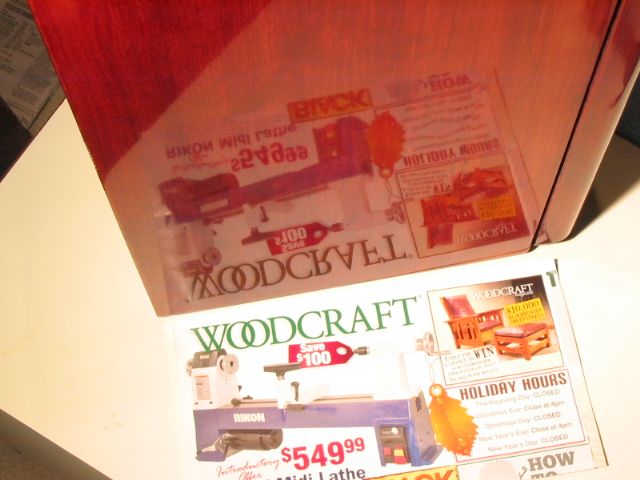
To remove it, I lay down some alcohol, then scrub it off with SSW (syn. steel wool). Here's what it looks like after the first pull:
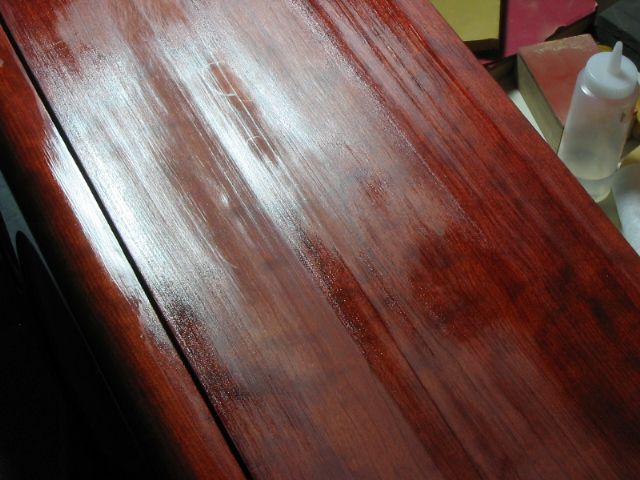
The dull areas are the surface of the wood. The shiny, streaky areas are partially dissolved shellac still on the surface.
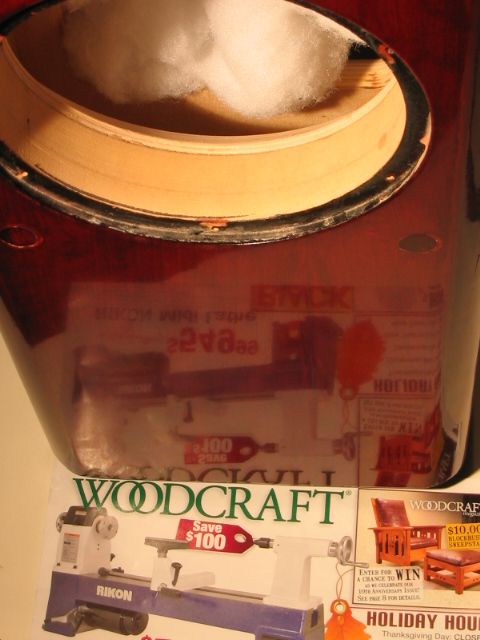
Here I've removed the rest of the finish, then begun sanding with 220x stearated sandpaper glued to a 5" x 9" block of flat wood. The blonde areas were all high. As they are flattened, the darker areas will become lightened as well as the entire surface becomes more uniform.
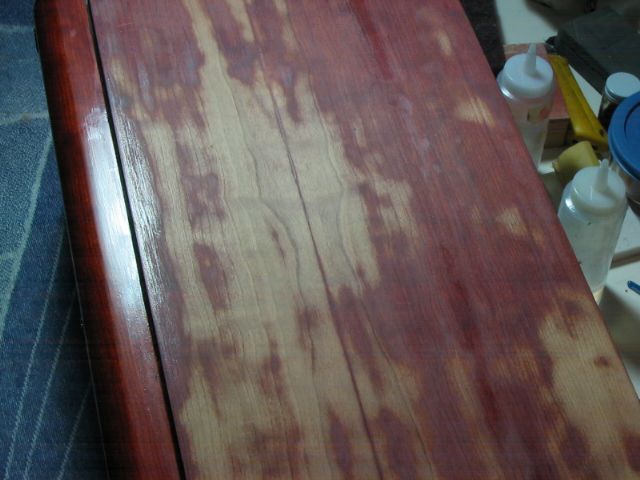
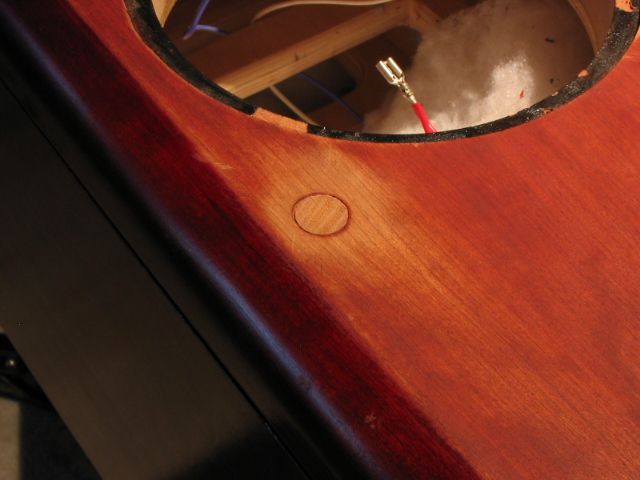
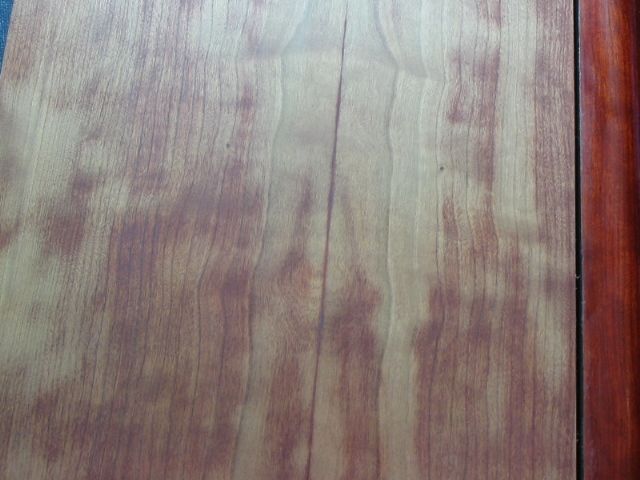
After considerably more block-sanding, the surface is nice and flat and very smooth. The darkened areas have lightened considerably. Note that it's impossible to get it all blonde again as the dye has penetrated deep into the softer areas and won't come out. There is a single, thin vertical line running from top to bottom. That is a veneer seam and a low spot. I'll fill that in with shellac until it's level with the surrounding surface, then flatten it.

Here's a close-up:
I'll post more as work progresses along with some tips I've learned about working with shellac. For reference I use Bob Flexner's excellent book "Understanding Wood Finishing."
Due to cherrys tendency to blotch, I used a red/brown alcohol-based dye mixed into shellac and sprayed it on. To minimize splotching, I sprayed on a light 1.5# cut of shellac. The color came out very nice, however the cherry still splotched. On the other hand, it could also be due to ray flecks in the wood.
Having learned much about using shellac a few years ago on some custom wood boxes, I decided to build a film on top of the existing finish, then flatten it to remove defects and polish it to a smooth, soft glow.
Well, that was the plan anyway. . . .
Removing one of the tweeters caused a small piece of the veneer to separate and crack. Now this repair was added to the list.
Next, it quickly became clear that while I had sanded the veneer smooth, I didn't flatten it. As such, every time I cut back the finish, I ran into problems sanding through the original finish right down into wood. I would fix these areas with dye and a fine brush, recoat and run right back into the same problem.
The final straw came when I sanded one panel up through 1500g with sandpaper, 2500g with syn. steel wool and polished with Meguiar's #7 polish (which I later discovered has no grit at all). It looked awful in harsh, raking light: uneven, ripples, scratches, etc. A far cry from what I was expecting.
Frustrated, I decided to remove the finish, flatten the veneer, then rebuild the film, flatten the finish, then polish. In other words, start over from scratch....
While listening to football on the radio, I started yesterday pulling the finish off, then flattening the veneer. The difference between just sanding something smooth and flattening it is that a rigid block is used to back the sandpaper in the later (the larger the better) while the former is done by hand or machine. The distinction being that just because a surface is smooth doesn't mean it's flat and smooth. Building a film finish requires both.
I originally chose shellac because it dries very fast compared to oil-based finishes and when I was applying the finish, it was quite hot and humid here in Tx. Oil would take days to dry and weeks to cure. Multiple coats of shellac can be applied in a single day. I also hadn't used it before and wanted to learn to apply it. In addition, shellac is an excellent vapor barrier, easily repaired, can be padded on and moved around to level it and completely removed with denatured alcohol when necessary. This is due to it being an evaporative as opposed to curing finish. It doesn't polymerize and cross-link like polyurethane does. Finally, it can be wet-sanded with mineral spirits or even non-curing oil to achieve a smooth finish, and greatly reduce sanding dust without either affecting the curing of the shellac.
Here's what it looks like. Very nice deep red/brown color. The darker areas are 'splotches' where the grain density is lower thus absorbing more dye. The thin shellac wash coat was supposed to prevent this, but no joy.
In flat light, it looks beautiful. However, in raking light you can see brush marks and other defects. It also looks insanely glossy. (I wish the sled looked this glossy!)
With the work light showing, brush marks reveal themselves:
To remove it, I lay down some alcohol, then scrub it off with SSW (syn. steel wool). Here's what it looks like after the first pull:
The dull areas are the surface of the wood. The shiny, streaky areas are partially dissolved shellac still on the surface.
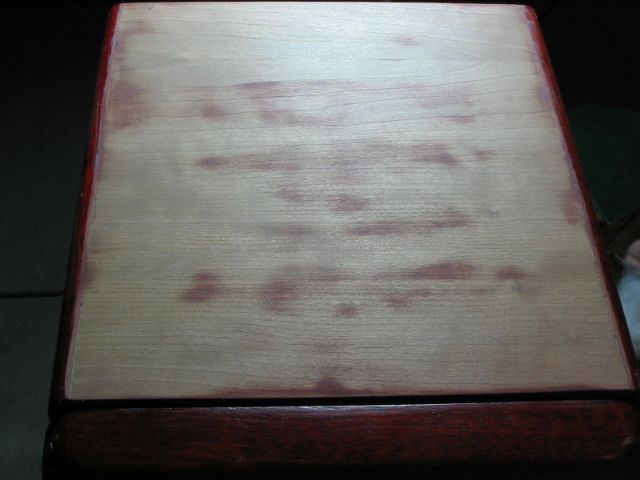
Here I've removed the rest of the finish, then begun sanding with 220x stearated sandpaper glued to a 5" x 9" block of flat wood. The blonde areas were all high. As they are flattened, the darker areas will become lightened as well as the entire surface becomes more uniform.
After considerably more block-sanding, the surface is nice and flat and very smooth. The darkened areas have lightened considerably. Note that it's impossible to get it all blonde again as the dye has penetrated deep into the softer areas and won't come out. There is a single, thin vertical line running from top to bottom. That is a veneer seam and a low spot. I'll fill that in with shellac until it's level with the surrounding surface, then flatten it.
Here's a close-up:
I'll post more as work progresses along with some tips I've learned about working with shellac. For reference I use Bob Flexner's excellent book "Understanding Wood Finishing."