How much should I thin spar urethane?

Status
Not open for further replies.
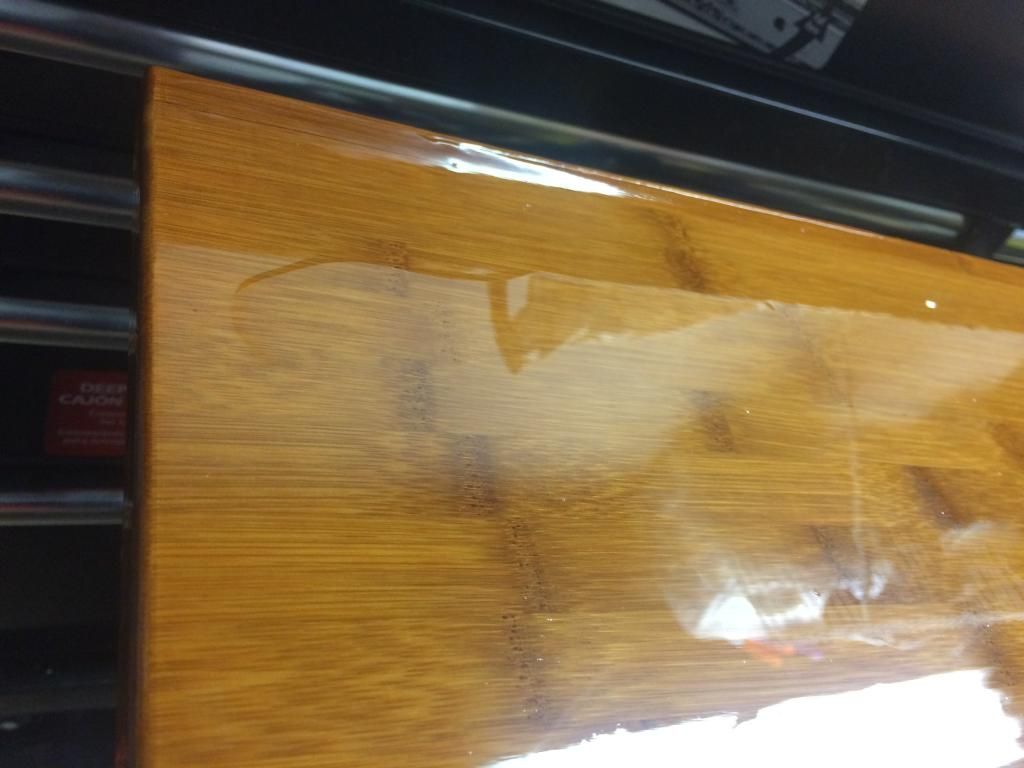
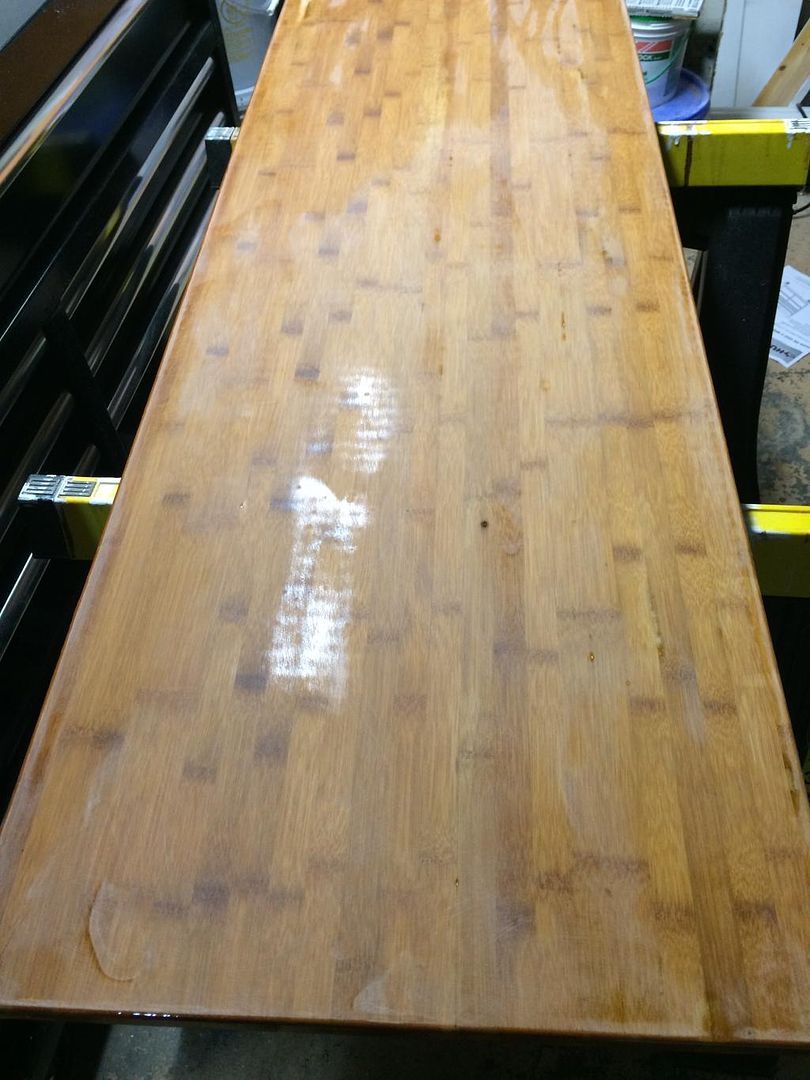
I kept sanding with 320 grit and 0000 steel wool. Got things nice and smooth, honestly,mid it were my car and I felt what I did after washing, Id say it needed to be clayed. But I didn't want to chance sanding through the costing.

So I sanded, cleaned, wiped down.. Did dust management. The mist, closed space, cleaned space, careful what clothes I wore, etc. I also heated the space up.

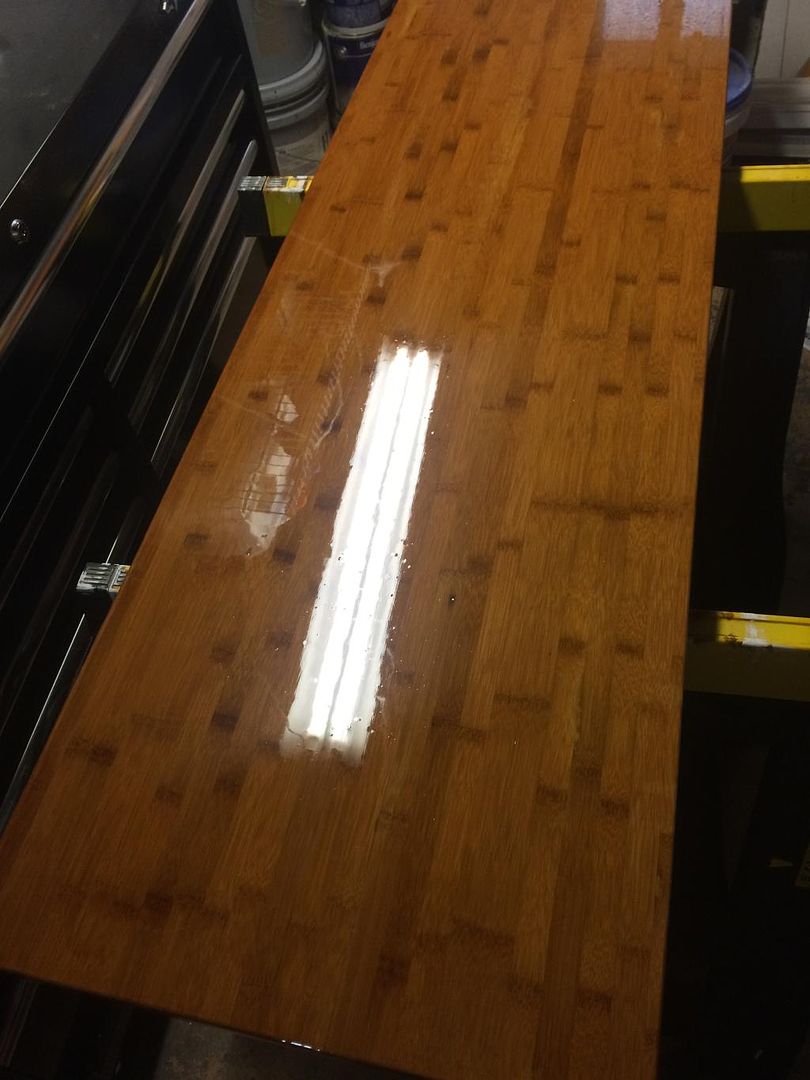
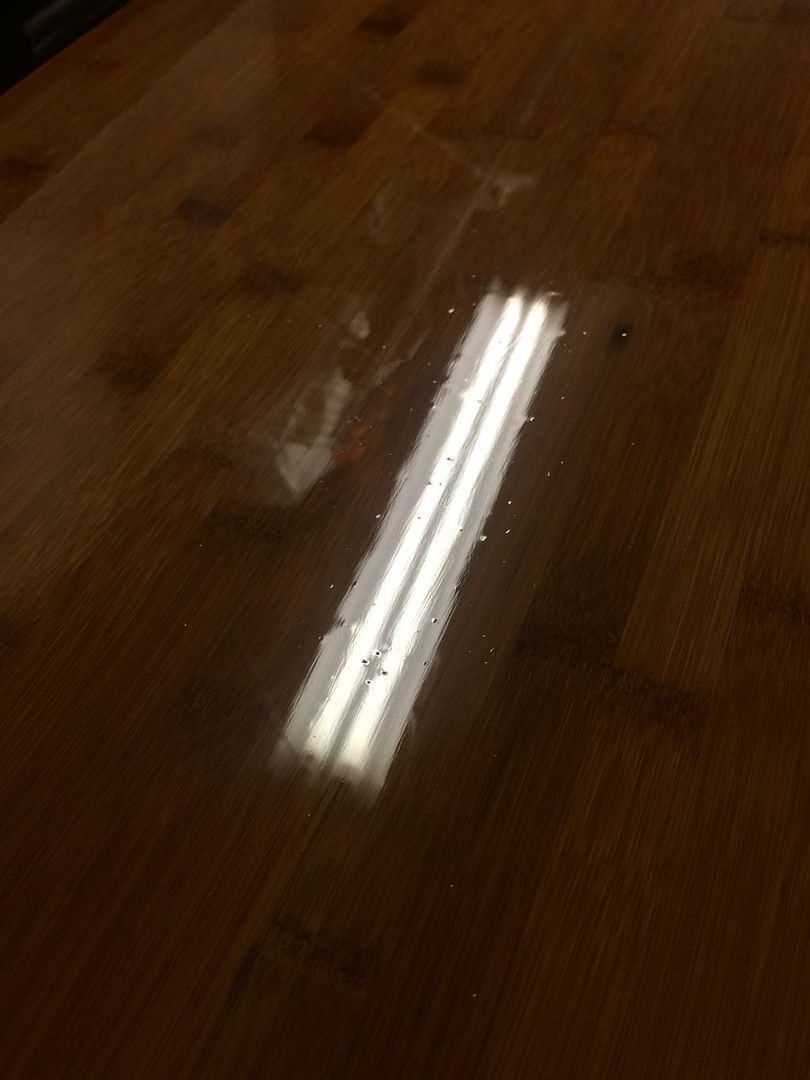
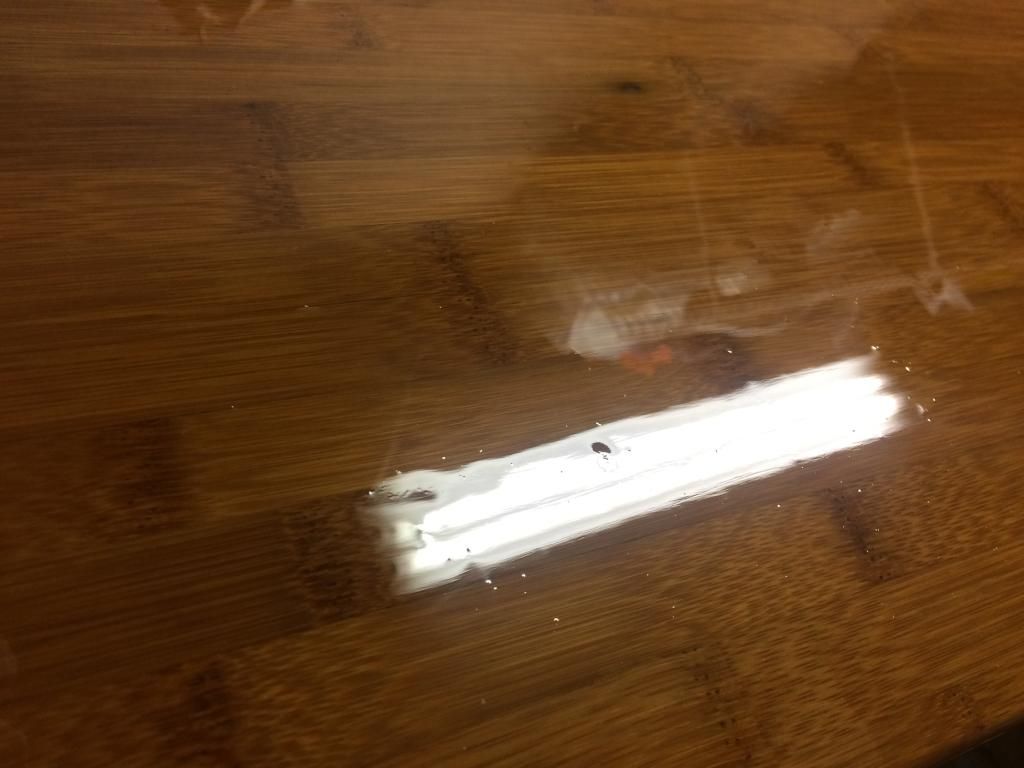
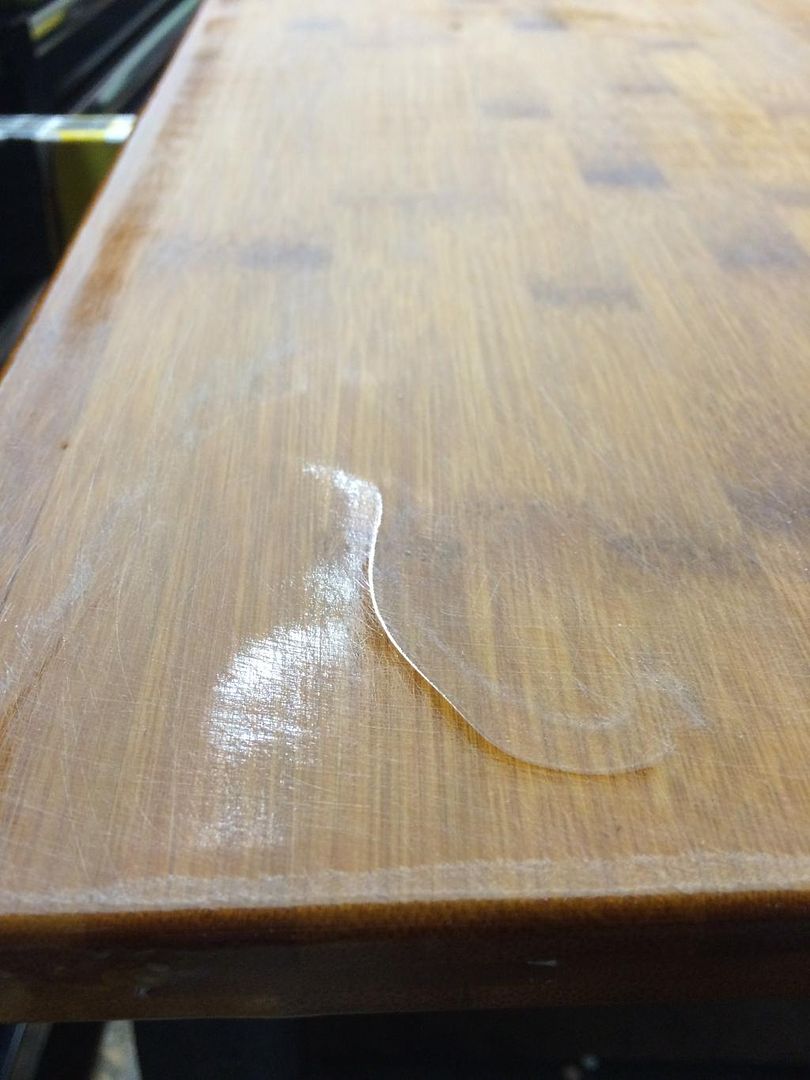
I thinned it down with mineral,spirits, and tried to lay it down thinner so the heat combined with thinner coatings would allow faster cure. To get it thinner, I did brush it a bit more, which introduces more bubbles.

As soon as I got the coating on, I left. No lights off, no changes anything. Just closed the door to my shop and left.

So either it will be perfect, it will look like last time, or there will be bubbles that didnt pop. Hope to supply good news tomorrow am...
 
Are you using a flat block when sanding?

You have quite a high build of varnish, you can take that down a fare bit until you get a truly flat, level surface.
Try to fill those cracks with more coats of varnish applied to the crack with an artists brush. Flatten down when they have filled.
They should have been filled with Putty, filler or hard Beeswax before you started the job.

I think in your environment you will continue to get nibs of dust.
In the past I have even gone to the extreme of making a
Clean Room within the workshop using plastic sheet and applying the finish (it was Lacquer) in my Birthday suit.

You might want to try applying the varnish with a lint free cloth folded into a Dolly (as in french polishing) This should prevent the Air bubbles that you are getting and help you apply thin, even, coats.

If all else fails, let it dry and rub out the surface to remove the nibs with Flour Paper. then treat the surface with Beeswax* and buff it out.

Beeswax can be grated and dissolved in Turpentine with a little heat. It makes a great furniture polish.
 
Well Im going to have to do something. Perhaps a 60 grit sandpaper and then paint is my best bet. UGH, Im annoyed about this. You're sure correct, its going to continue.

Despite making extra efforts, it came out worse. NO airflow, everything cleaned, etc., etc.

And I got this:

4A118C1C-0E92-4883-BCA2-D521683037B0_zps4uwrlzf2.jpg


F01A4EF5-EDAC-4736-BF44-ABAAABDE95DA_zpswyxkirdw.jpg


61324DA3-18F4-433E-B804-62CD7A8BEA3A_zps5vldm9wv.jpg


And perhaps because of how much I thinned it or something, it ended up with an inconsistent level though it didn't look that way in the slightest when I closed it up last night...

3A1C6597-E106-4AB5-A83D-8611BA3061D0_zpssaatjdjm.jpg


So annoyed. I really did so much more to get a much worse result.
 
Yeah...I reckoned that's what would happen...

So, two choices: it's a workbench, put it in service....

Or, learn to rub out a finish. You'll learn what that means, and it'll take some serious work.

Buy a good book that describes the process, the Flexner book is good. I've got this one: http://www.amazon.com/Grt-Wood-Finishes-Jeff-Jewitt/dp/B00375LMZM

Basically, don't start with anything less than 600 grit, or you'll cut through the finish. Use a sanding block and plenty of water. Work your way through the grits, until you're at 1500. Then switch to pumice, then rottenstone. Don't use power buffers, you'll make a frightful mess.

It will be so much smoother than you have felt before, each subsequently finer grit replaces the bigger scratches with smaller ones, until they're so fine that you can't see them...it will be too nice for a workbench, but...

The one potential issue with rubbing out spar urethane is its toughness. It's inherently flexible, so it doesn't sand as smooth as a harder varnish that is specifically made to be rubbed out. It may be a bit hazy as a result...but this is a journey in learning about finishing, right?

I've used this with great results: http://www.garrettwade.com/rockhard-table-top-varnish/p/99P52.01/

It's designed for tabletops...and hard enough to rub out to a beautiful sheen.
 
Last edited:
Why did you think that was going to happen?

My plan is definitely to rub it out, that's part of the learning process too... But I just can't seem to lick the issue at hand...

Wonder if I can coat the spar with another harder finish to rub it out better?

Still I need to figure out how to do it right so this doesn't happen. So bummed when there were more nibs after cleaning and leaving then there were other times when I hung around and tried messing with it further to get bubbles and stuff to clear out...
 
Did you use a real tack cloth as the final step before application?

Is there a heater vent in the shop that is creating heavy dust?

I'm also not sure why the brush is causing bubbles.

I'm stumped.
 
Dust nibs are so much better to deal with than 'Fish eyes' when surface contaminants repel the finish, and there is a depression.

This occurs with Epoxy often, and is caused by the merest hint of a fingerprint, or the previous layer of Epoxy's amine blush.

This condition is much worse with some epoxies compared to others. I was unaware of much of these issues Until I tried products other than System3.

With epoxy, one must remove any amine blush or surface contamination BEFORE breaking out the sandpaper. Not removing them pushes them deep in the grooves left by the sandpaper where they are impossible to remove and compromise adhesion as well as cause the dreaded fish eye depression.

Certain sandpapers with anti clogging technology also leave contamination behind, and in the grooves. When one layer is repelled, the repair is much more labor intensive than just sanding the dust nibs flat and trying again.

As far as removing dust in the application area, get 5 cheap 20x20 air filters and make a box to fit tightly at the back of a 20 inch box fan which you will hang off the floor. With 5 filters, as opposed to 1 right at the intake, airflow will not be compromised. And you will be very surprised how quickly the filters darken.

Achieving a dust free environment for finish application, in the same area where the product is sanded is near impossible. Resorting to filters, misting, TyVec suits, and plastic floor to ceiling walls, and aggressively removing the dust, is no guarantee.

Most wanting a perfect finish expect the dust nibs and that the rub out will be required anyway.

In making surfboards, achieving a perfect gloss coat, that does not need further sanding/polishing, is the holy grail, and unachieveable. Application of this gloss layer is certainly important, and the polyester gloss resins are great at self levelling, but no matter, the boards must be wet sanded up to at least 800 grit then polished.

A tip for wetsanding is to use a bit of soap in the water.

I've pretty much given up on the perfect glossy finish on my Hollow wood surfboards. It is too frustrating and too much work. Especially with epoxy, and where weight is a concern.

DSC06010_zps59ce94d6.jpg
 
"Wonder if I can coat the spar with another harder finish to rub it out better?"


A hard finish ON TOP OF a soft finish is not normally a good idea.
Especially considering the thickness of soft varnish you have built up.

Personally I do not like to see such a high build, it kind of looks like those Epoxy, poured on finish, coffee tables from the 70's

If it's wood, let it look like wood.
I also prefer a Luster to a shine. But each to his own.

Sorry, the only way out of this is a Lot of sanding. All over, With a Block.
 
JHZR2 - I figured that you would get a few dust nibs because it's nearly impossible to keep them out in your environment. If you wet the floor, work in a clean room (few shelves, overhead lights, etc. that collect dust) and truly tack off the piece after sanding between coats, you can get there, but the longer the finish takes to dry, the greater the chance of nibs...

You can't do much more with your environment. In the case where you really want a fine finish, I would go with: spray (dries to the touch quickly, lessening the time when it's susceptible), you could try thinner to quicken the drying time of your brushed on finish, or a gel varnish that you wipe on/off (Bartley's is a favorite), or Shellac (that melts into the layer below, but that won't resist alcohol in table use), or rub it out.

Like I said, rubbing this out might not quite work, but hey, it's not going to hurt on a work bench...

I'll tell you a story about water-based dye and a curly maple dining room table some time...that was a learning experience!

Cheers,
Astro
 
Last edited:
Thanks! I've contemplated removing everything overhead, putting plastic up all around, etc.

But since it seems that at least some of these are just going to happen regardless, I am thinking instead to just start the rub out process after my next coat. I did buy the book you recommended.

I'm sure the temperatures I'm working in don't help...
 
Sanded down again. This time I took a bit higher grit, 120 and went after it since the last time the coat thickness varied.

BDEB51A8-EC75-4CFE-9929-429B2BA3C63E_zpswwgid2kn.jpg


DBF529A4-45A1-43FE-A7BB-5EAD2995F707_zpsbfstxnpk.jpg


It still isn't totally smooth, I'm going to plan to go over it quick with 220 and then very comprehensively with 320.

I'll then fill in the low spots with an artist's brush and then re-smooth them with 320.

Then try again. I'm tempted to buy more new urethane in case there was contamination.

Any recommendations how to best deal with this? I'm sanding with a block that seems to span the high points well.

C7DB81C2-F28C-44F9-859F-D904A7305A3B_zpsm6dyceqt.jpg
 
You might could filter the urethane , napa has paint filters for auto paint. They are cone shaped and would fit into a funnel.

PAPER+PAINT+STRAINER.JPG
 
Last edited:
Wow- I'd give a fresh batch of material a shot, it won't hurt to strain it either. Having said that I think most of your problem is with airborne junk floating around. Keeping the stuff out of the air is going to be tough.

I'm assuming the project is in the basement? If so walking on the first floor of your house while the project is drying could be a major factor with your issues.
 
I thought that too... So the last coat we did it after cleaning really well, and the. I immediately closed up and went to bed. I didn't want a lot of movement in the basement or upstairs for that very reason.

The coat before, which was the best to date, I had run an exhaust fan in the other part of my basement to vent fumes. My shop is partitioned off including a door, but I just wanted to keep the other area fume free. That coat actually came out best. Just a few dust nibs which it seems is something I just have to live with.

I just want to get the next coat as good as I can and then learn about rubbing it out. Hopefully I can make that happen...
 
I'd do it right before bed then. Mist the area before if possible, coat it, and then up to bed. You might also consider a foam Wiz roller, but you run the risk of orange peel. Another thought is to stand the project upright like a flush door, and do it that way. There would be less surface area for dust that is falling straight down to collect on. The downside is if you apply too thick a coat it will sag! I'm just tossing ideas out there for you. It's all up to what you're comfortable with.

Spray is always the best, but if you were to spray it, it should have been done from the get go, and with a faster drying product.
 
does not help if you are practicing for future projects, but you could put eyelets in the back and hang it upside down in the basement and coat it!
 
I like a sanding block which uses a full sheet of sandpaper. The block needs to be perfectly flat.
The sandpaper needs to be creased tightly around the 2 sides, so there is no sag.

That under rug no slip matting.... I make use of that on occasion between sanding block and sandpaper.
 
Originally Posted By: spasm3
does not help if you are practicing for future projects, but you could put eyelets in the back and hang it upside down in the basement and coat it!


That's interesting and might help. That's something I don't think I've ever done.
 
I have mentioned before that my favorite finish system now on furniture is to apply my own home made wiping varnish. It dries much faster and nubs can be knocked off with waded up newpaper, etc..

On your project, you would have to be sure the deep sanding scratches are eliminated so they don't telescope through the final coat. https://www.google.com/search?q=wipe+on+varnish+flexner&ie=utf-8&oe=utf-8

I would be using a three inch brush on something that big. Get the product on fast. It will self level. The final brushing is a VERY light, overlapping feathering type move. Don't over brush it. And, nothing beats a final wipe down with a tack cloth before finishing.
trimaco-tack-cloth.jpg


For the dust, I think I would rig up a tent made of cheap plastic poly.

Like mentioned above by another poster, I don't like high gloss or thick finishes.
 
I don't necessarily like either, but I'm trying to learn techniques. Since it's not furniture, it's all good.

I do tack cloth prior to coating.

I got a new 3" brush, a filter and another can to decant some urethane into to help keep it clean.

I'm thinking of buying some naphtha to help flash faster.

If I want to rub a highly thinned version for the absolute final coat, is there a preferred cloth that is sure to be dust and string free?
 
Status
Not open for further replies.
Back
Top