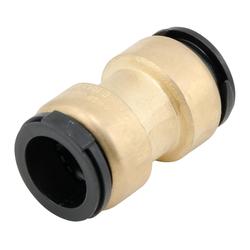
Was looking for some simple and effective fixes for a hard to get at hot water line drip at a union.....in the bathroom wall.
The horizontal union is connected to the back of the sink isolation valve. There could be other leaks on those old fittings that
aren't currently visible. The 1/2" pipe jogs to the side several inches before coming out into the valve. .
Piping installed in 1960. The sink cabinet makes it difficult to get in there. And I'd prefer not to take the sink and cabinet off the wall.
Access to the pipe is the hard part as it sits between a pair of 2x10 horizontal floor beams.....with only 4 inches of space inside the wall.
I've already gone through the back of the sink cabinet, tiles, and sheet rock to see the vertical pipe run that has to be removed.
I can cut most of the vertical run out and then try to attach something new. Copper pipe or Pex. I don't think there's enough flex in Pex to bend it out of the wall and into the under-sink area. If I went copper I'd have to get a right angle fitting on it inside the wall - either soldered or hydraulic crimp. Not really enough space for me to solder on a right angle piece as it's right next to the sink's 2" drain line on one side, and a 2x4 vertical support beam on the other side. Only realistic way to do that is to cut a much larger hole in the floor to push up a pre-made piece with right angle already on it. From there I could either shark bite a fitting on or try to solder on more copper pipe. A totally different thought might be to move the sink isolation valve down under the floor and run up a 3 ft long under-sink flex hose through the wall and up into the sink.
Ultimately, the entire bathroom needs to be re-plumbed (2 shower lines, 2 sink lines, 1 toilet line). So once I get the hot water line sink leak done, will probably replace the tub hw and cw copper pipes leading up into some new isolation valves.
Thanks for any opinions or comments.
69 GTX.
Last edited:

