Spare Tire Relocation Brackets

Joined
Sep 26, 2010
Messages
9,654
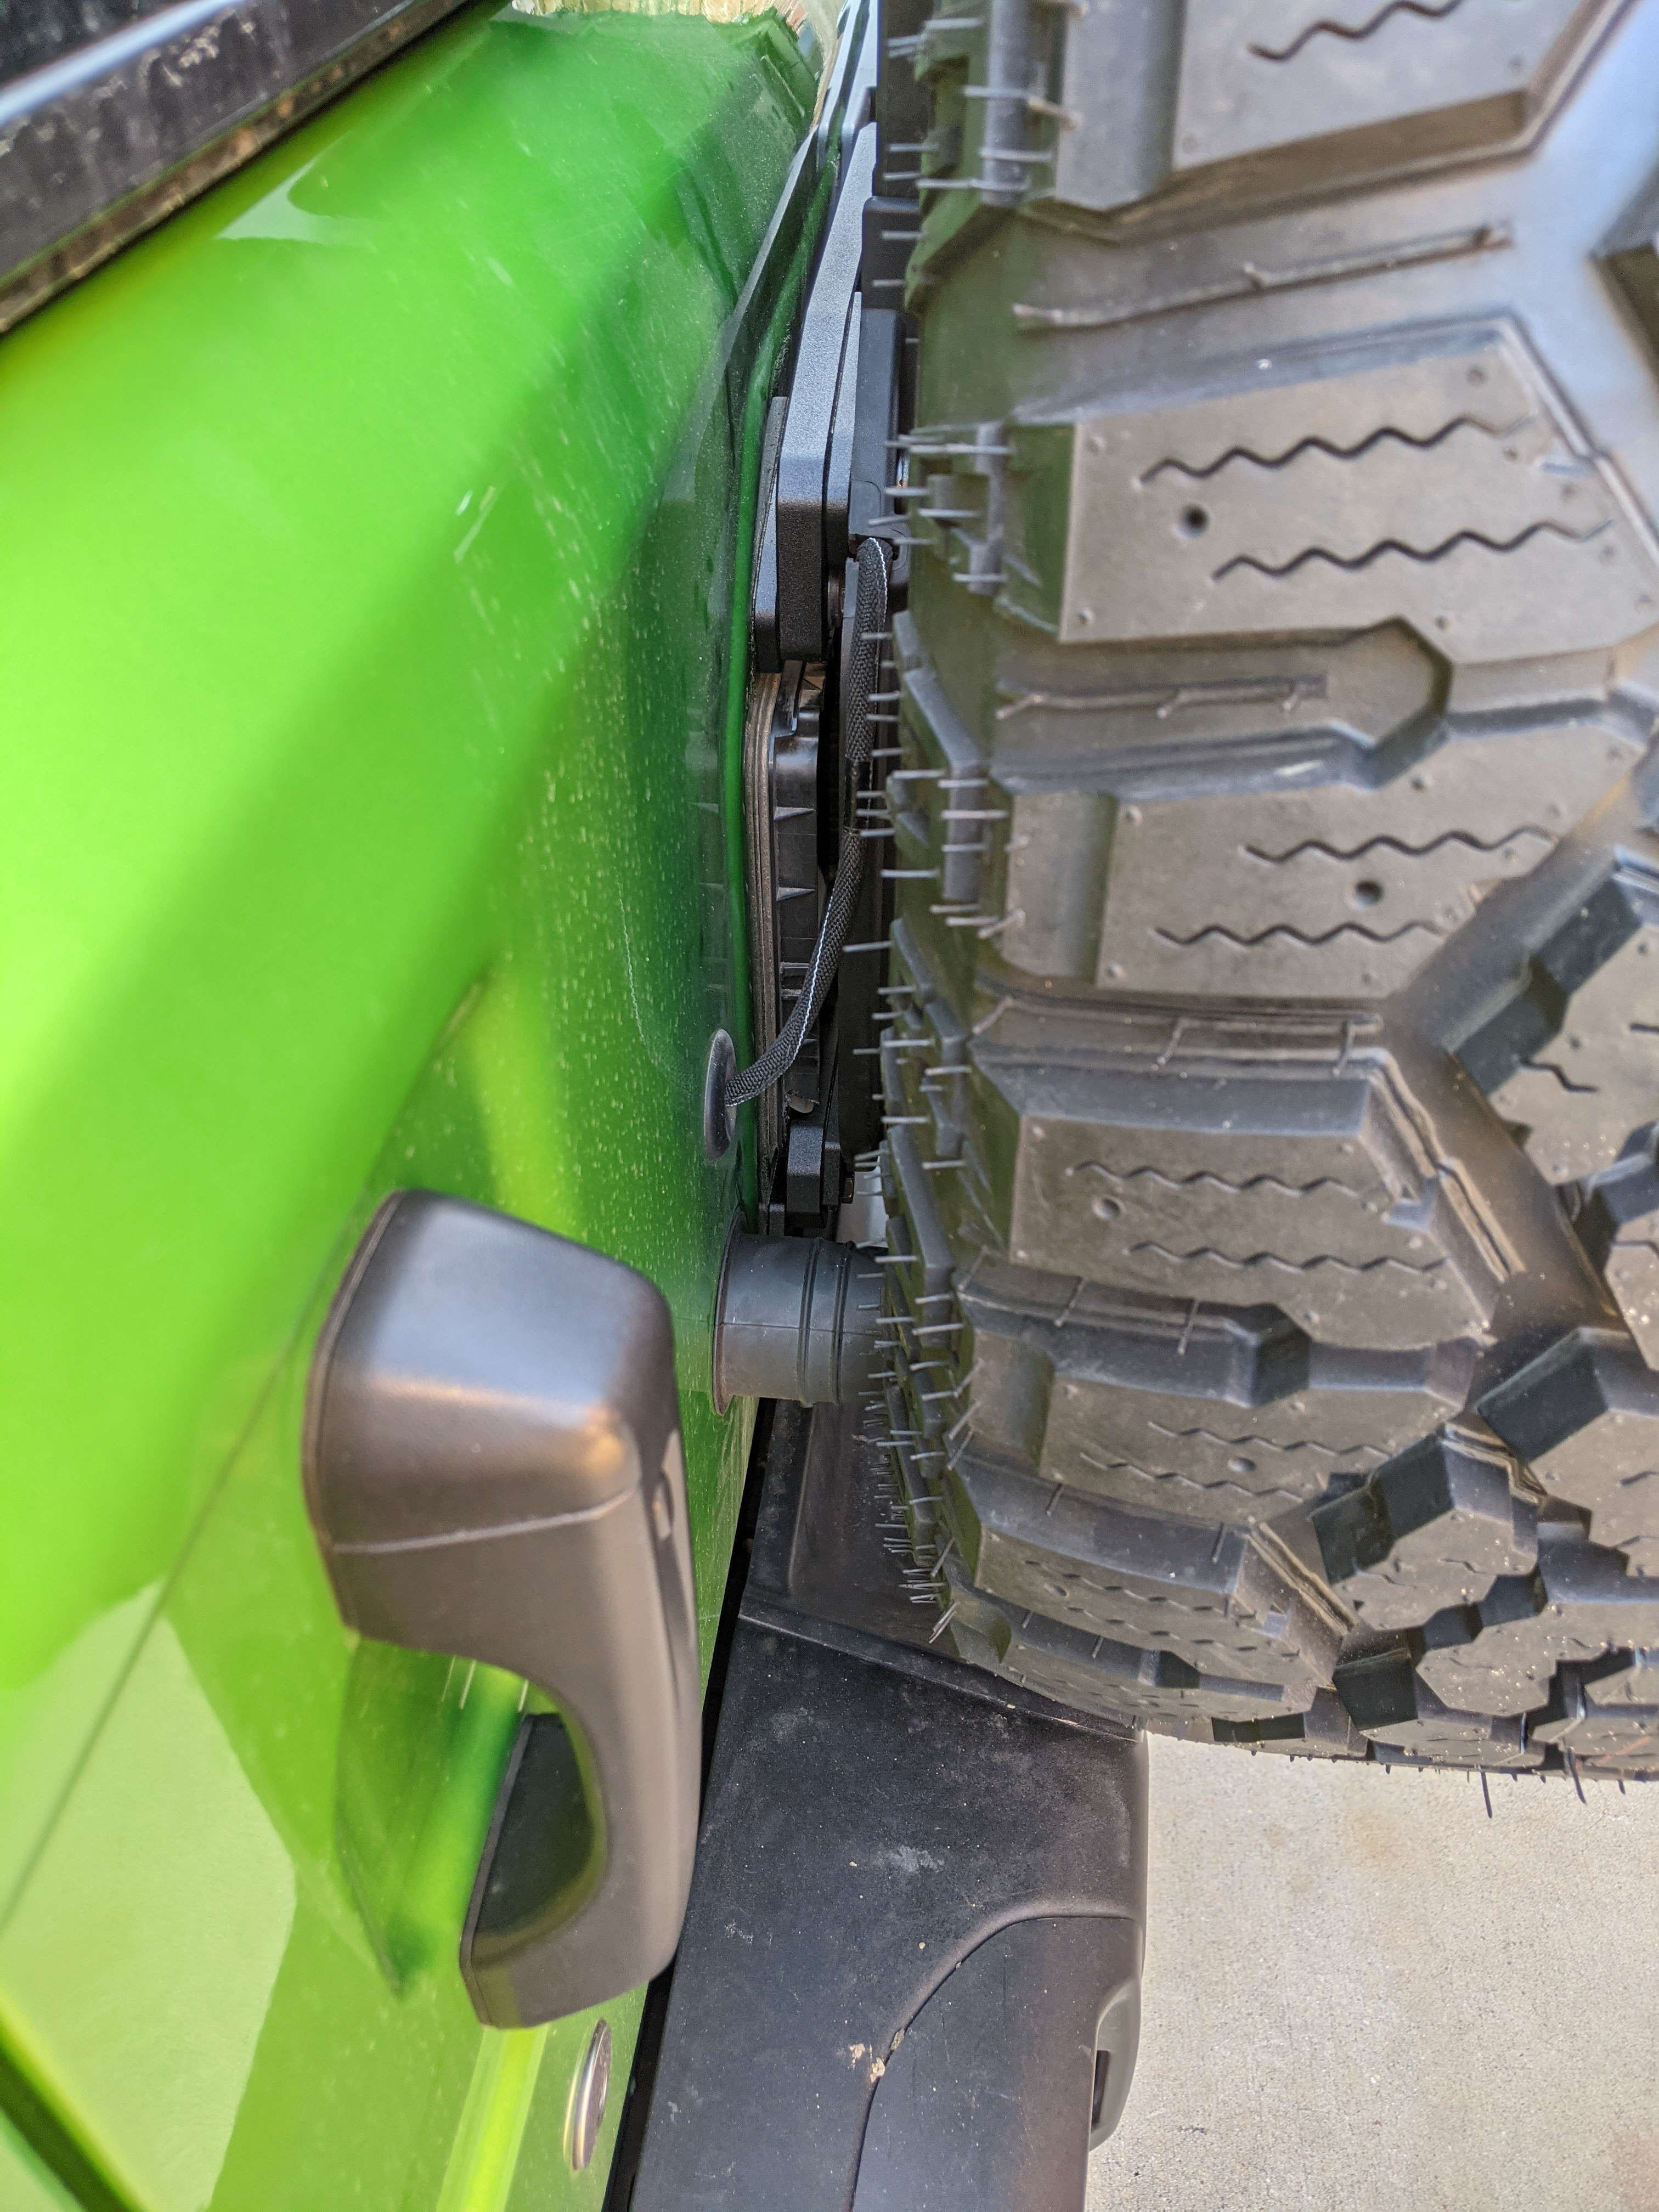
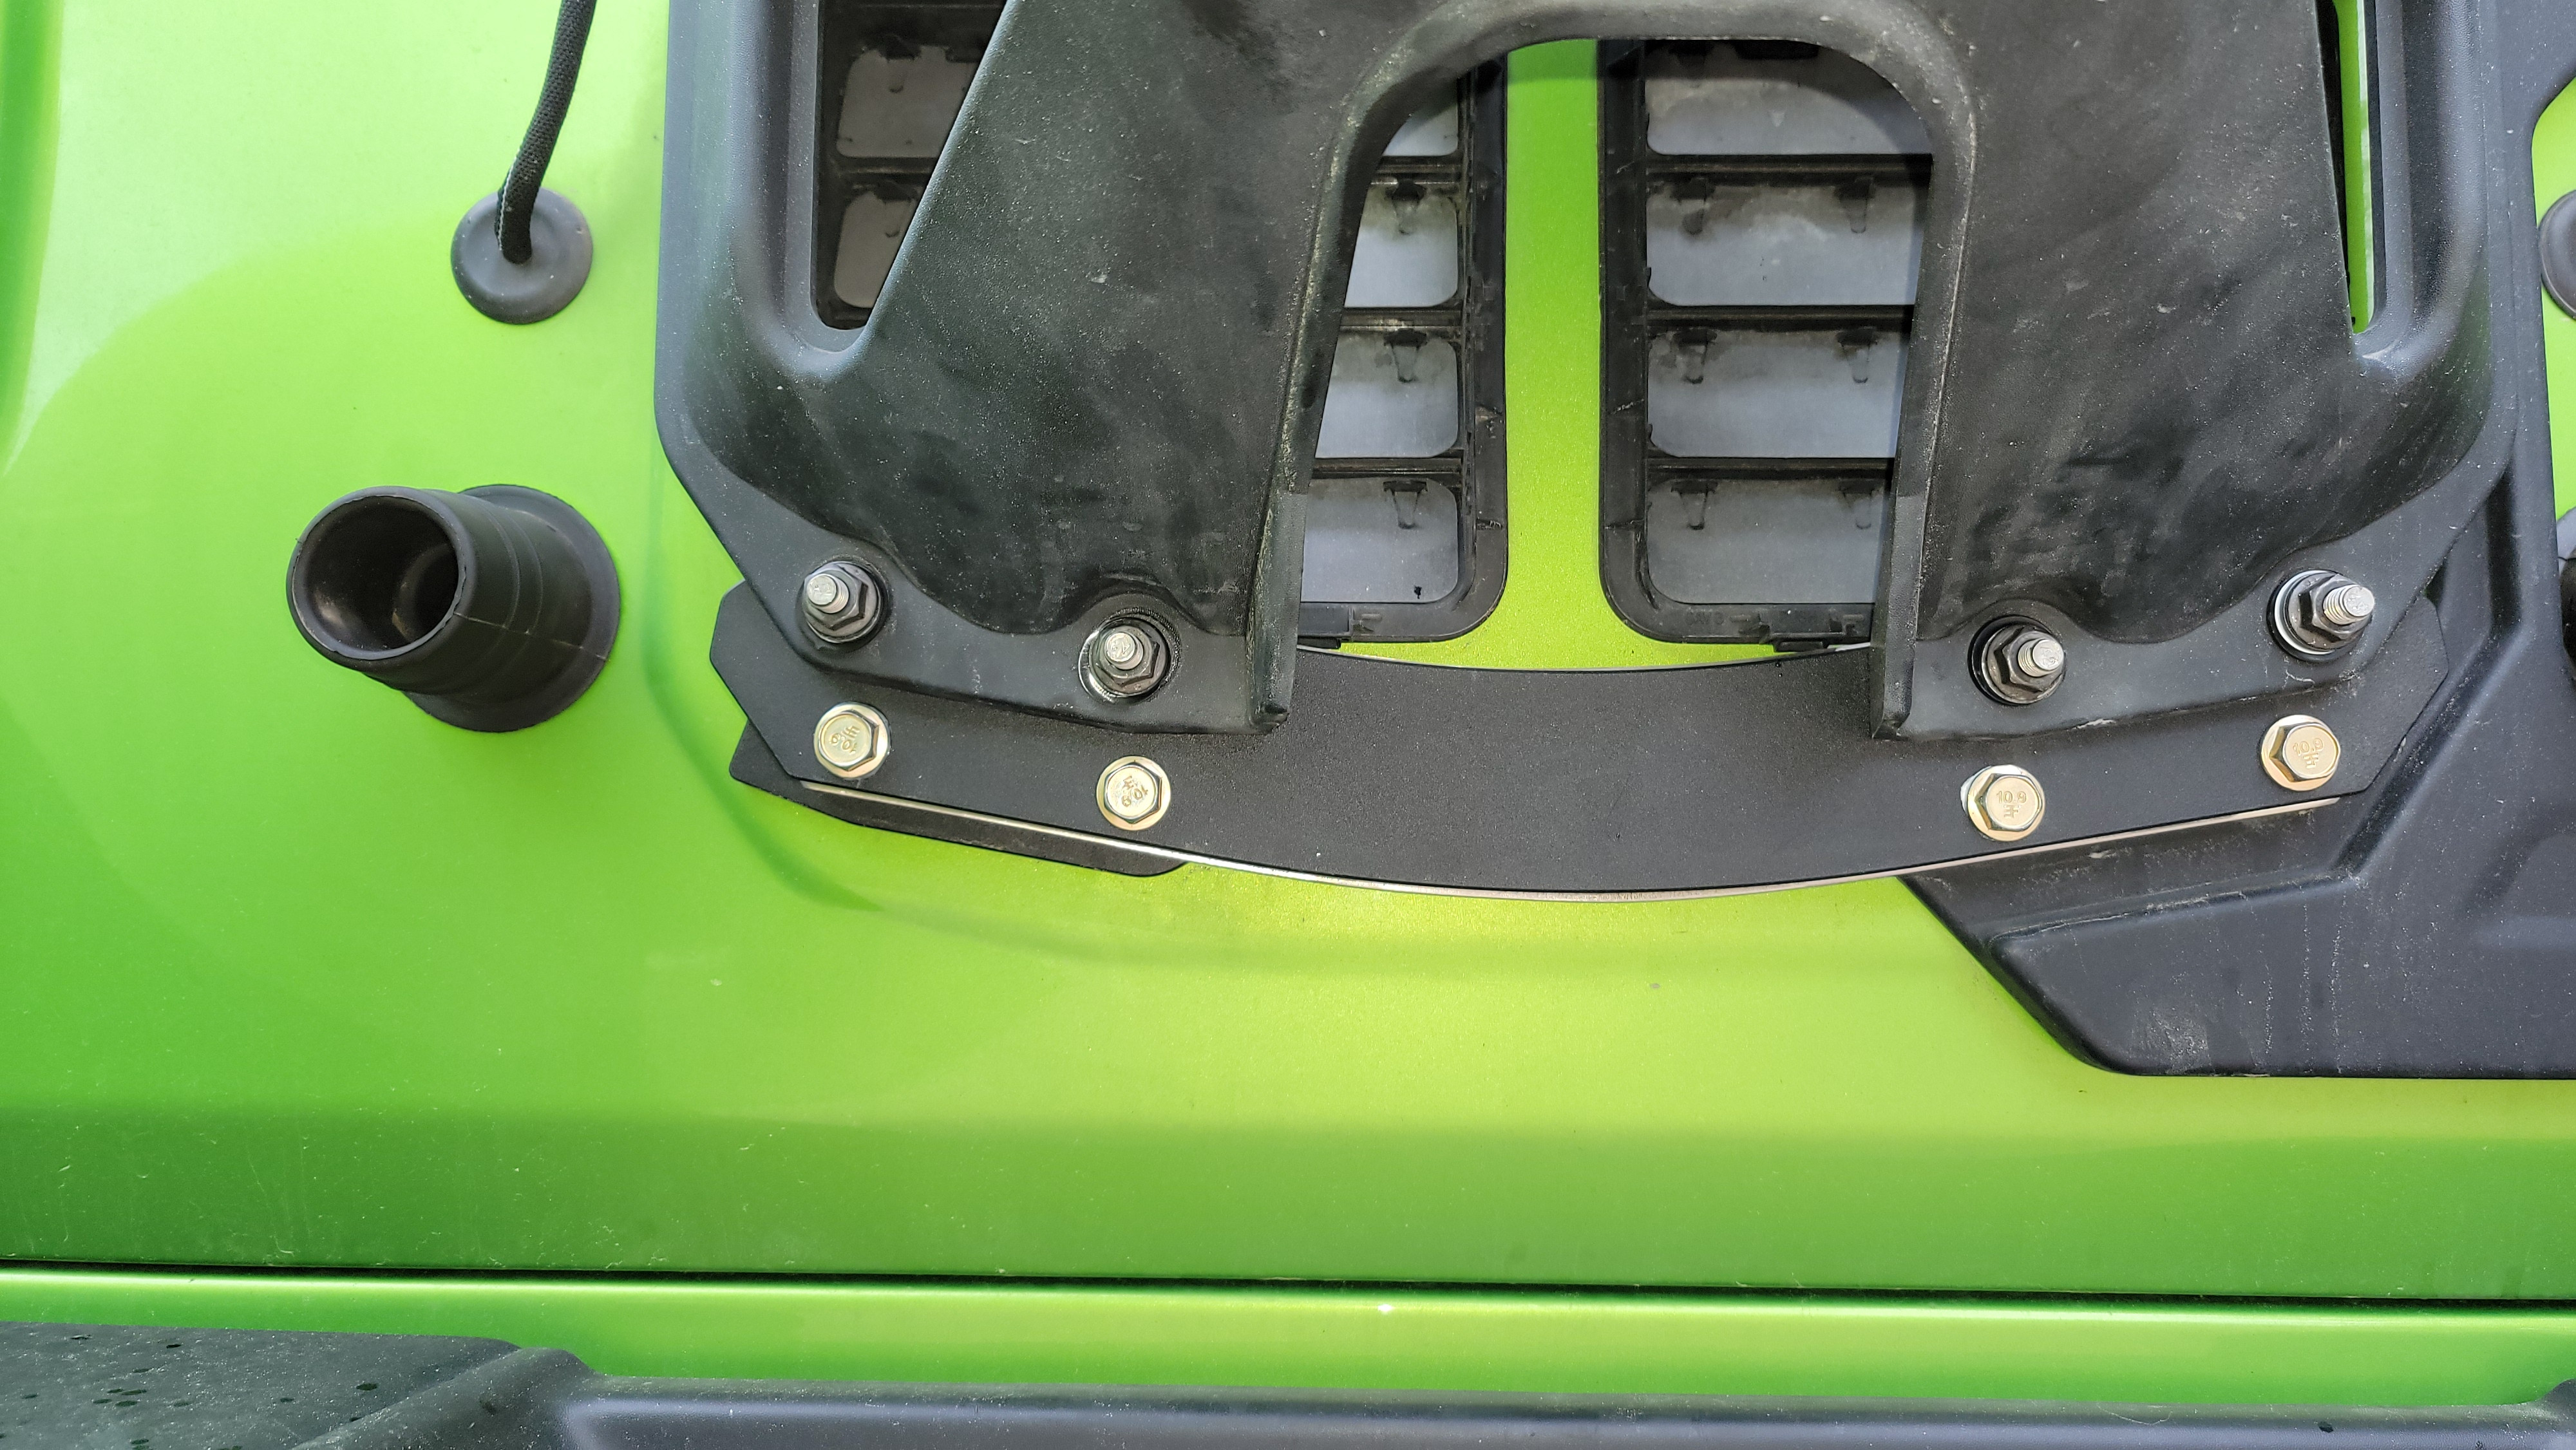
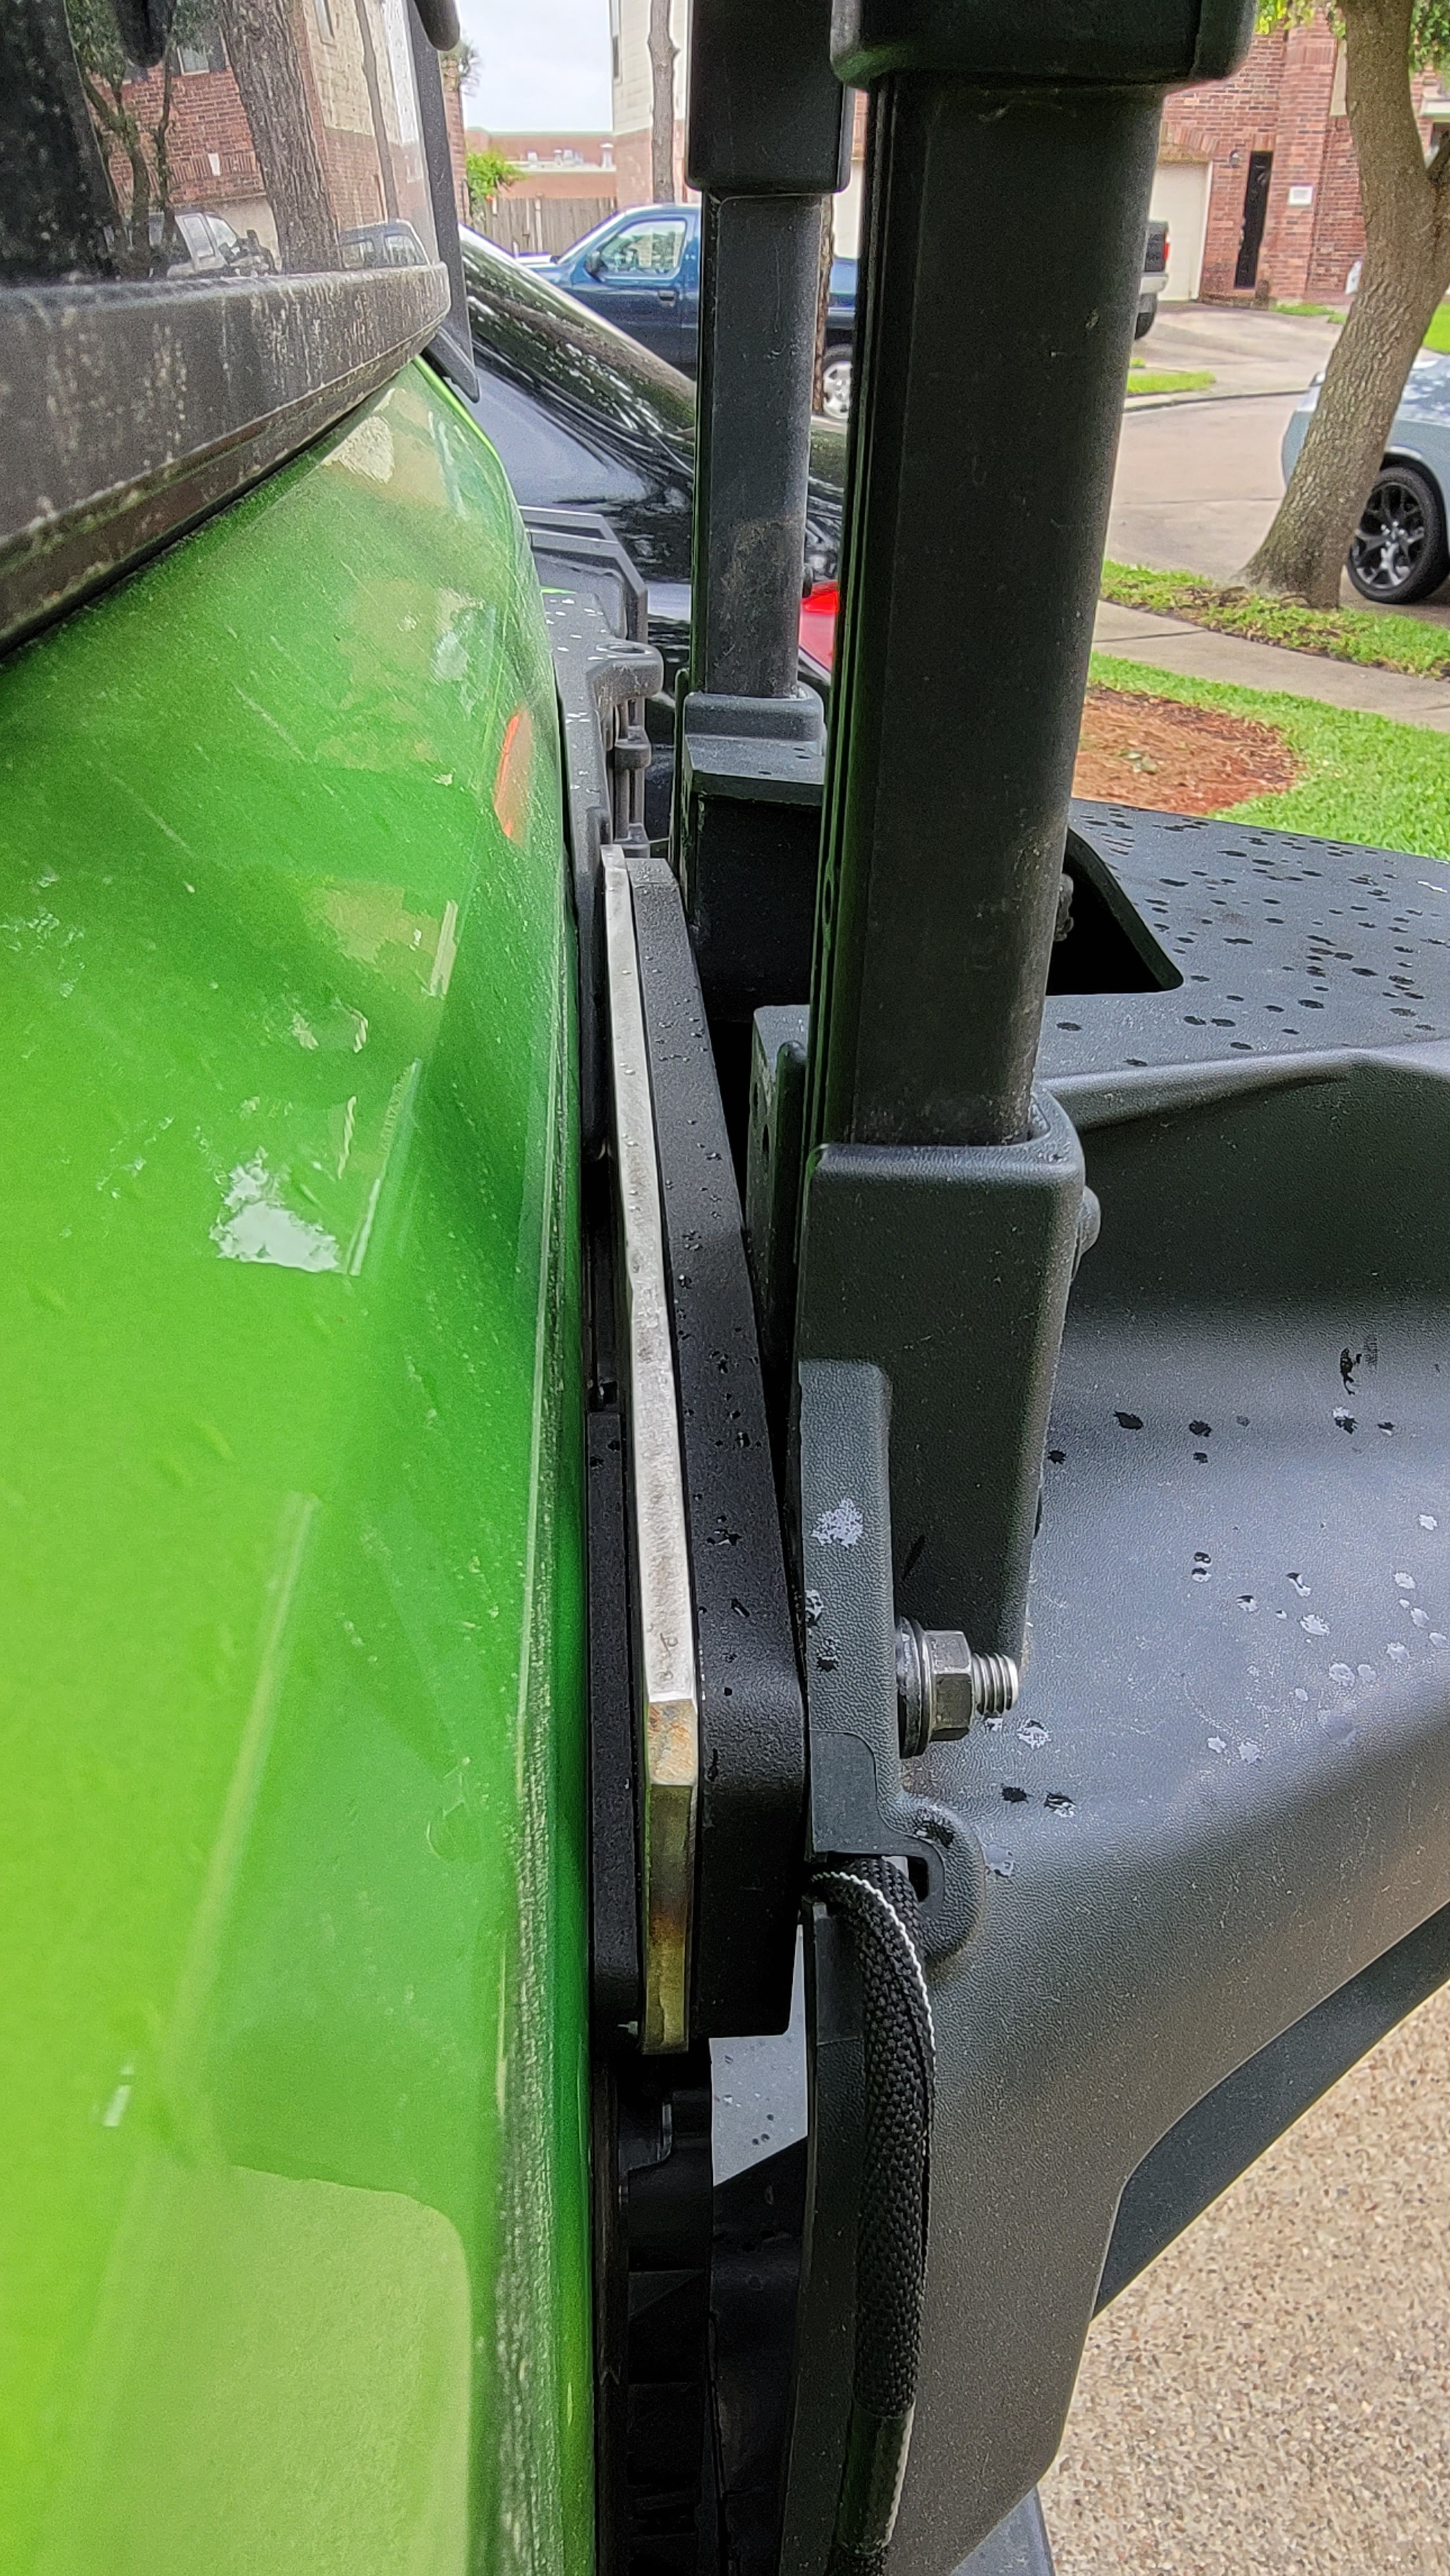
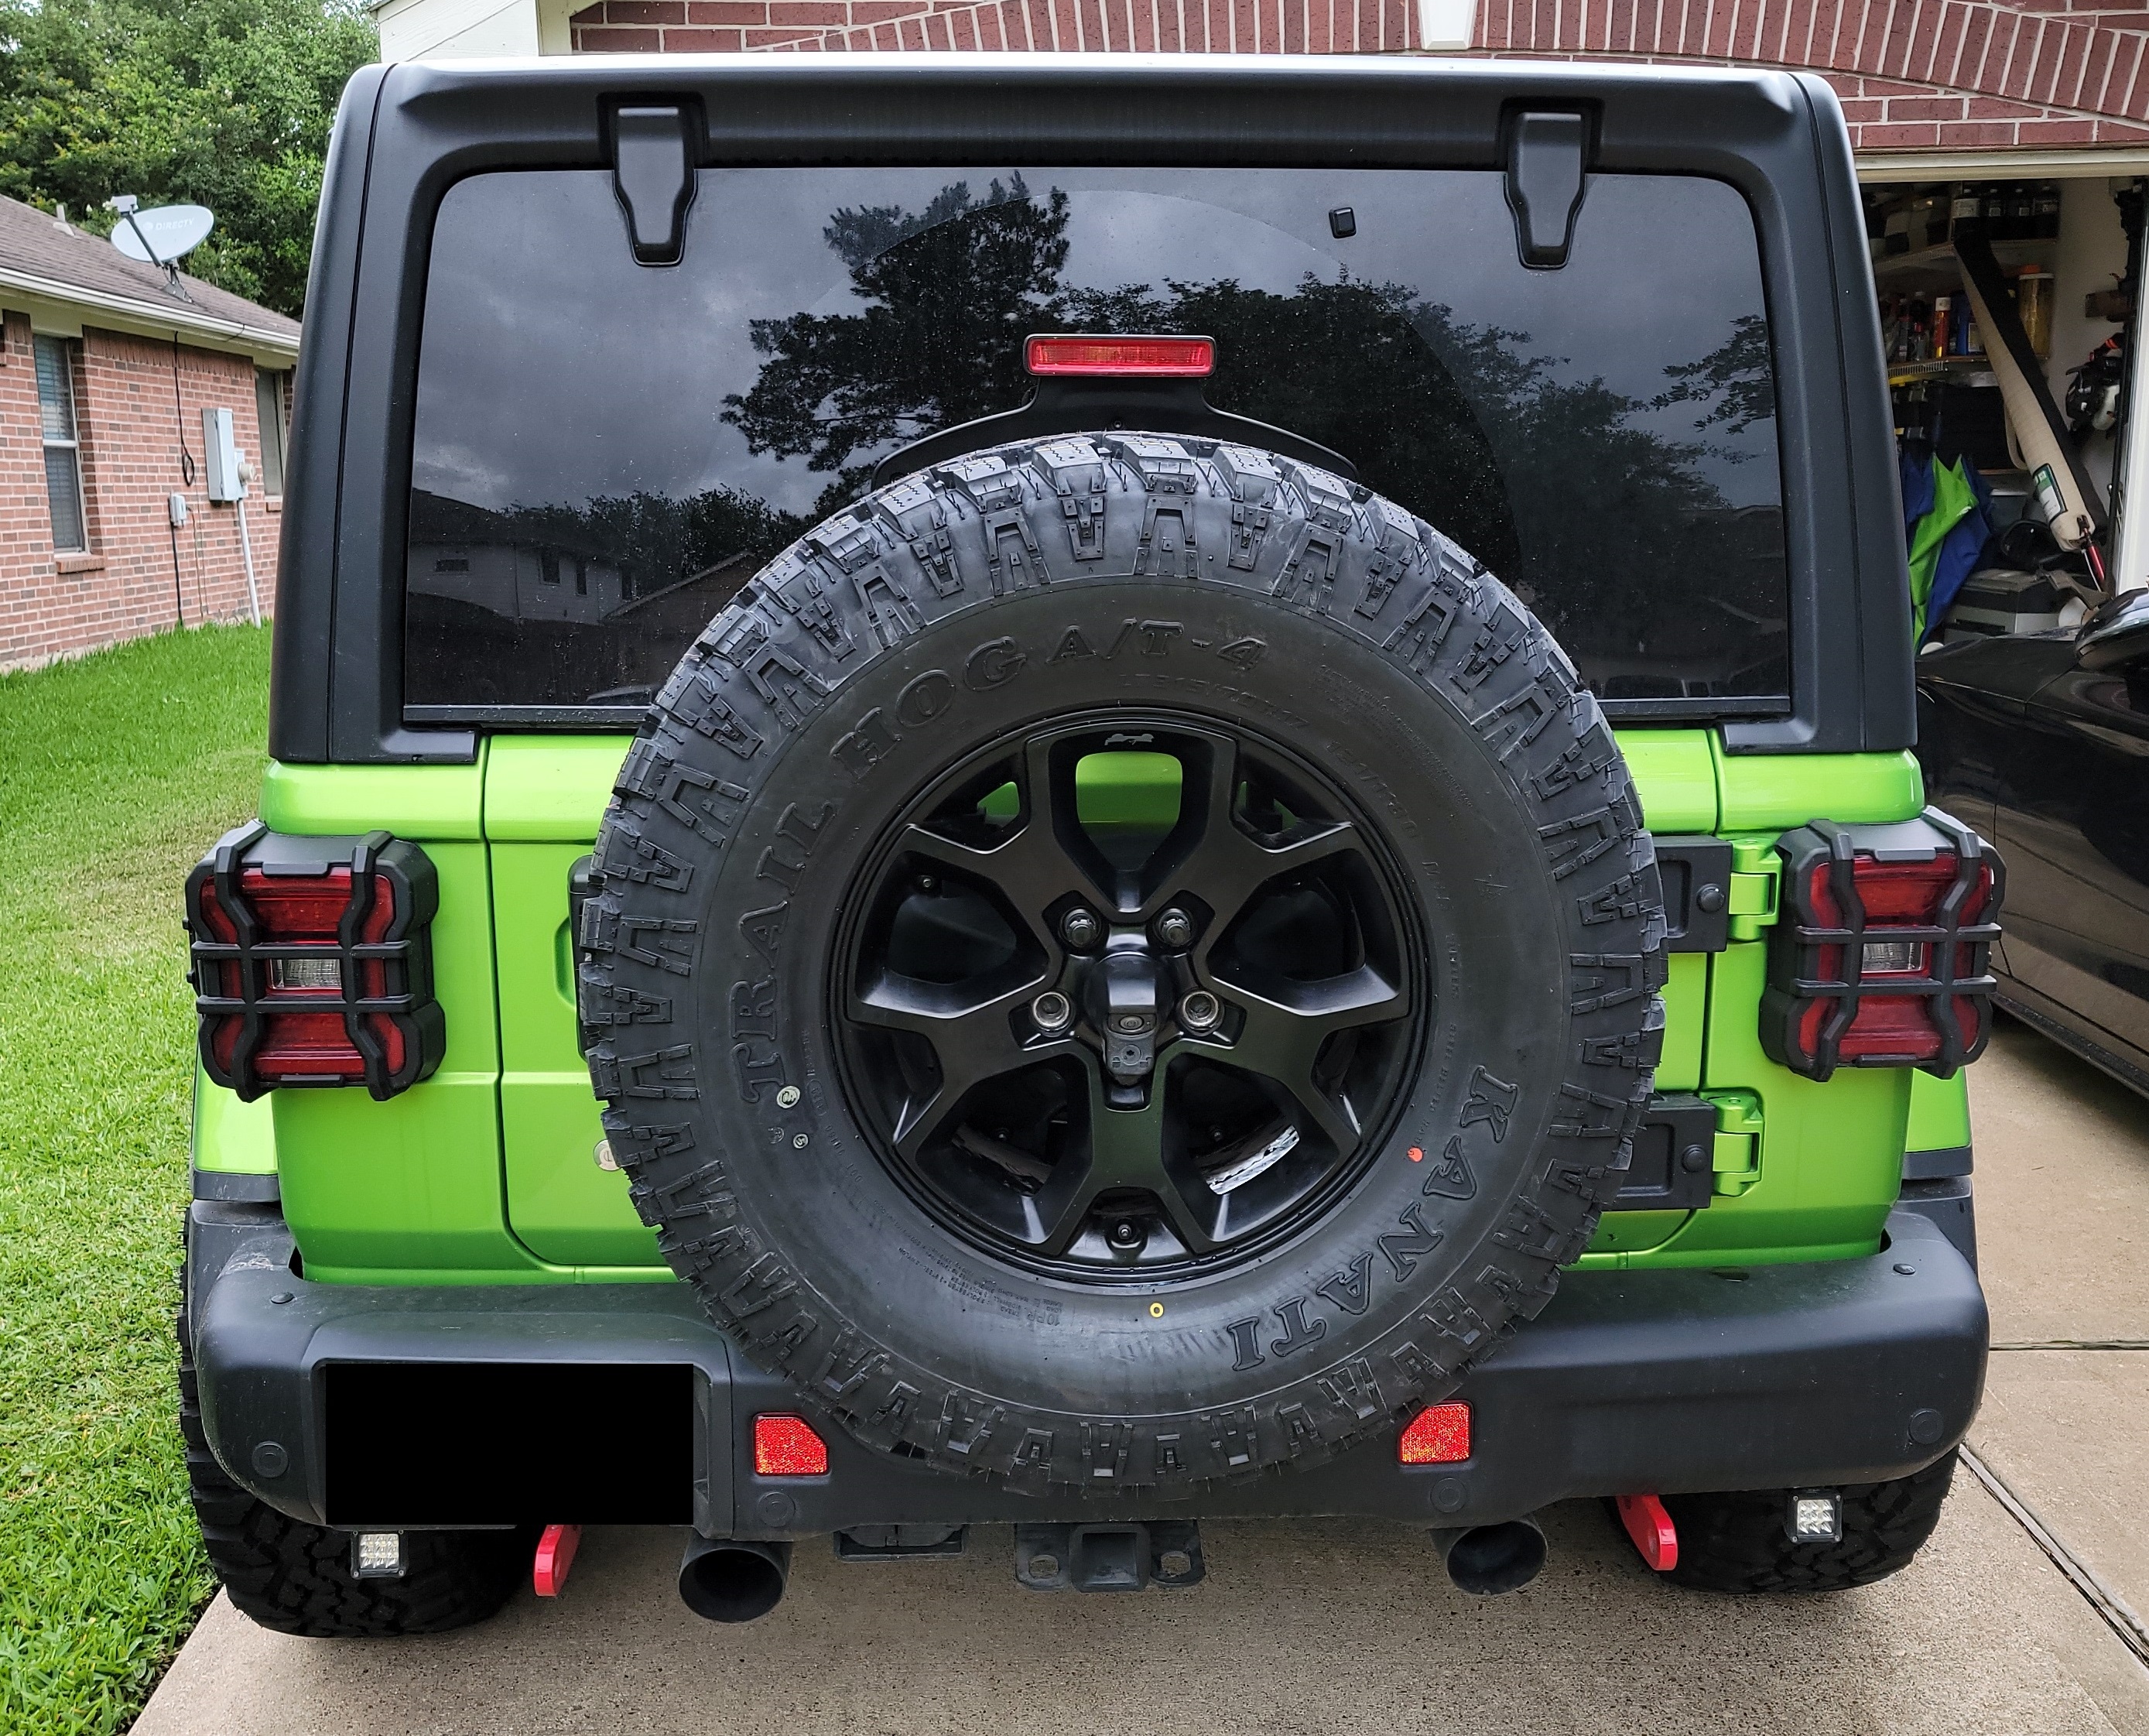
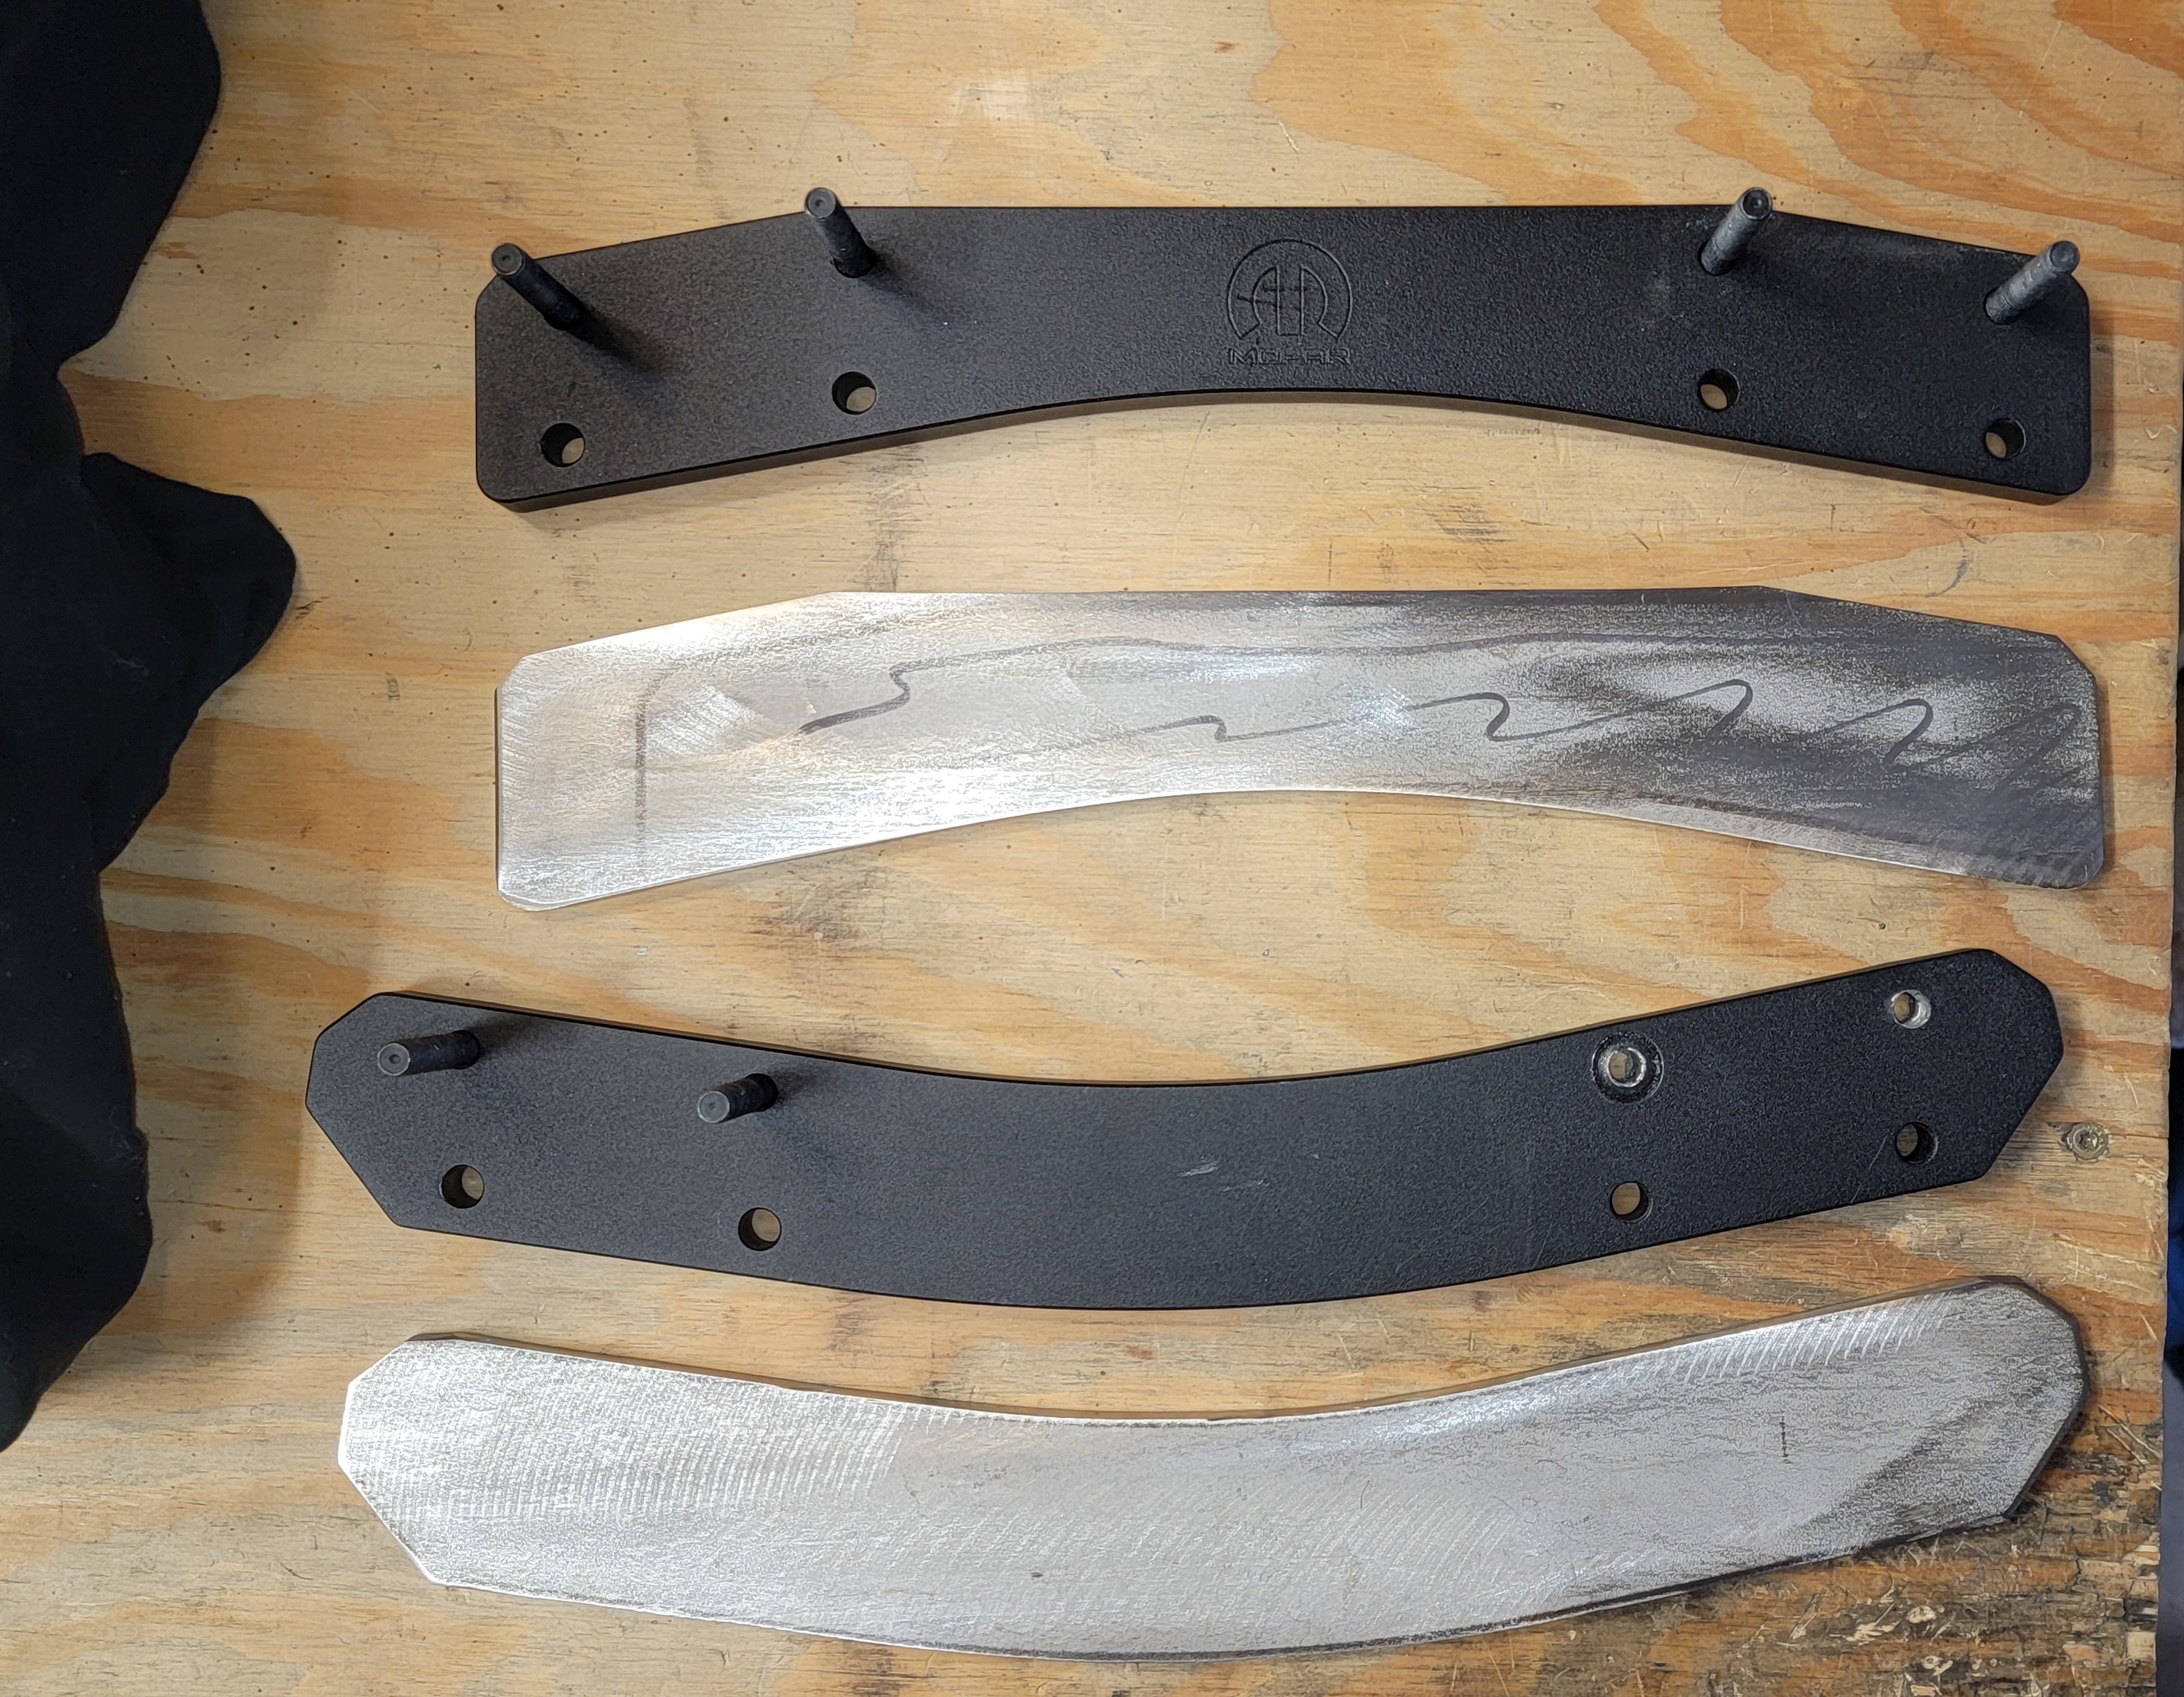
I started building some stronger spare tire relocation brackets. When I initially installed it, there was a stud that started pulling through (even though I used a torque wrench) and it bothered me.

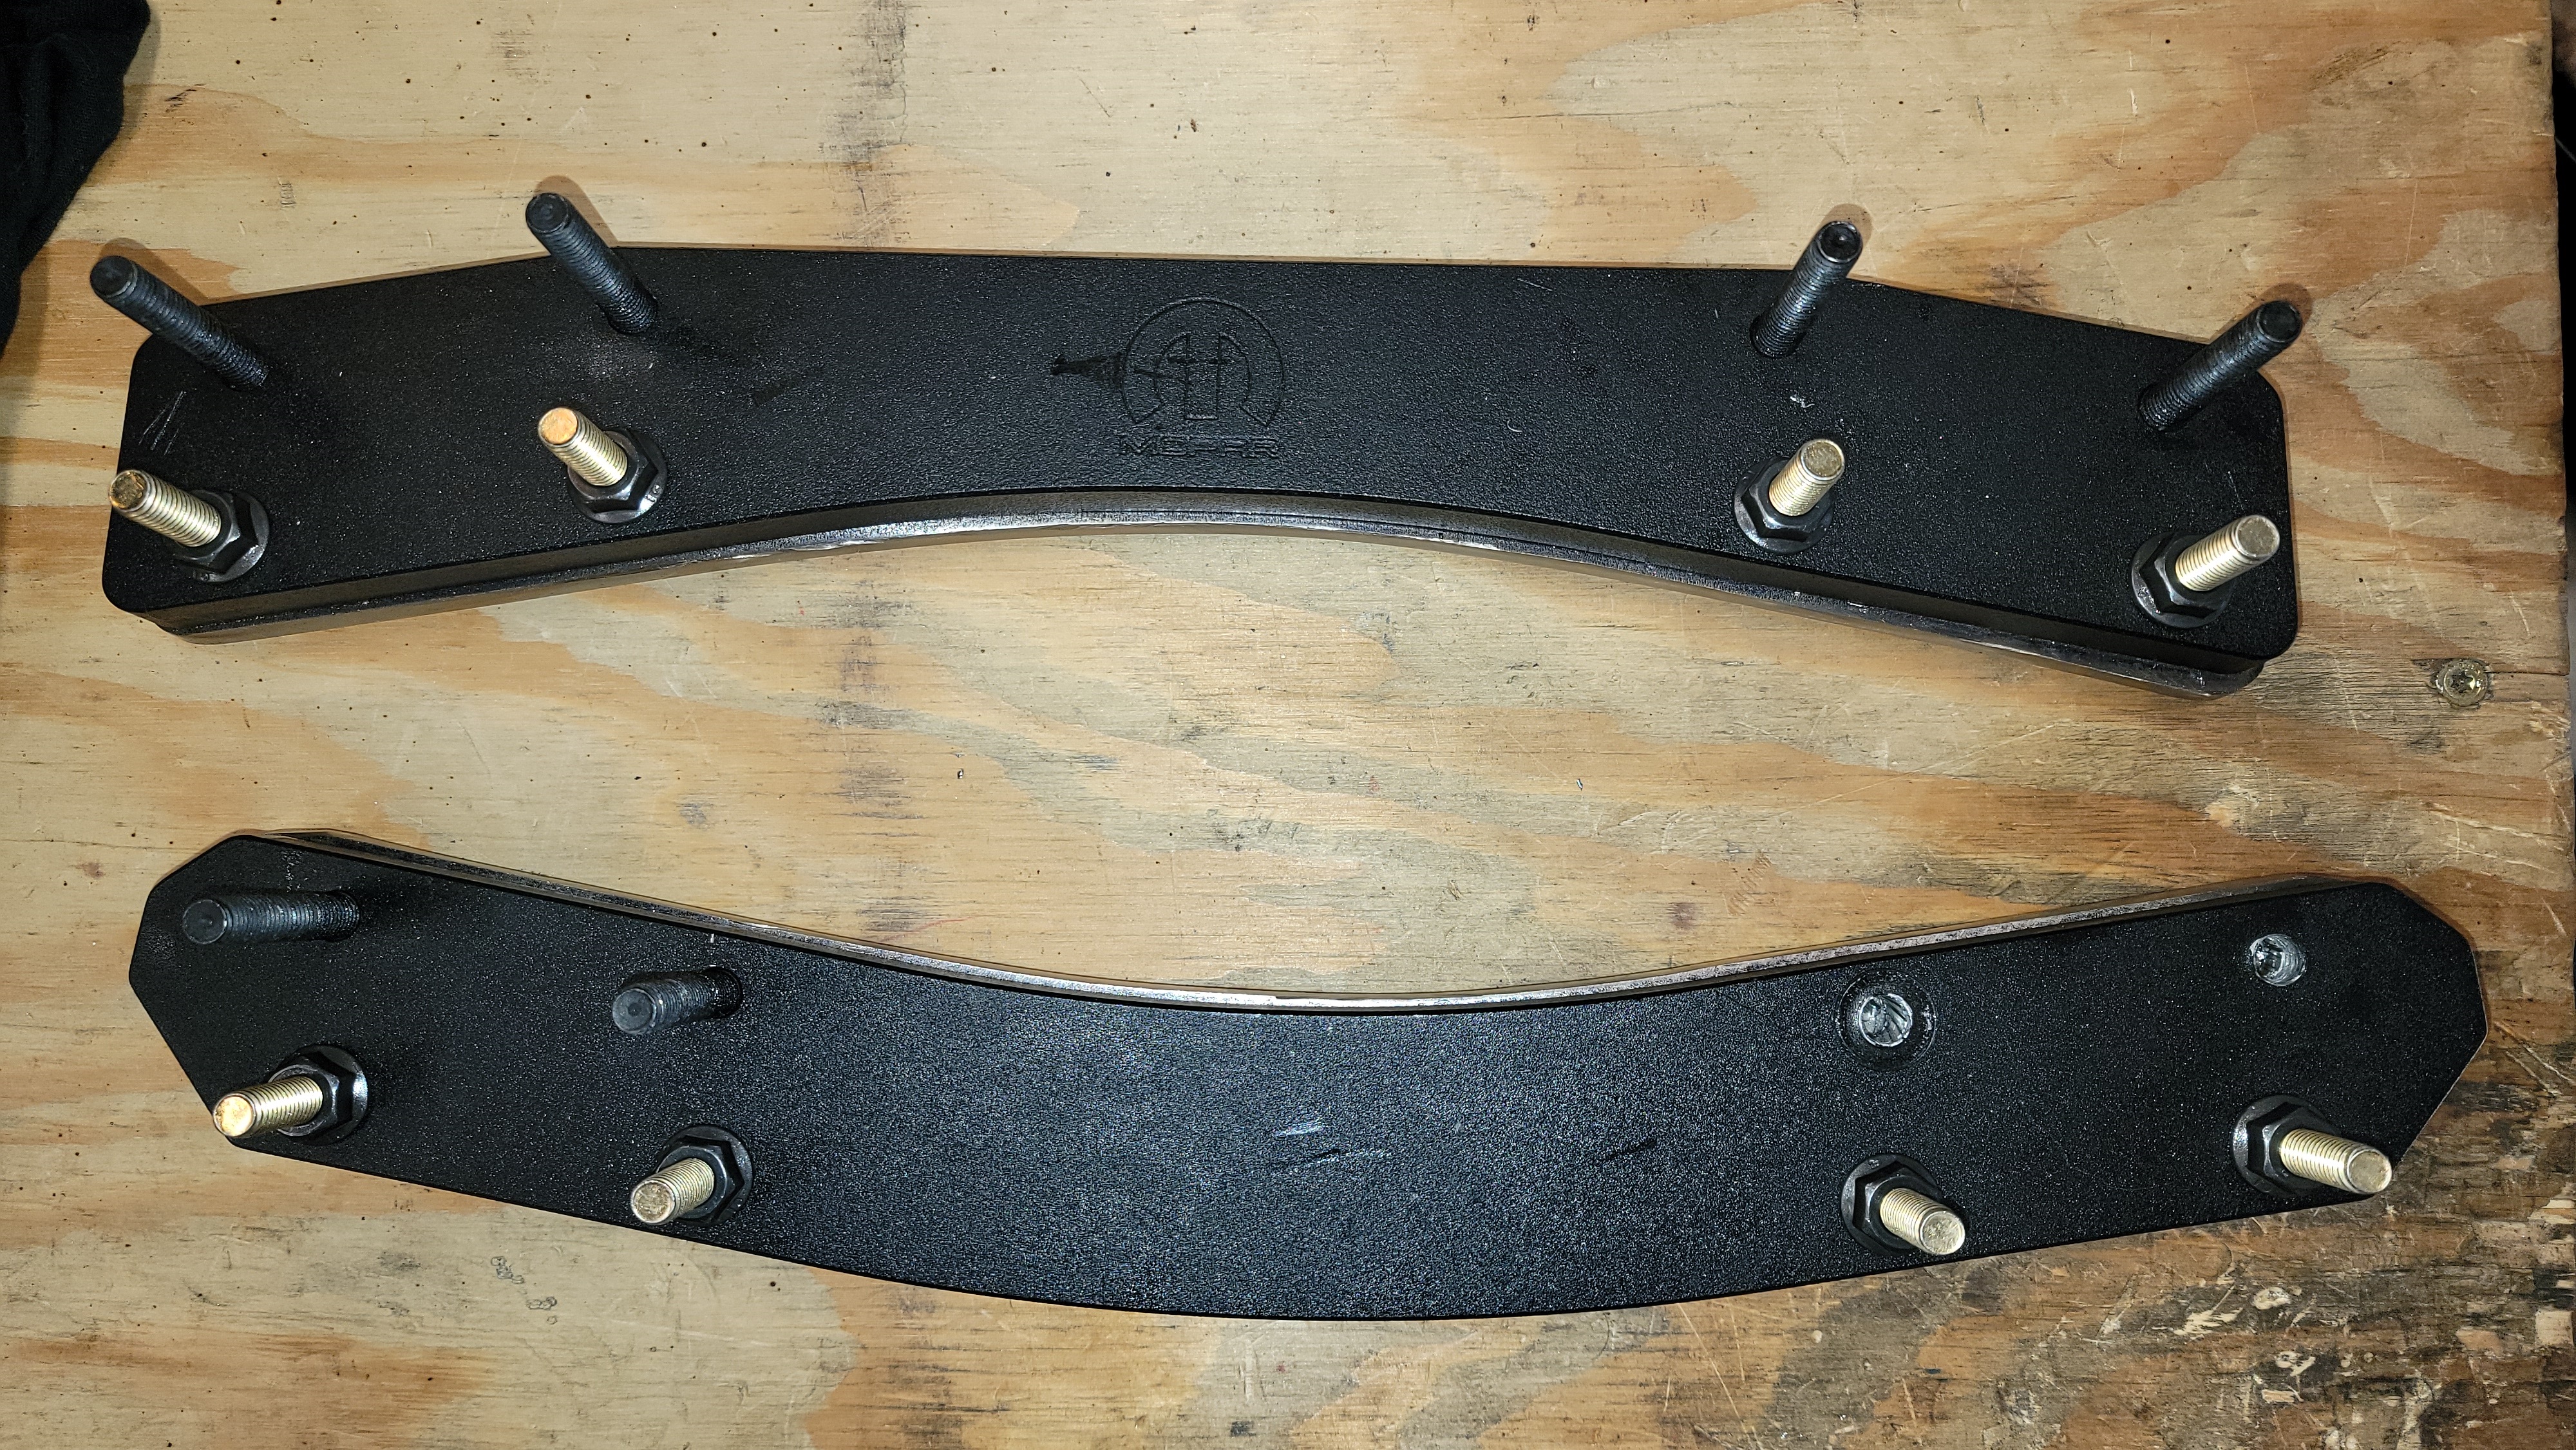
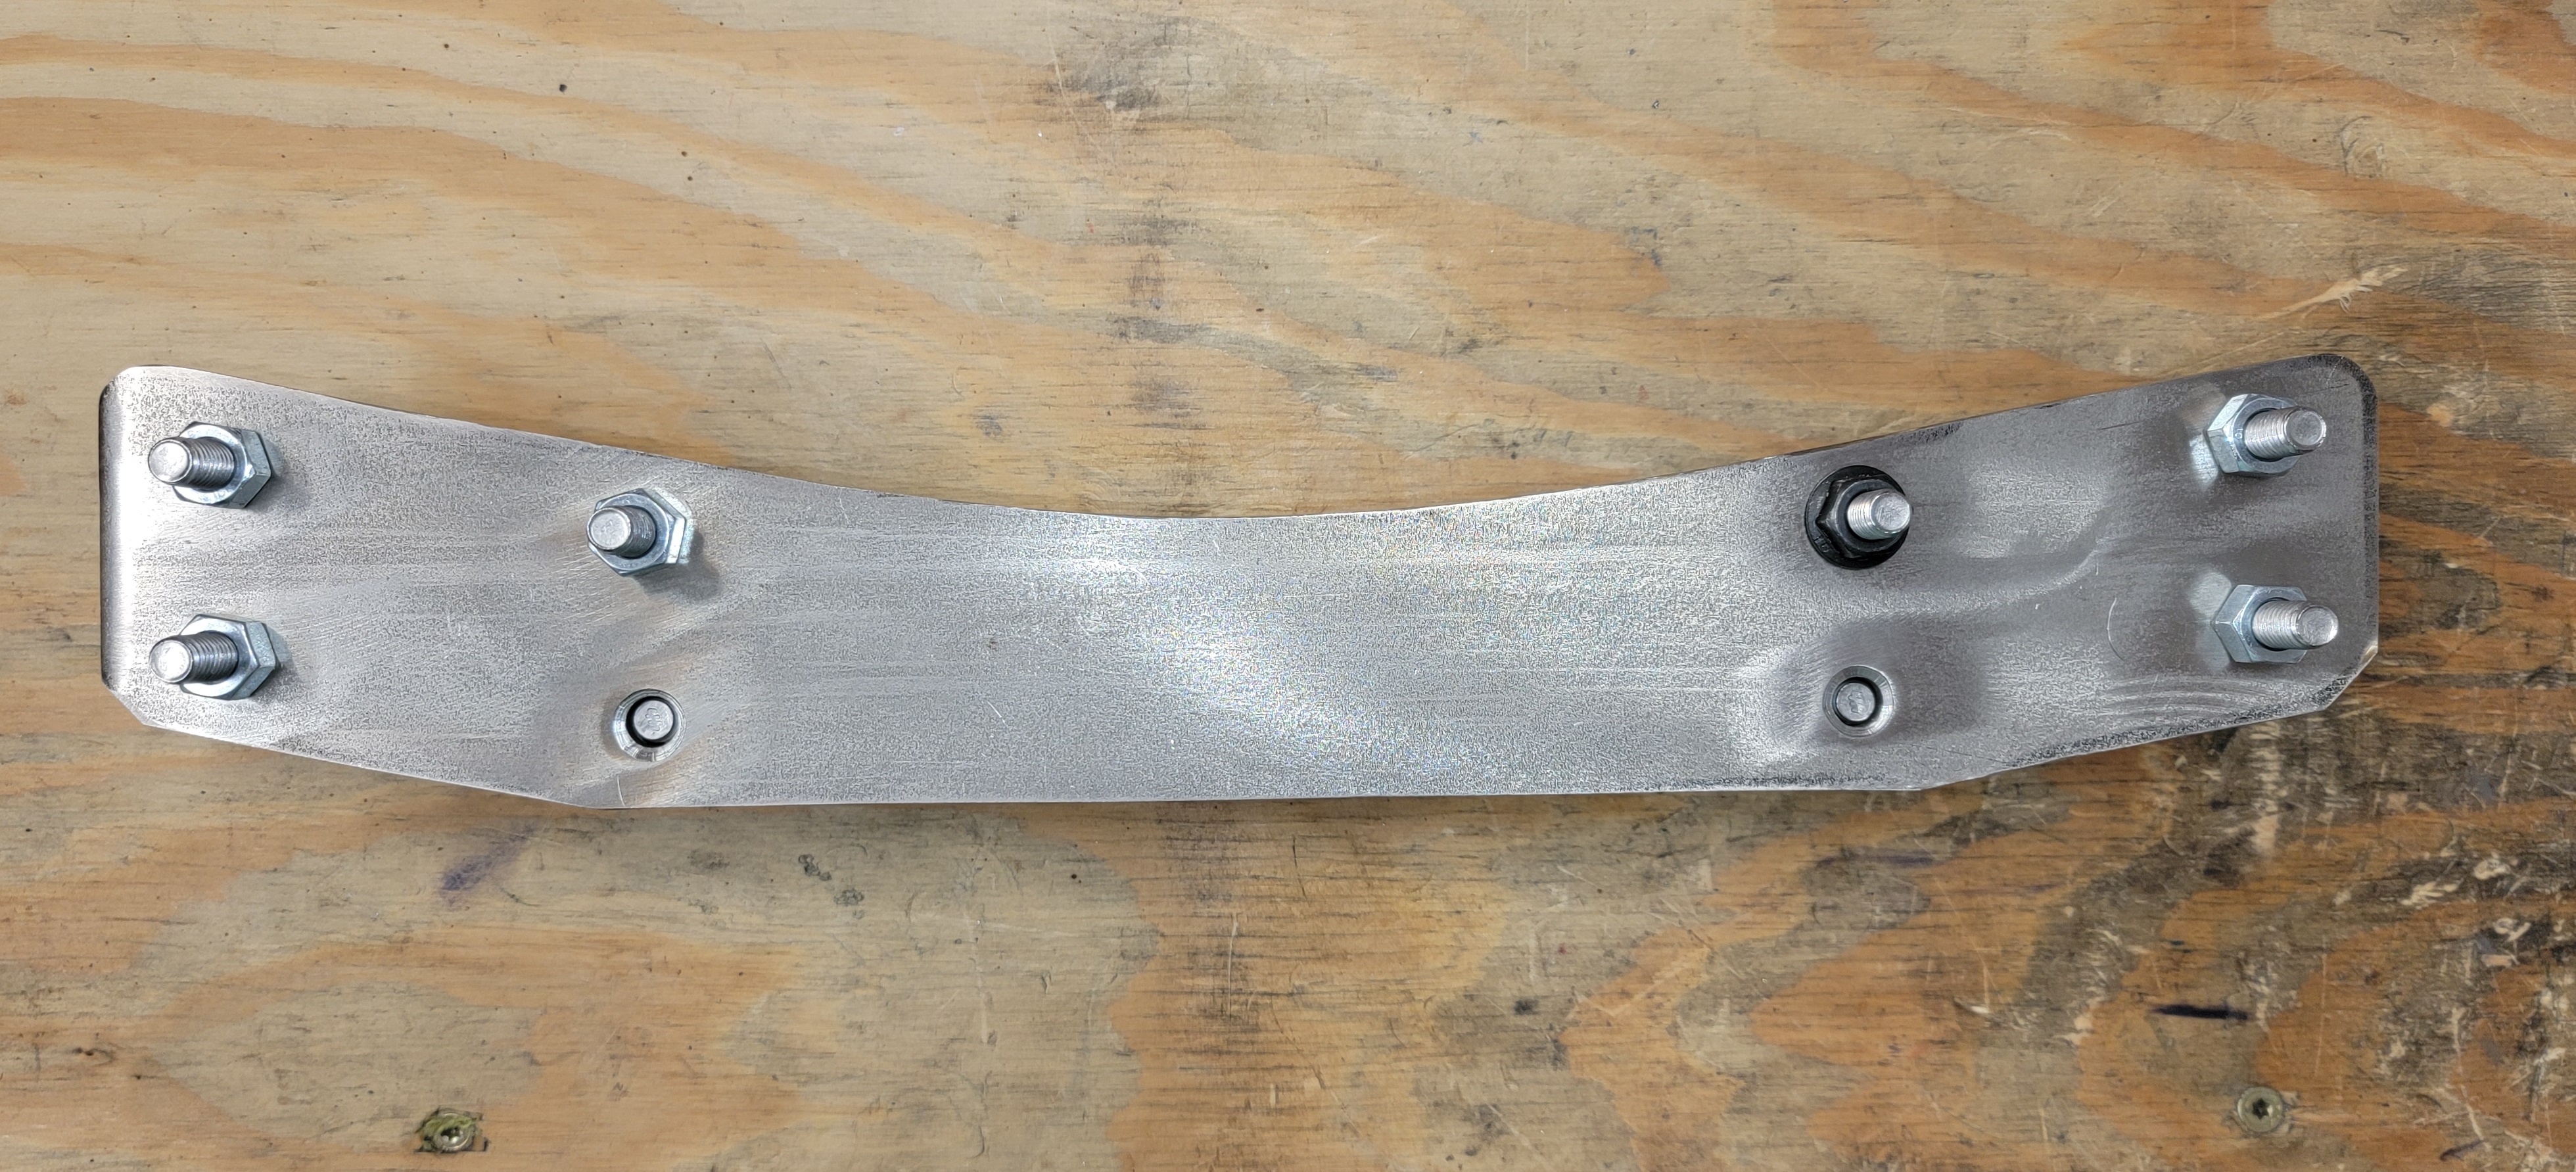
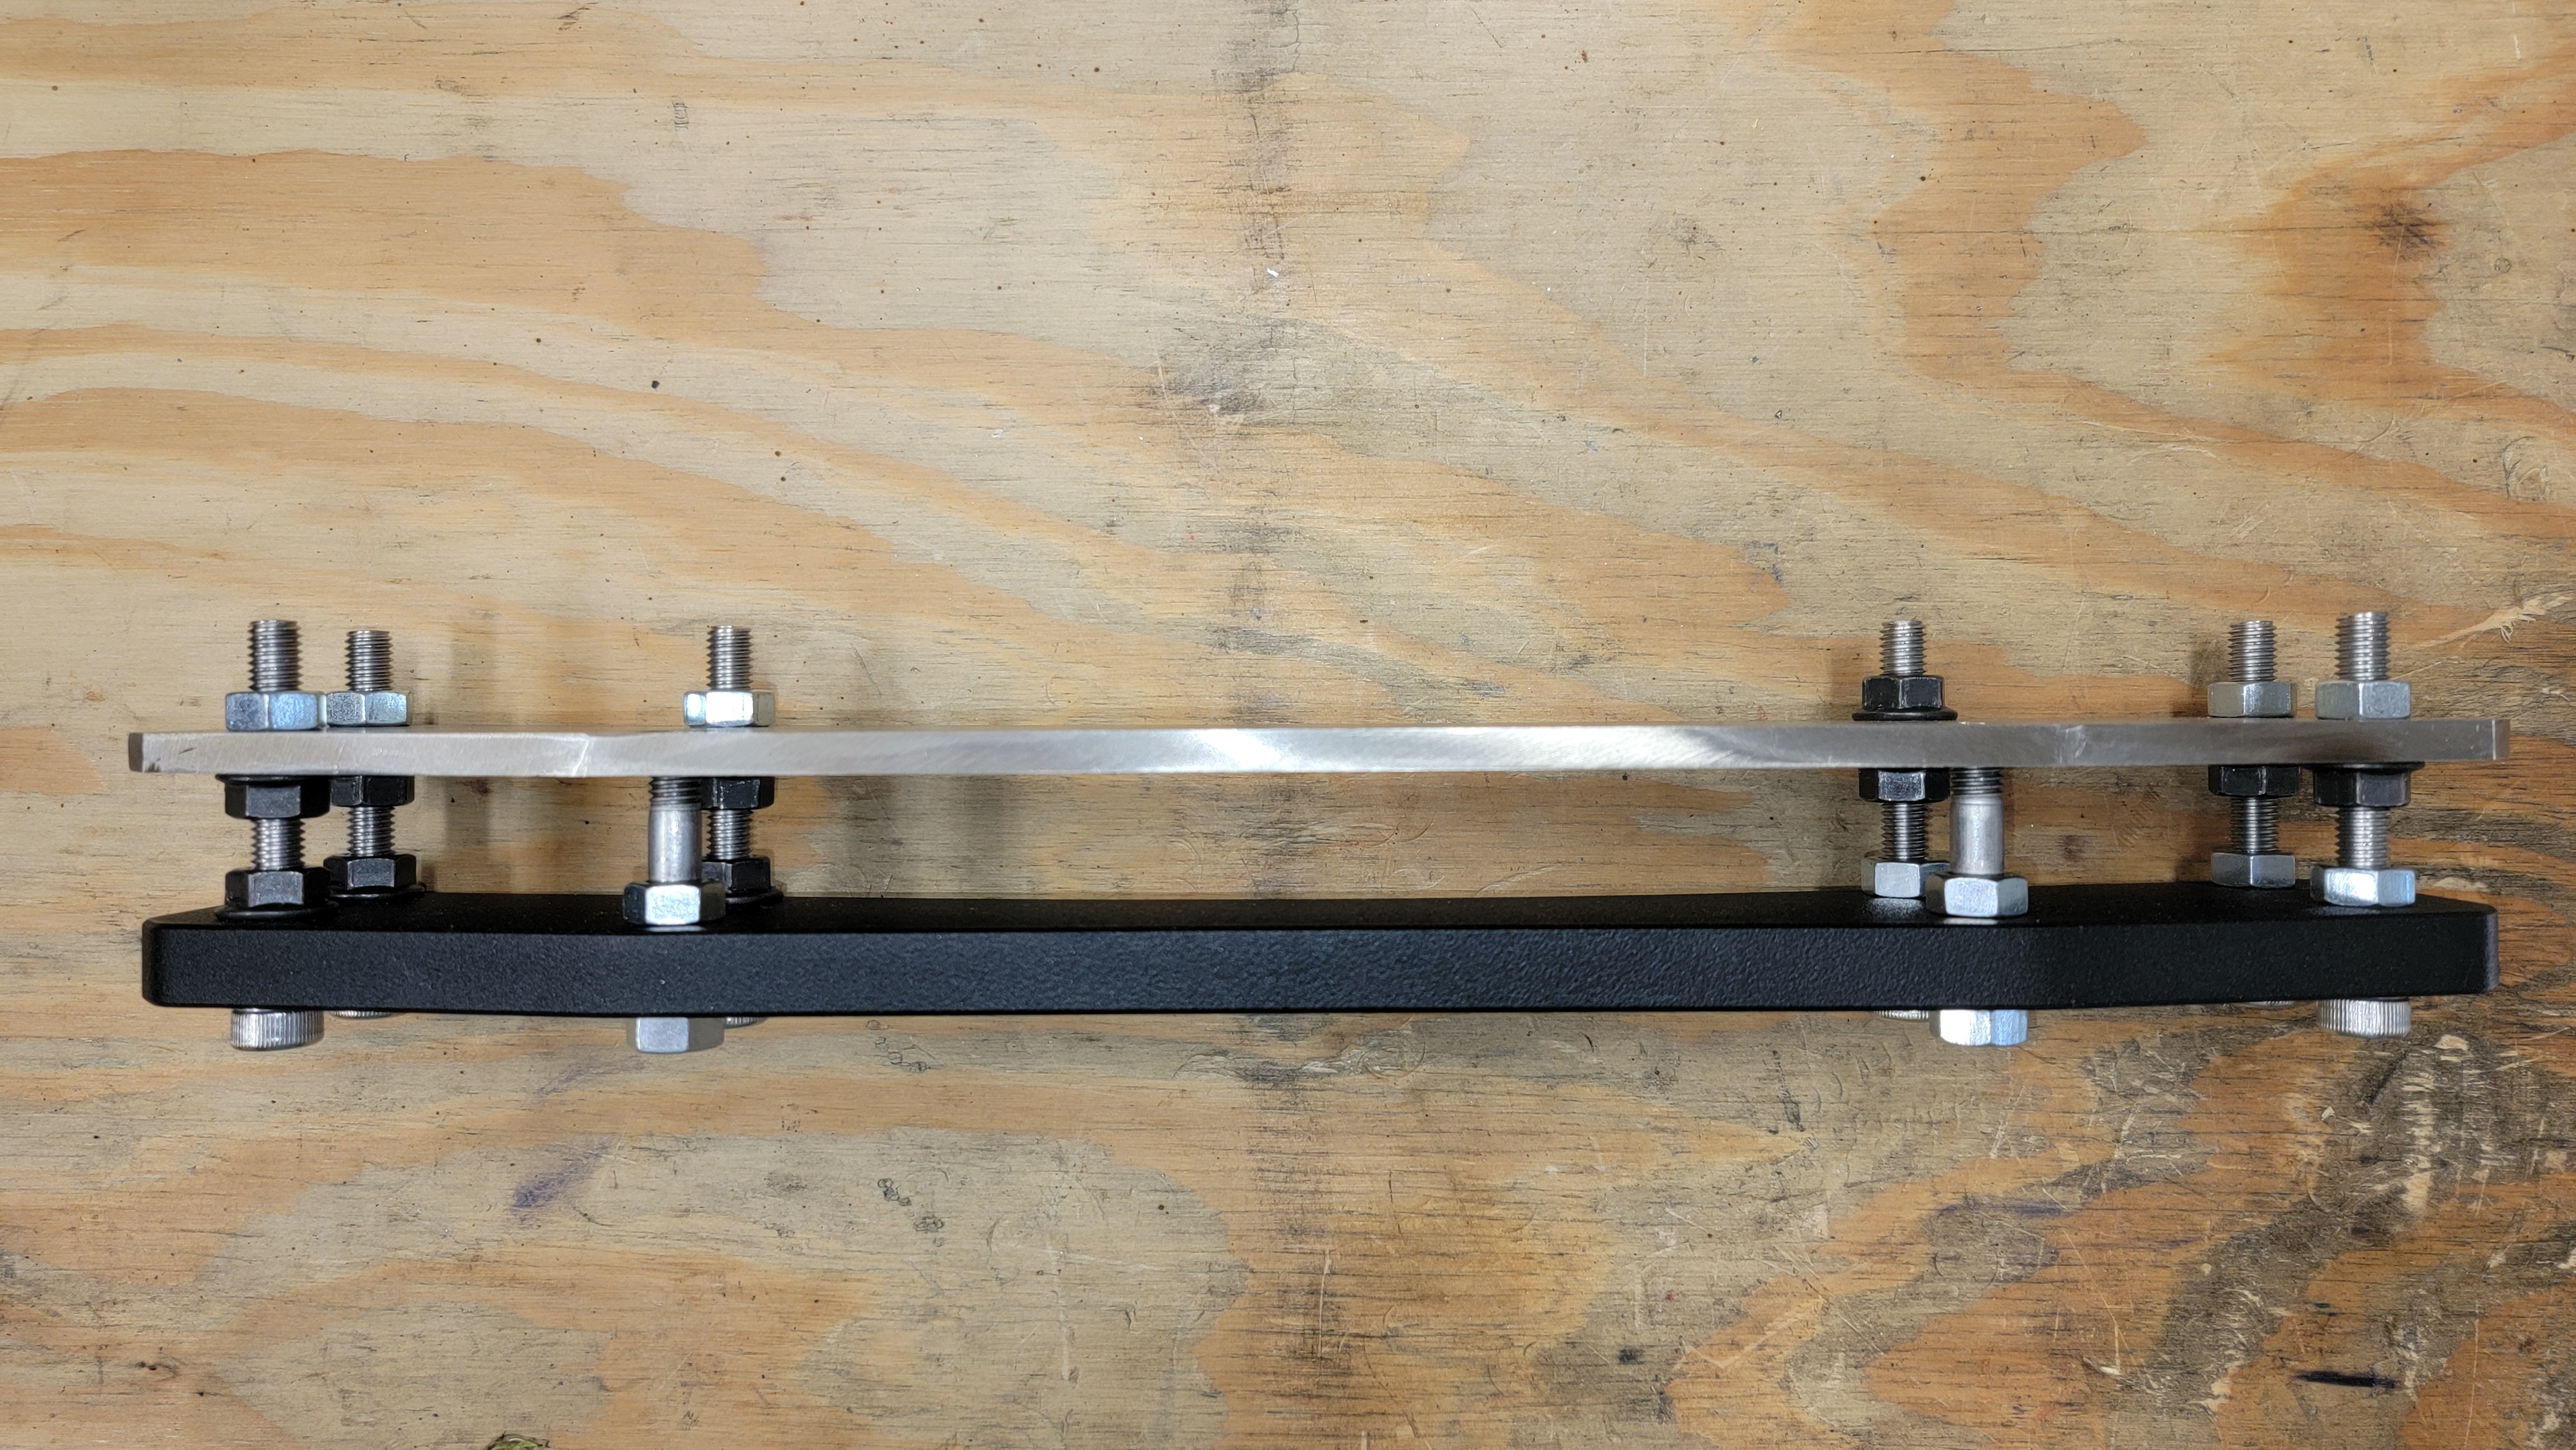
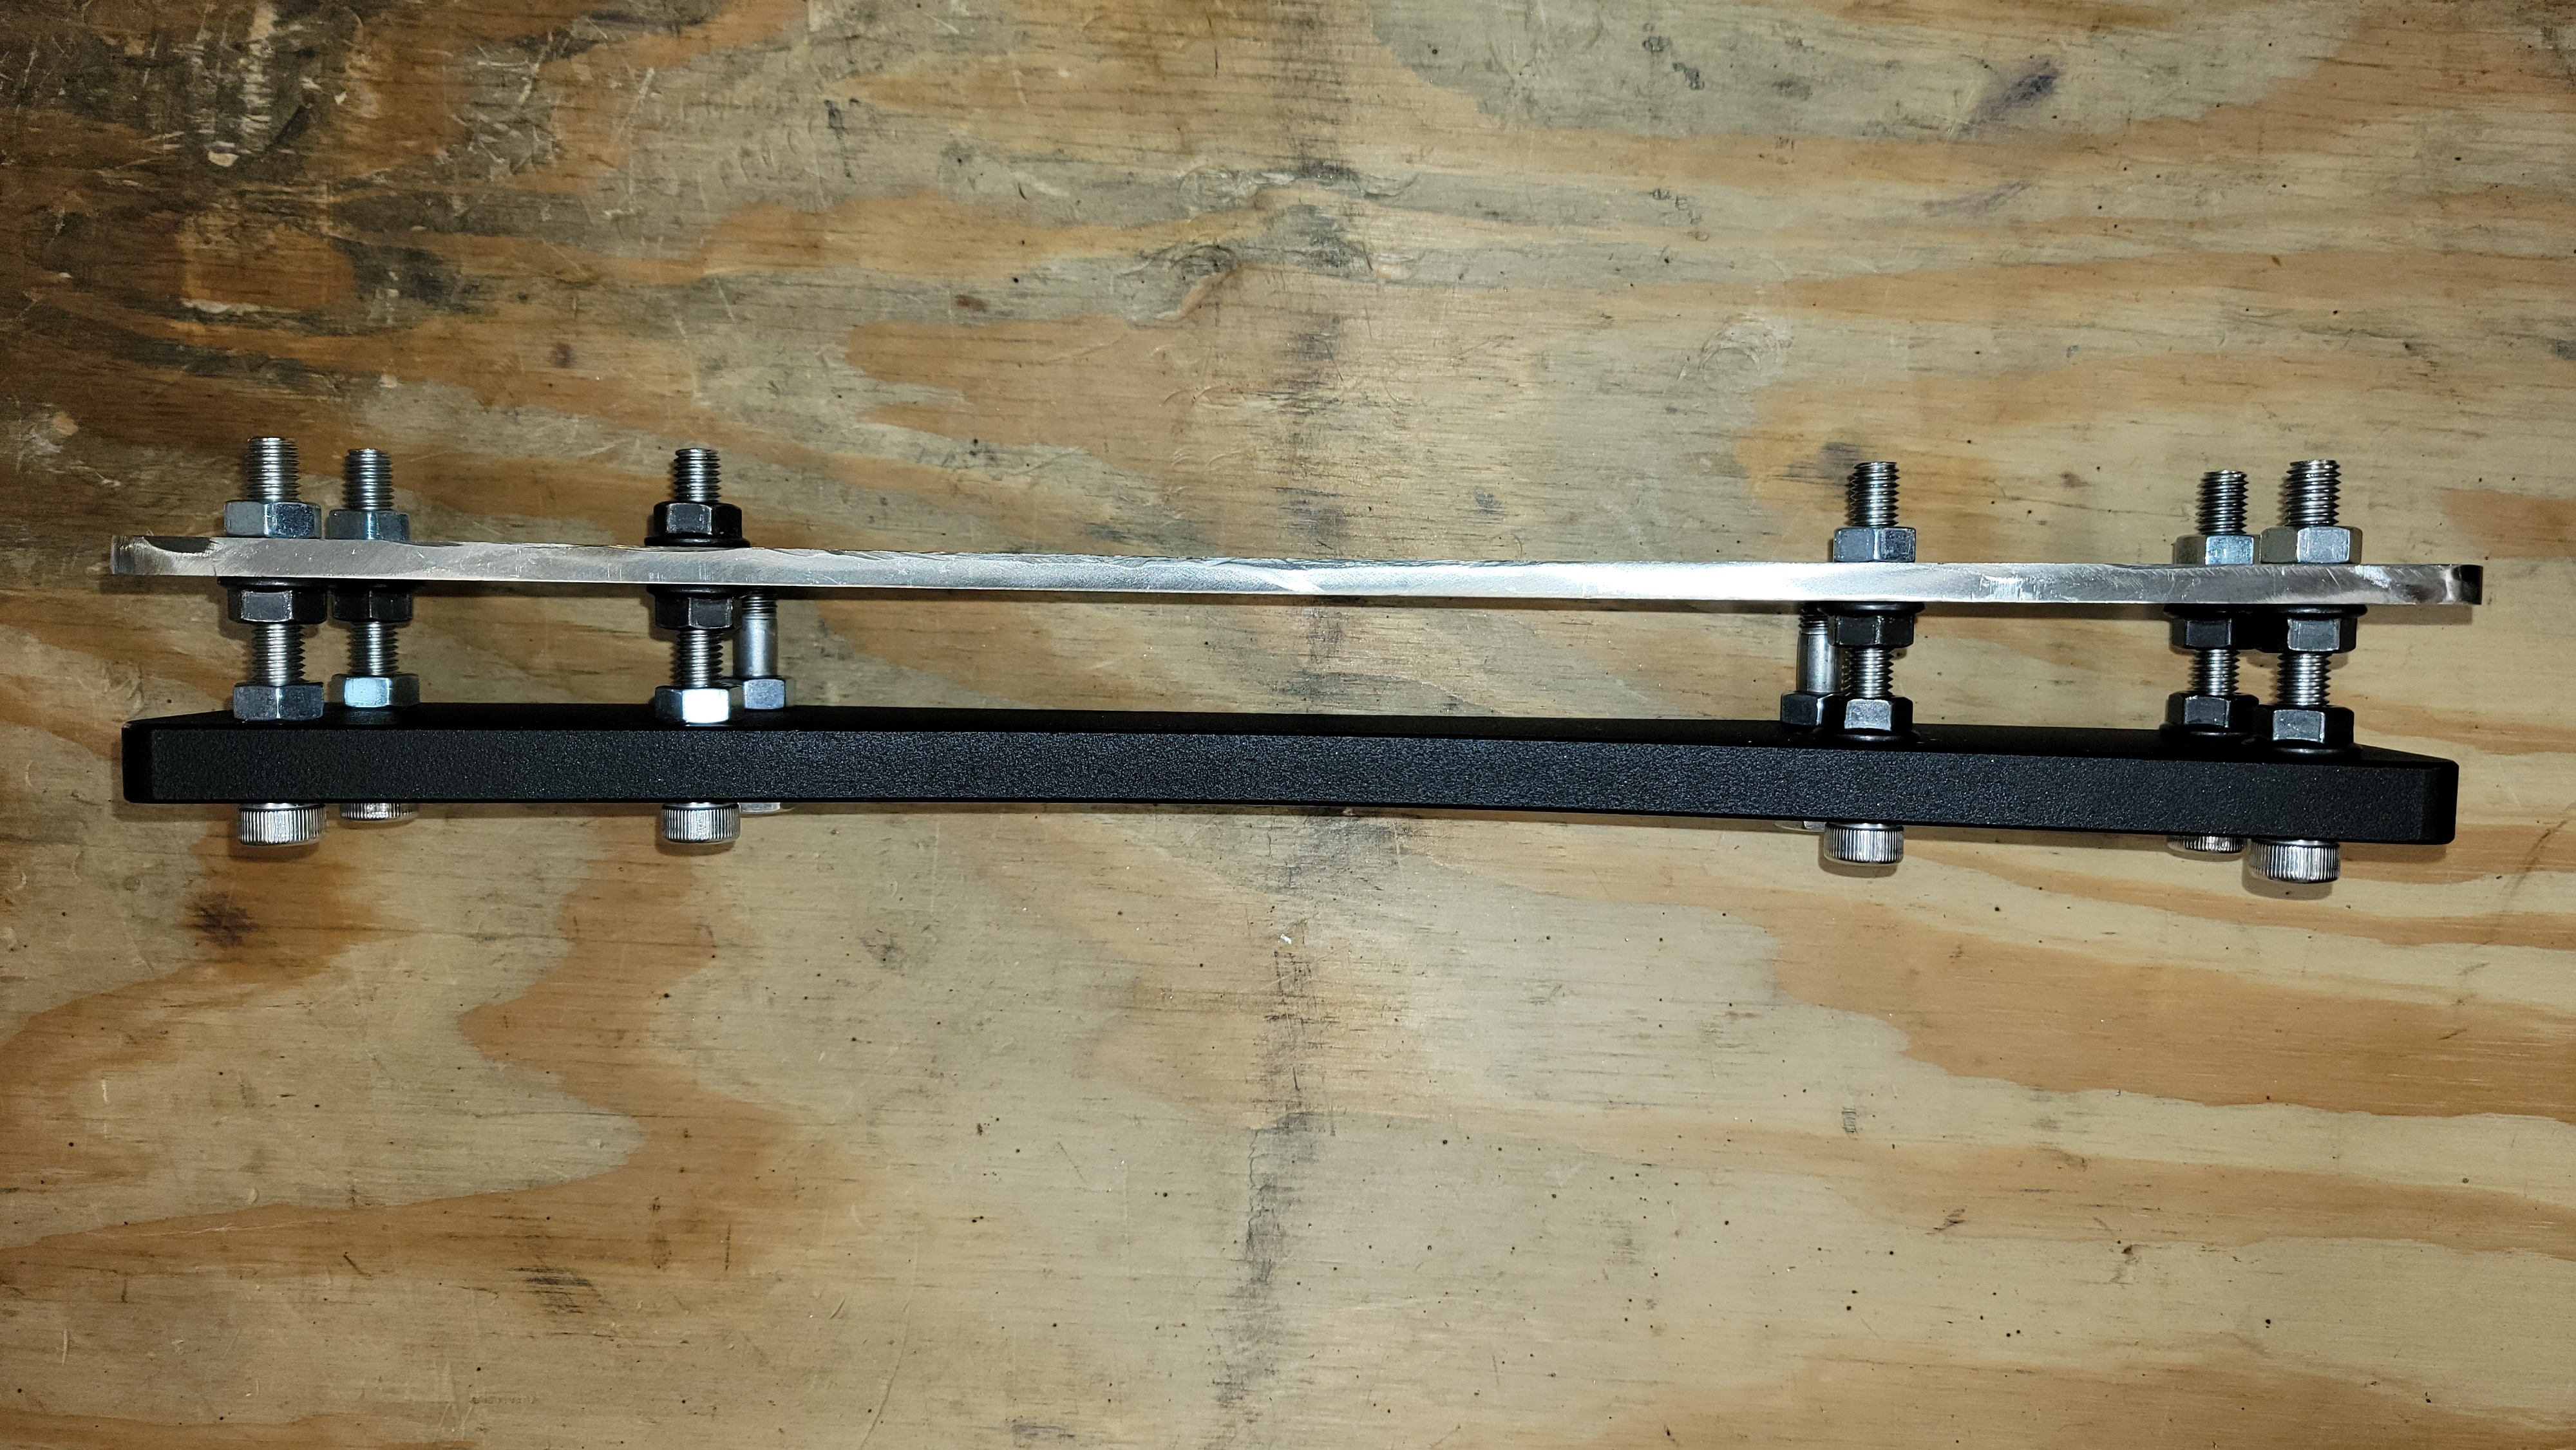
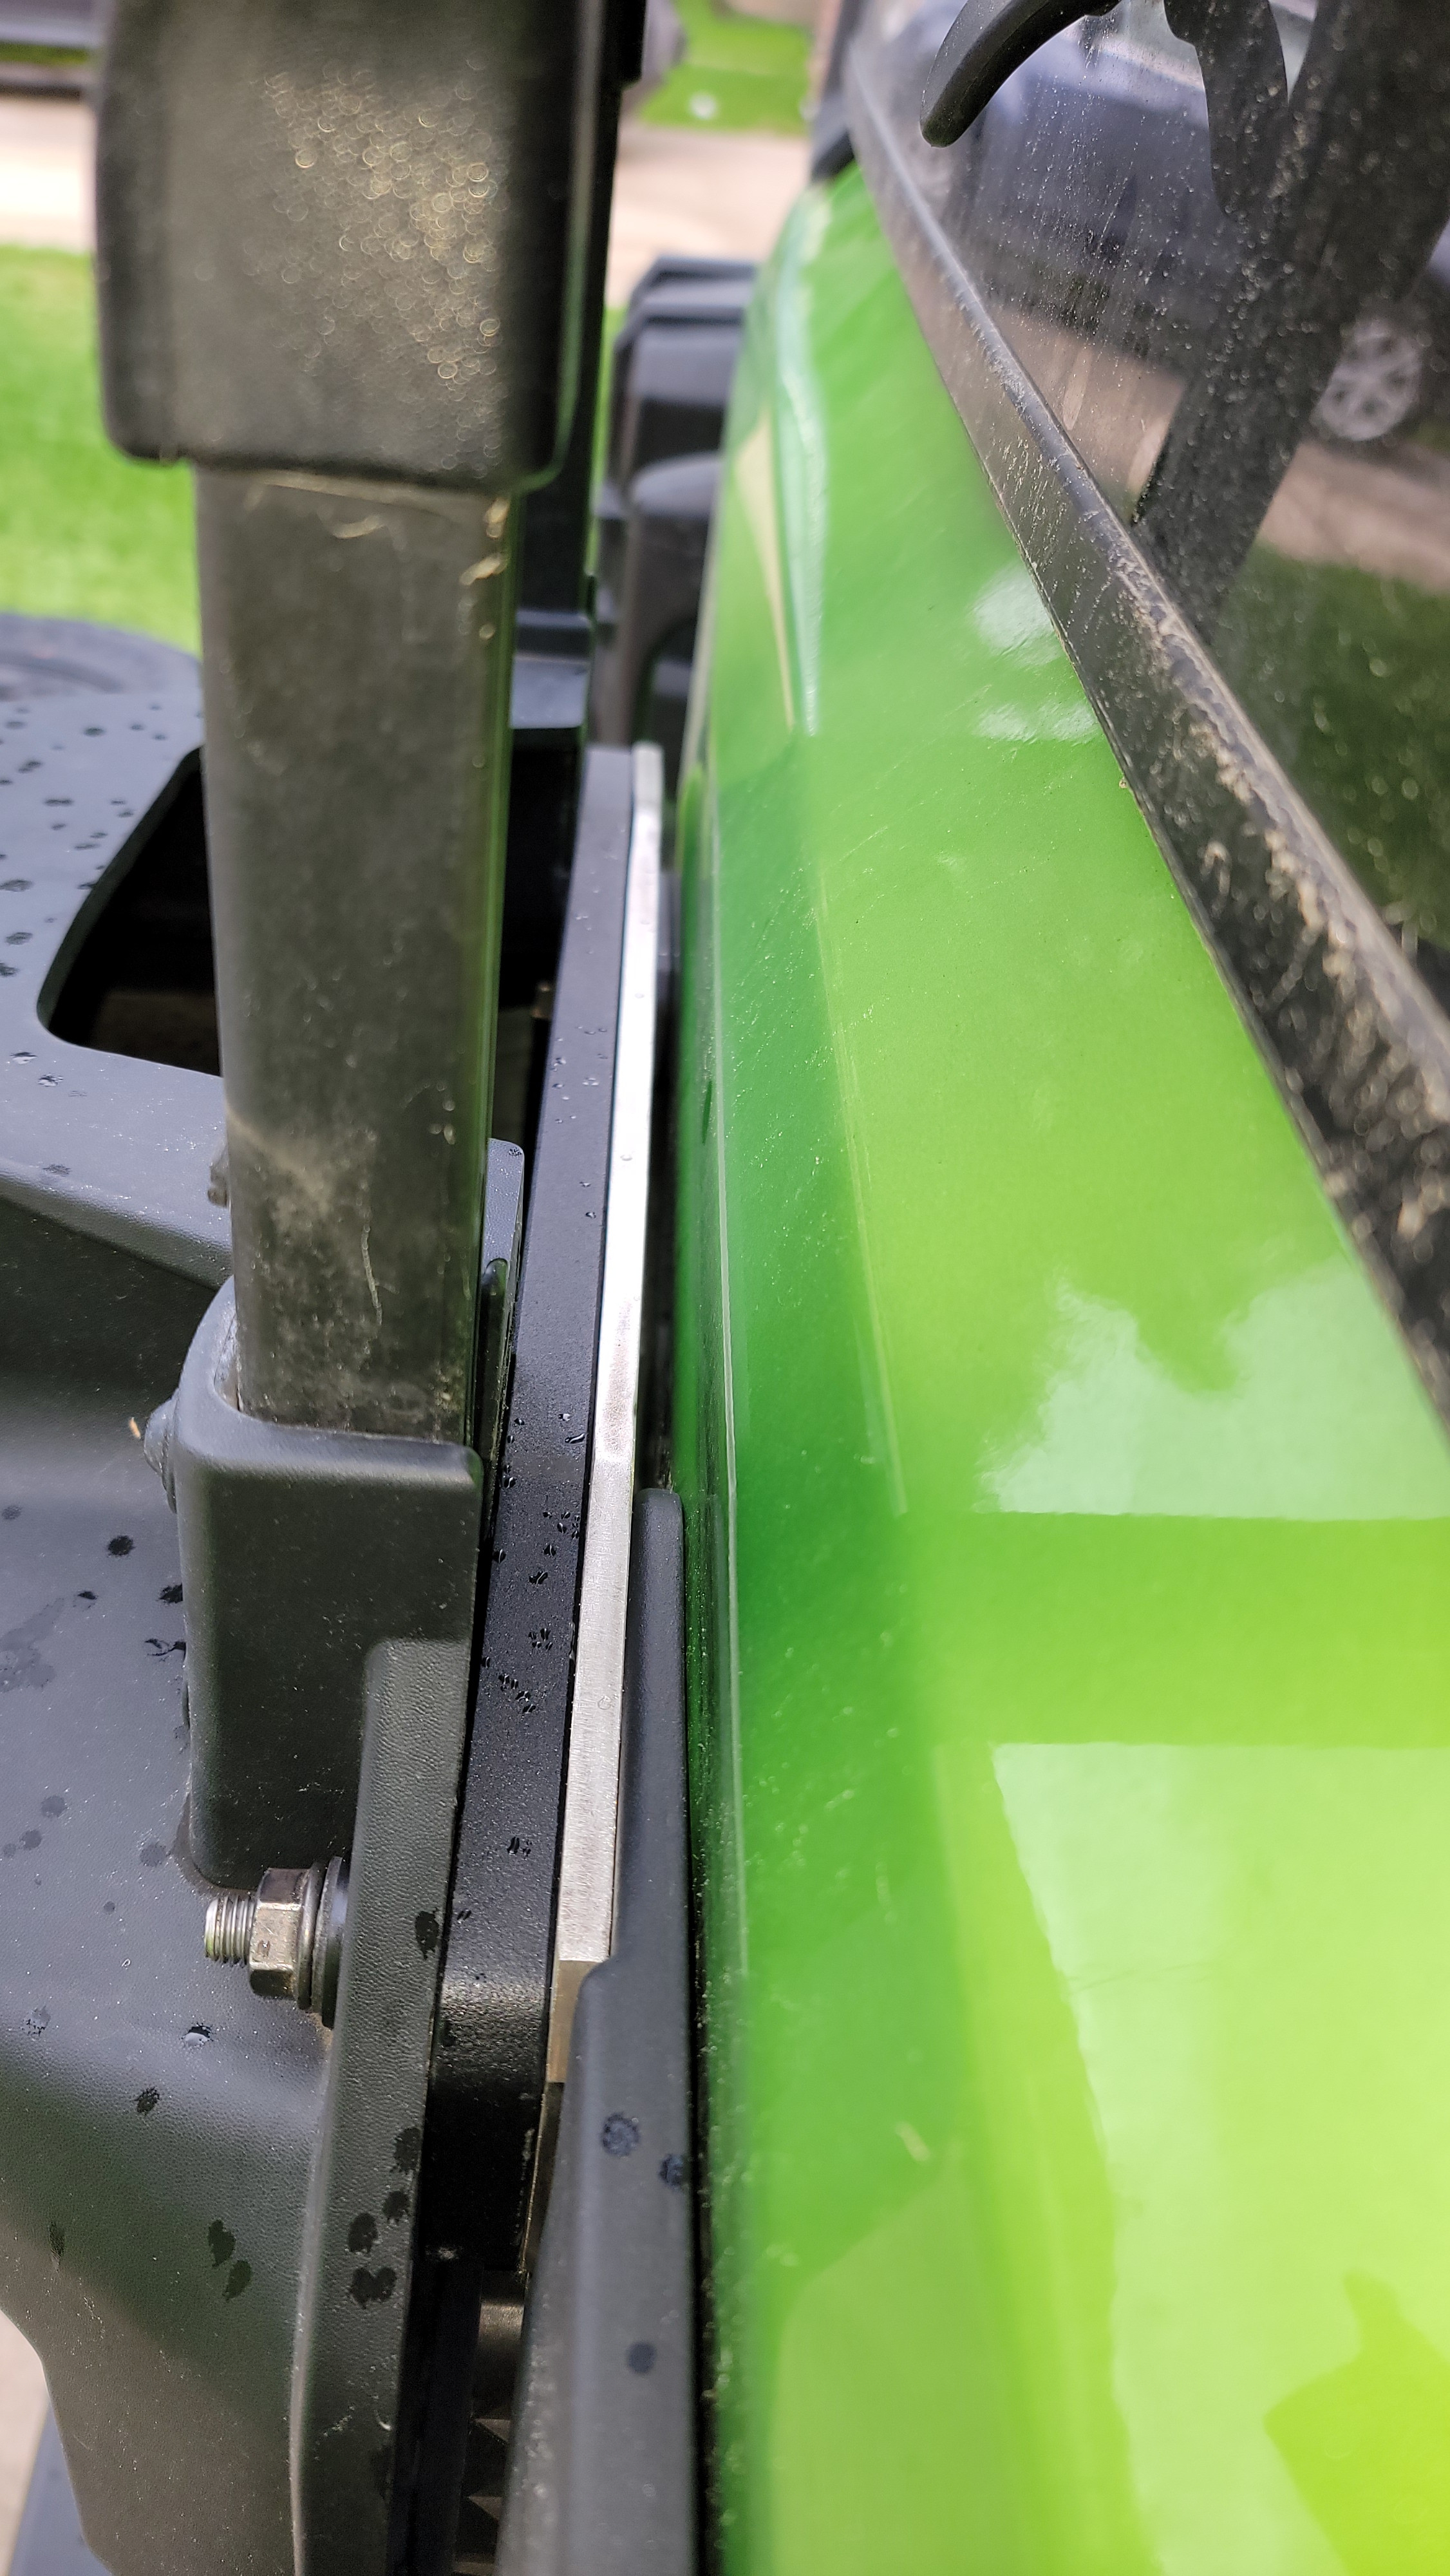
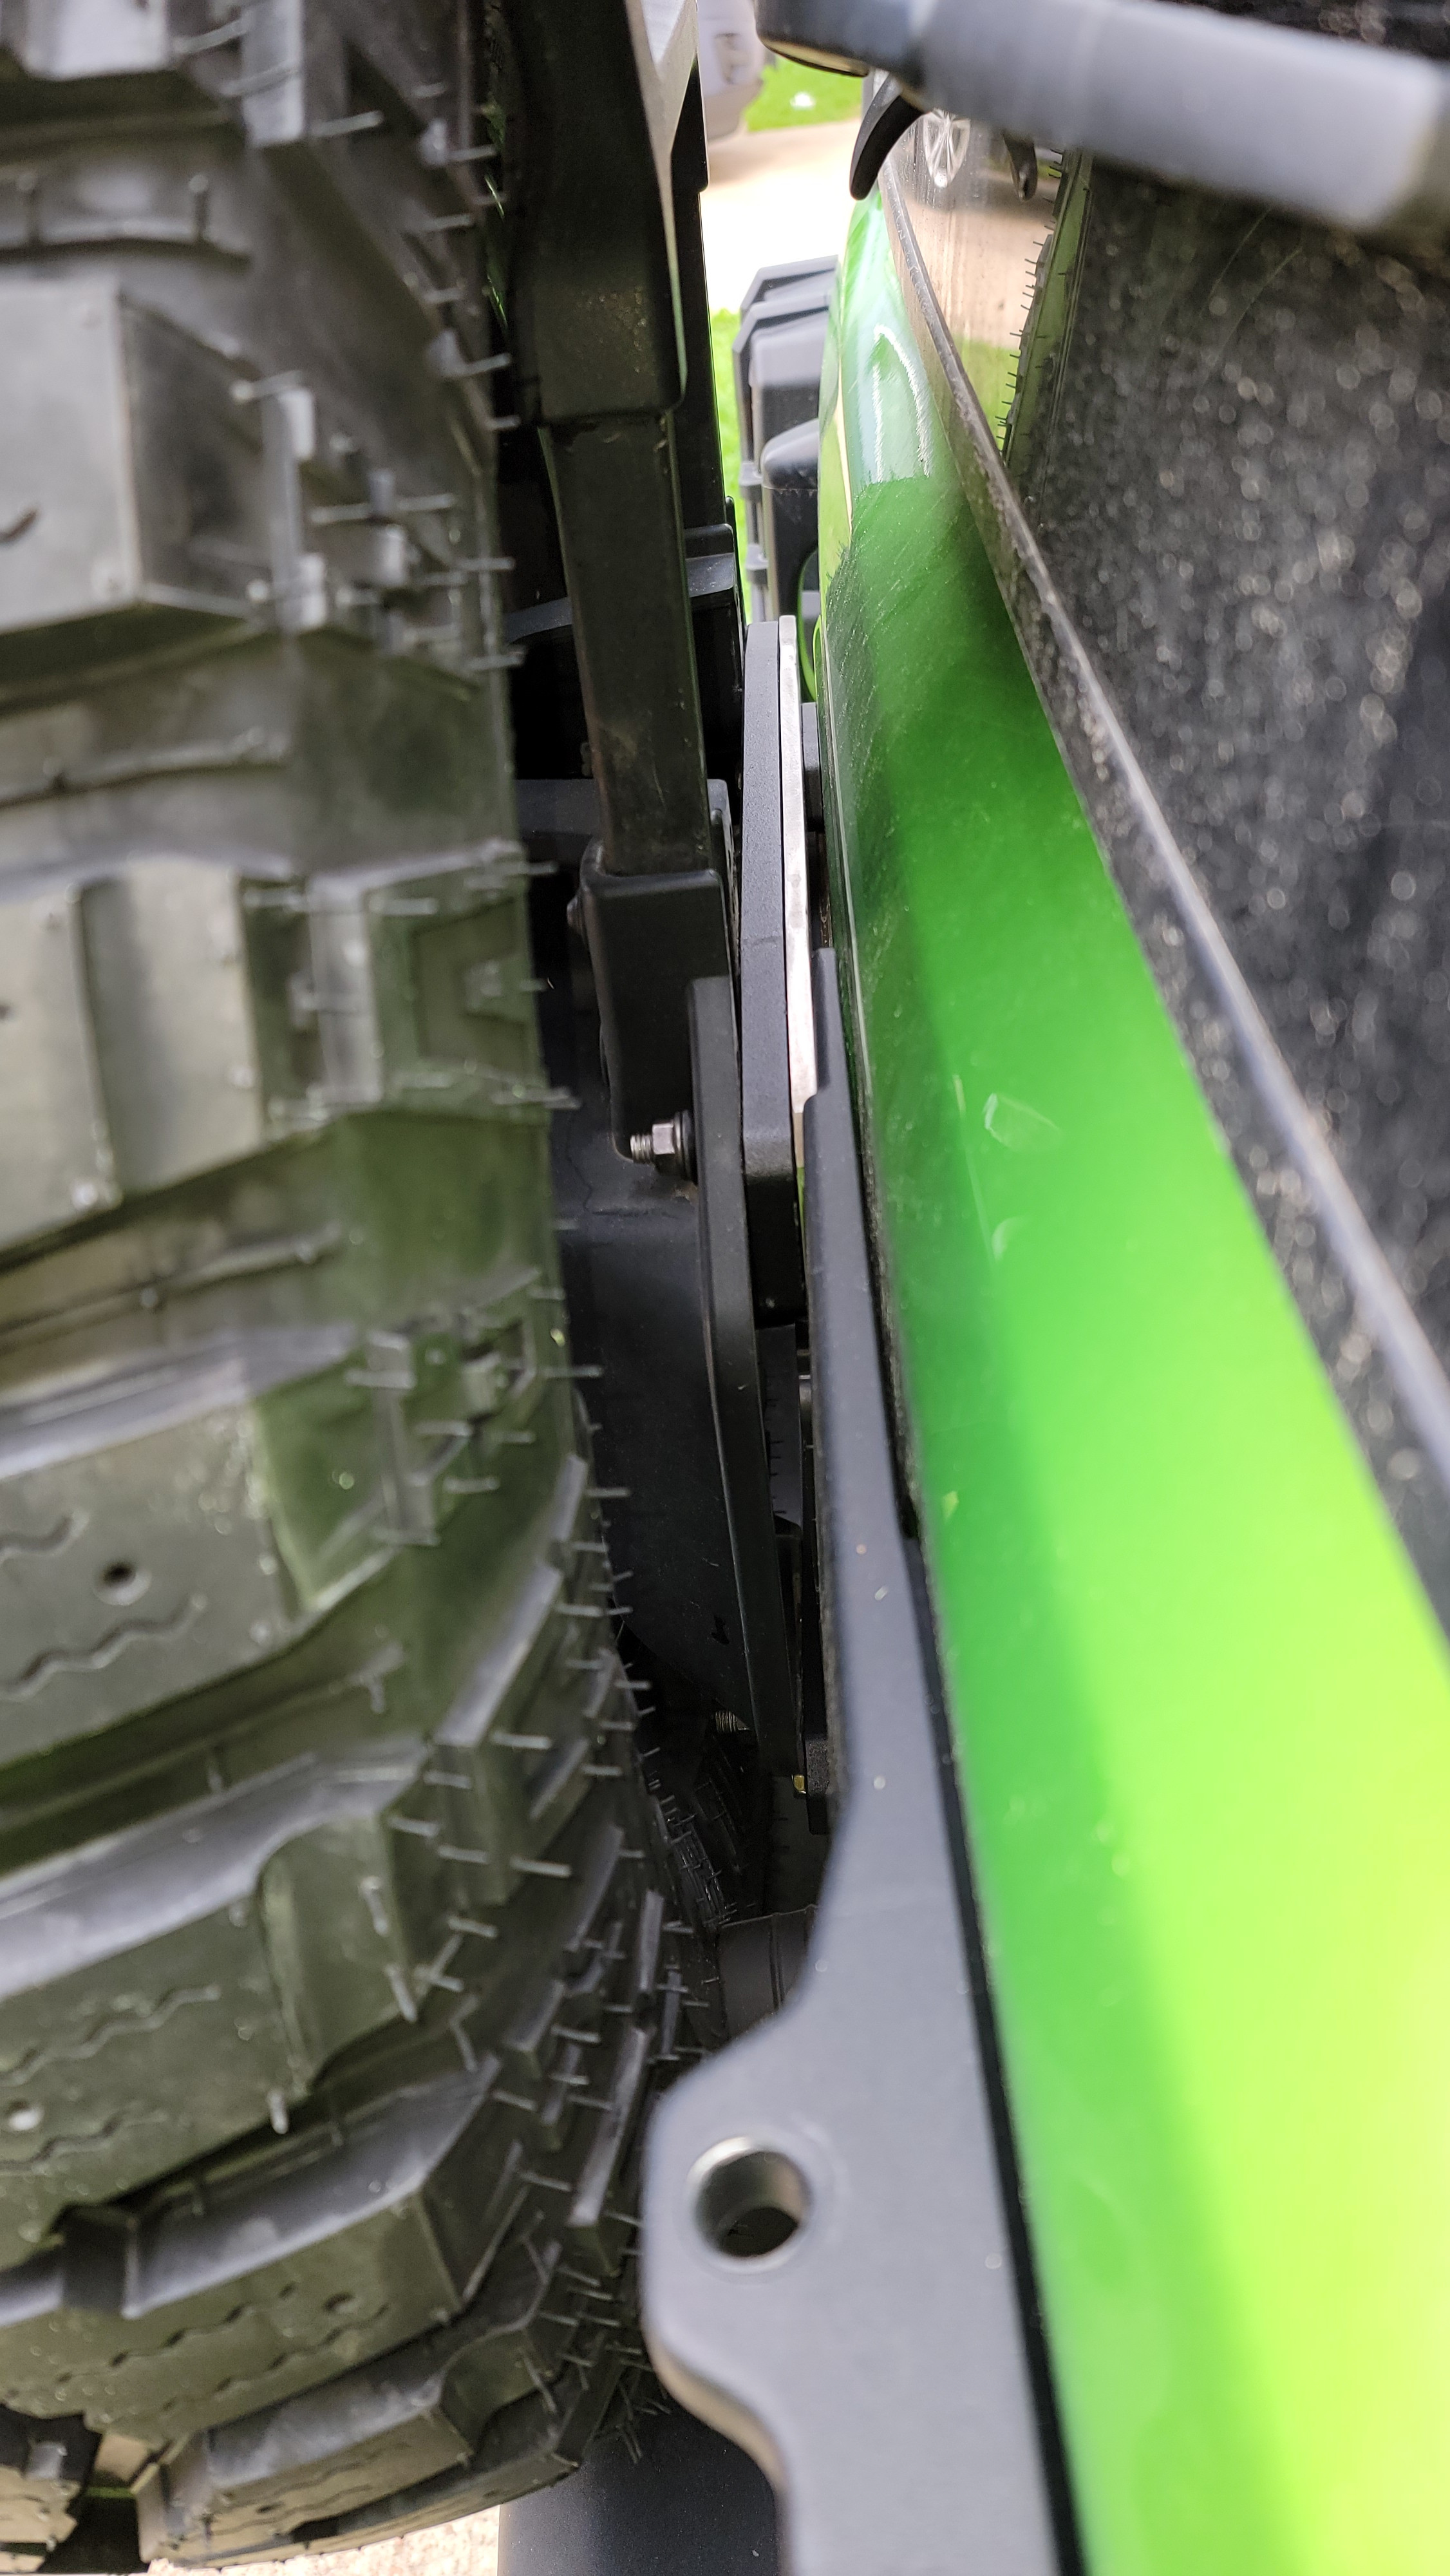
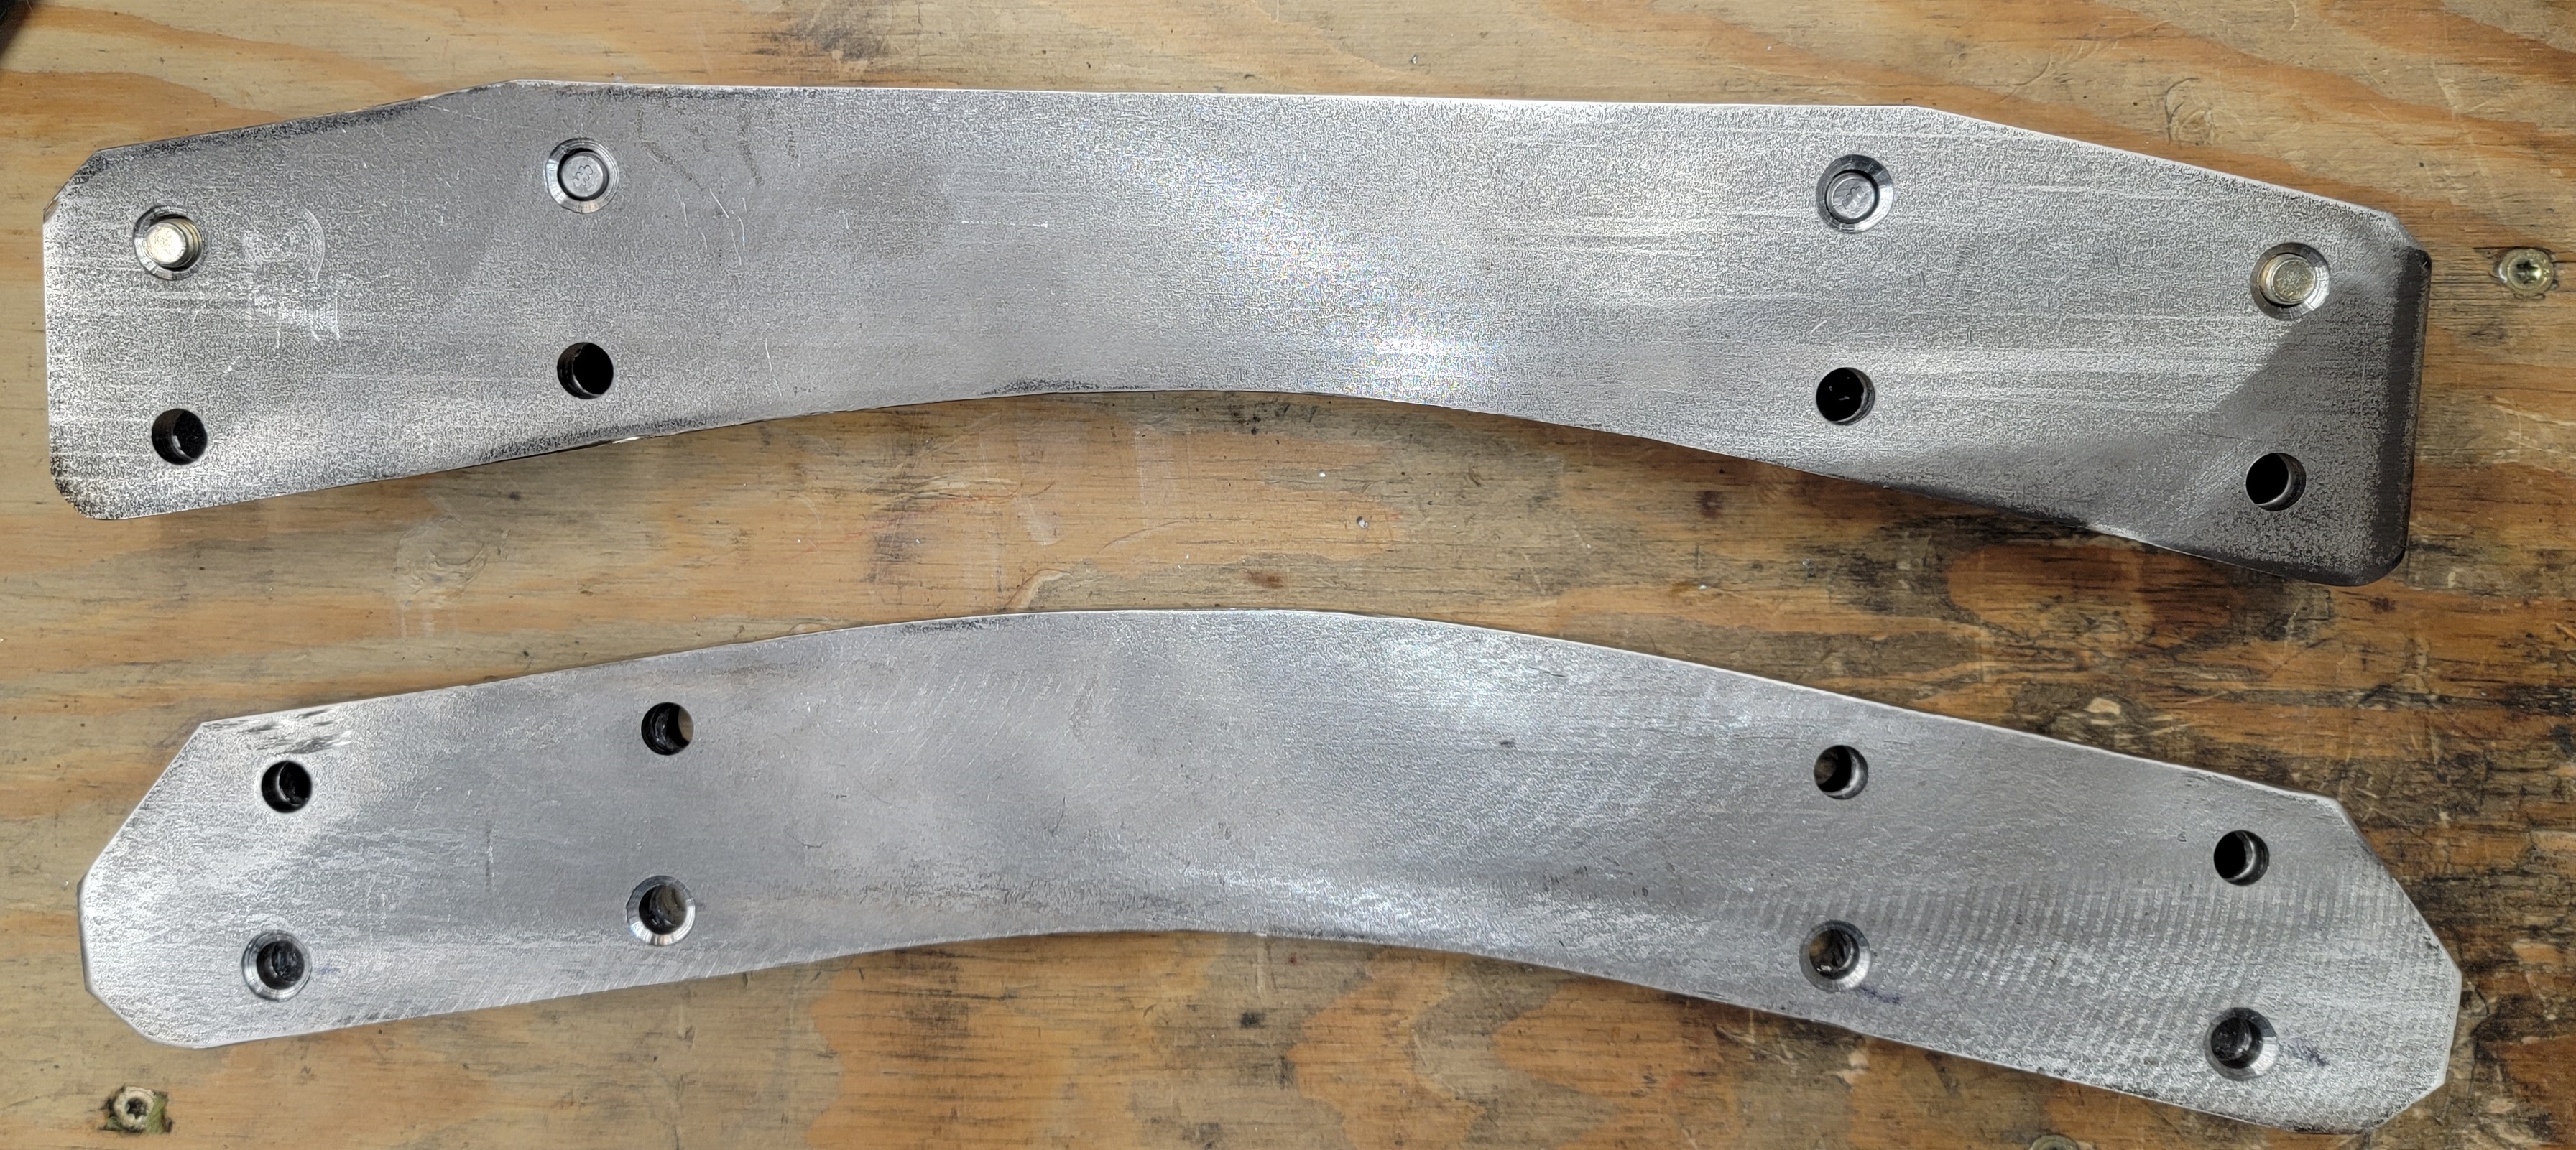
The new ones will be fabricated out of 5/16" 316L plate and will have back welded studs in it. I will pull the remaining studs from the cast aluminum pieces and use them as spacers along with the stainless plate.

I am pretty happy with how they are turning out thus far since I do not have a fab shop or a huge selection of fabrication tools.

BM6Ypp.jpg
 
Building with metal is always cool.
What car what year?
Spare tire location is where now and where is it going to be?
Good luck.
It is my 2019 Rubicon. I upgraded to 35" tires and added the Mopar Tailgate Reinforcement and the Relocation Kit. In essence, the relocation kit moves the tire up (to clear the bumper) and out (to clear the third brake light and windshield wiper).

In the second photo below, the plate that I am building out of SS goes where the thick black plate that is sandwiched between the two thinner plates. The addtion of the SS plate will move the tire another 5/16" away from the tailgate--I do not need that extra clearance, it is a bonus.

The concern is that considering how easy the stud in the aluminum pulled loose when I initially installed it., that over time with the offloading I do, the others could loosen/pull through and my tire could drop and damage the tailgate or come completely off. The stainless plate with back welded stainless studs will prevent that from happening.


K8WWIp.jpg

K8WMpR.jpg
 
Now halfway there. I need to pull the remaining studs from the aluminum and drill the stainless beneath and then fit and weld the new stainless studs into the plate.

So far so good!

BWdNa4.jpg
 
I back bored the holes where the studs will be welded to allow for good penetration. I just need to get more bolts to build a "jig" by bolting the two plates together to set the stud depth uniformly. In the top plate in the photo the second and third bolts on the top row are the actual stainless studs to be welded.

BWXA7e.jpg
 
Hey really nice work on that. Working with metal takes a different kind of grit than what I get to do with pine and plywood. Nice.
 
Hey really nice work on that. Working with metal takes a different kind of grit than what I get to do with pine and plywood. Nice.
Thanks! Once I finish the welding, I have some 120, 240, and 320 grit flap discs that I will use to smooth and polish it before installing.
 
Mocked it up in a jig, just need to tweak the spacing all the way around and fire up the welder. Almost there!

Bhv7qu.jpg

BhvvmN.jpg

Bhvkep.jpg
 
All done now! Very happy with the way they turned out given that I cut these from 1/4" 316L plate with a 4-1/2" grinder and a HF 1/16" thick cut-off disk and drilled the holes with a HF 10" benchtop drill press using HF titanium nitride drill bits and Tap-Magic.

The tailgate of the Jeep should fall off before these studs pull through. Now to get it mounted and to he-man that 35" tire back onto the carrier.


BOagg1.jpg

BOaU0P.jpg
 
Now mounted with grade 10.9 flange bolts and flange nuts. Very happy with this project as I am able to keep the stock look and feel, but the underpinnings are as strong as possible.


BeOgln.jpg

BeO8Pt.jpg

BeOvVI.jpg

BeOUKX.jpg

BeOrSs.jpg

BeOiN4.jpg
 
Top