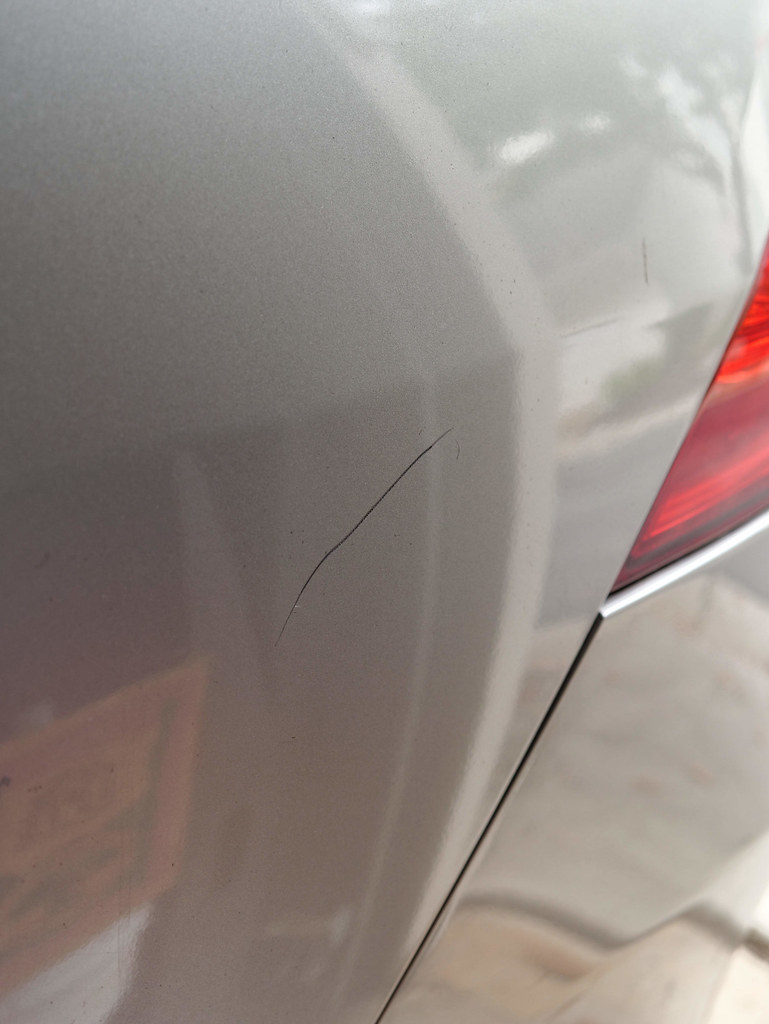
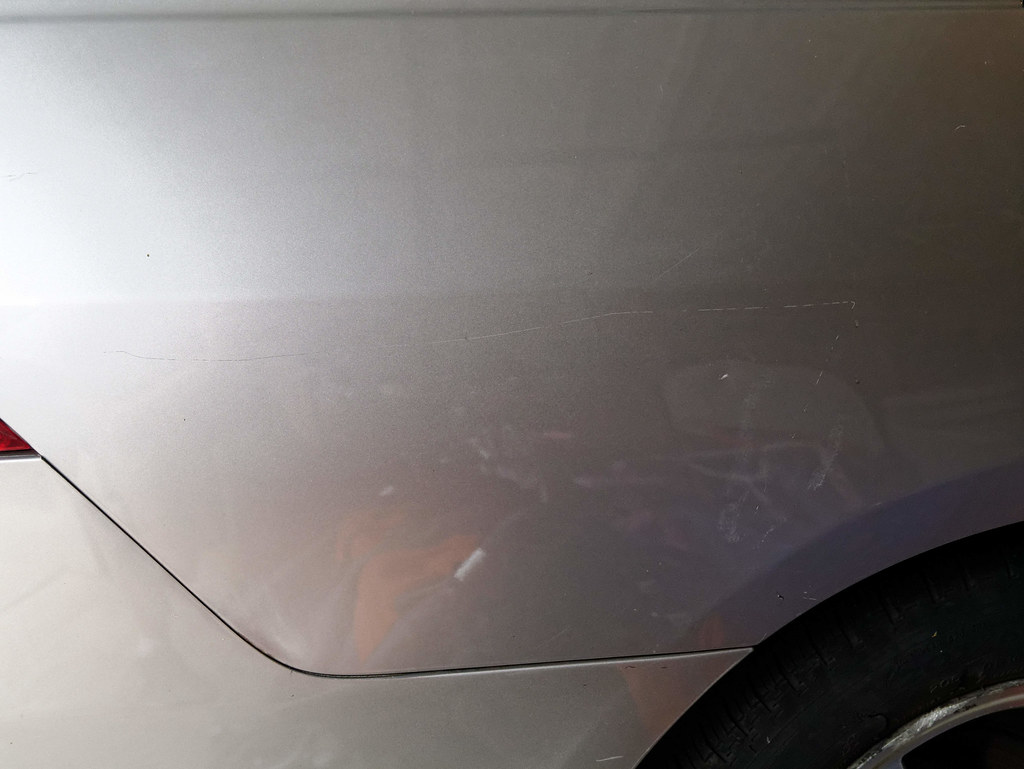
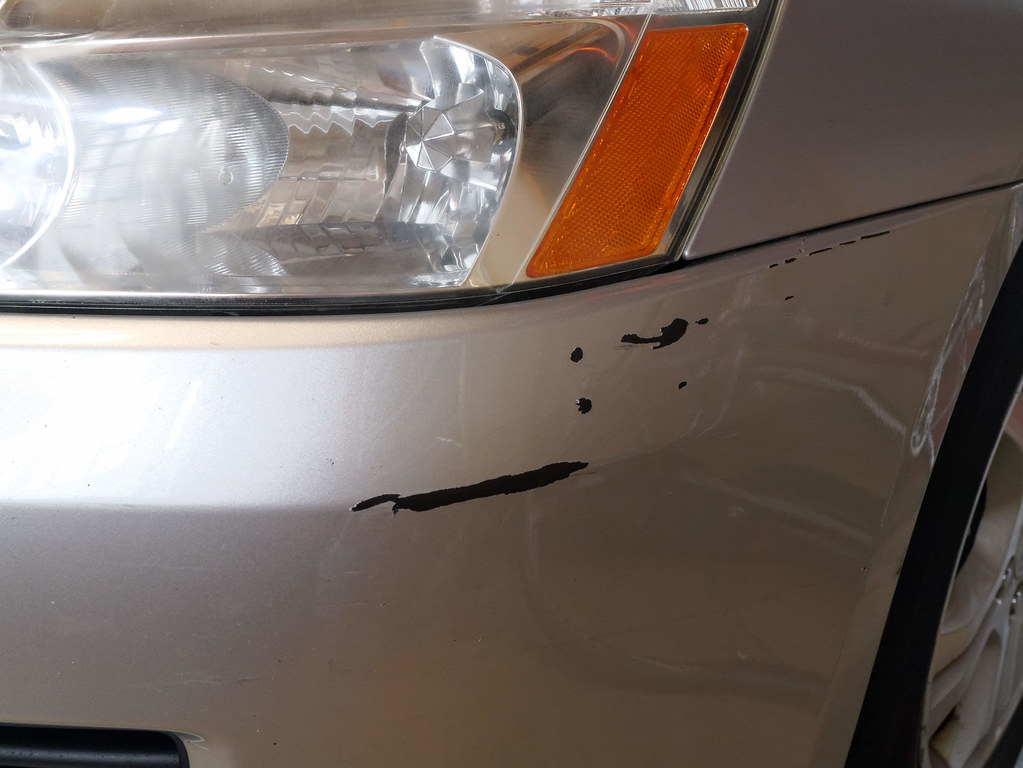
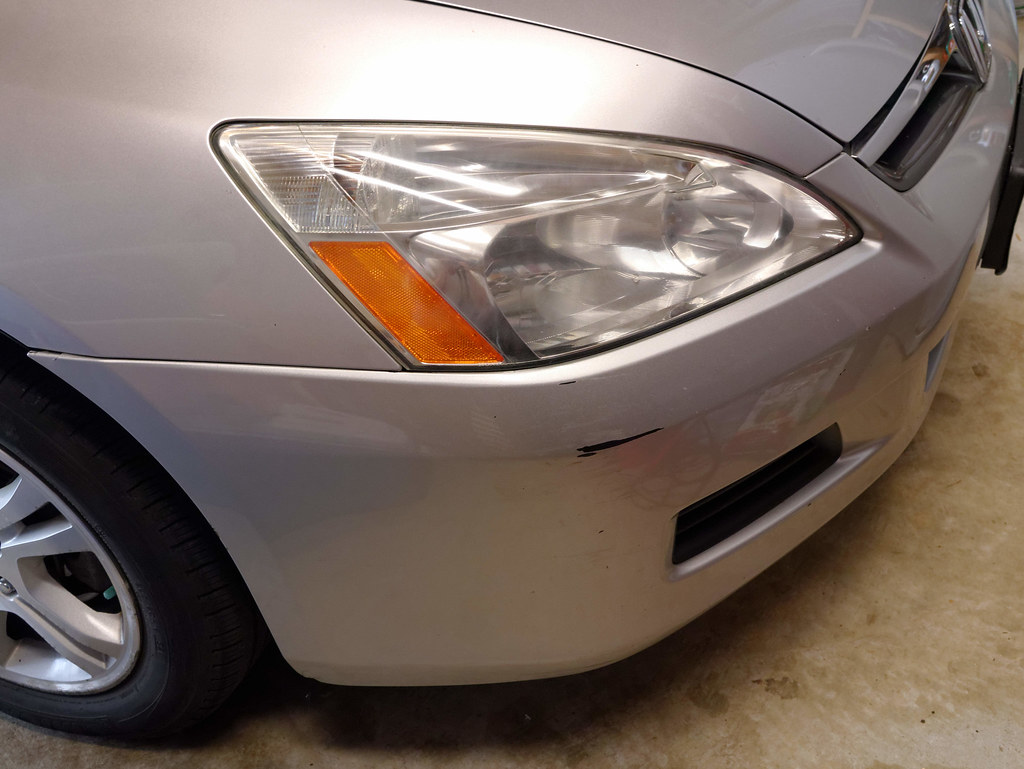
Howdy folks. Background - last winter, an inlaw who'll remain nameless decided to "help" us during a snowstorm by clearing the snow off our silver 2006 Honda Accord - with a snow shovel. Needless to say it has a copious amount of scratches ranging from the fine type that don't or just barely catch a finger nail up to nasty wide scrapes down to the primer. Every panel has some of them. In addition to that, the bumpers have scrapes down to the plastic from my wife's parking lot misadventures.
So I'm using this mess as an opportunity to learn about paint repair, starting with scratch "removal". Phase 2 will be scratch repair with touch up paints, and phase 3 will be major repairs with spray on paints.
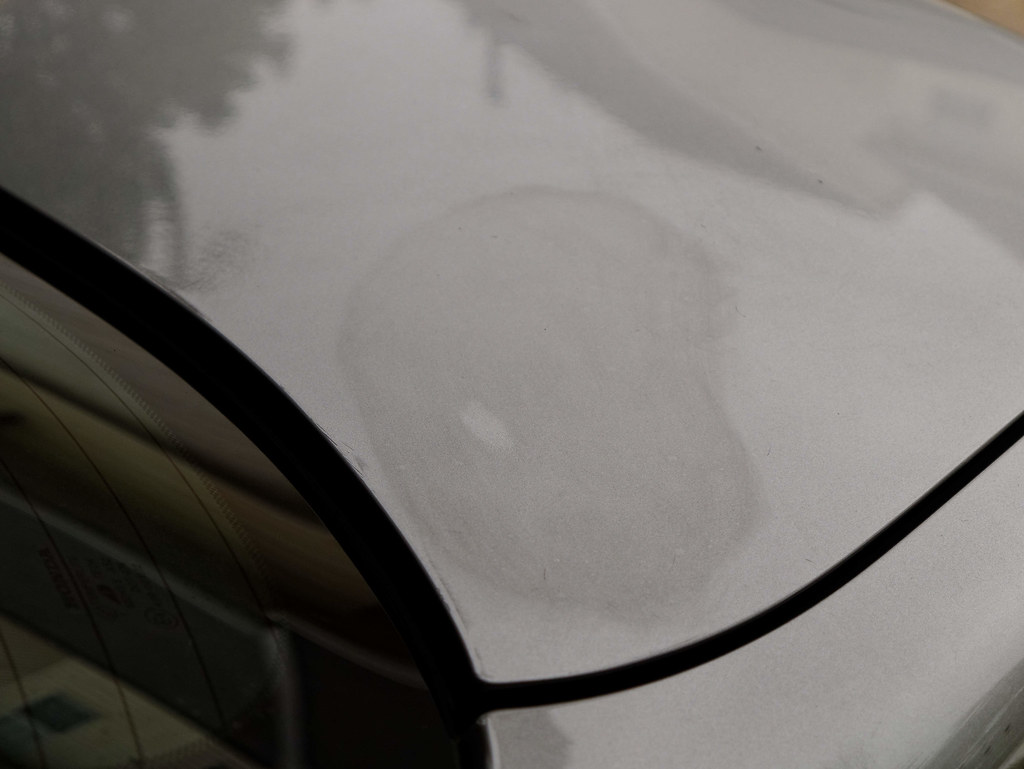
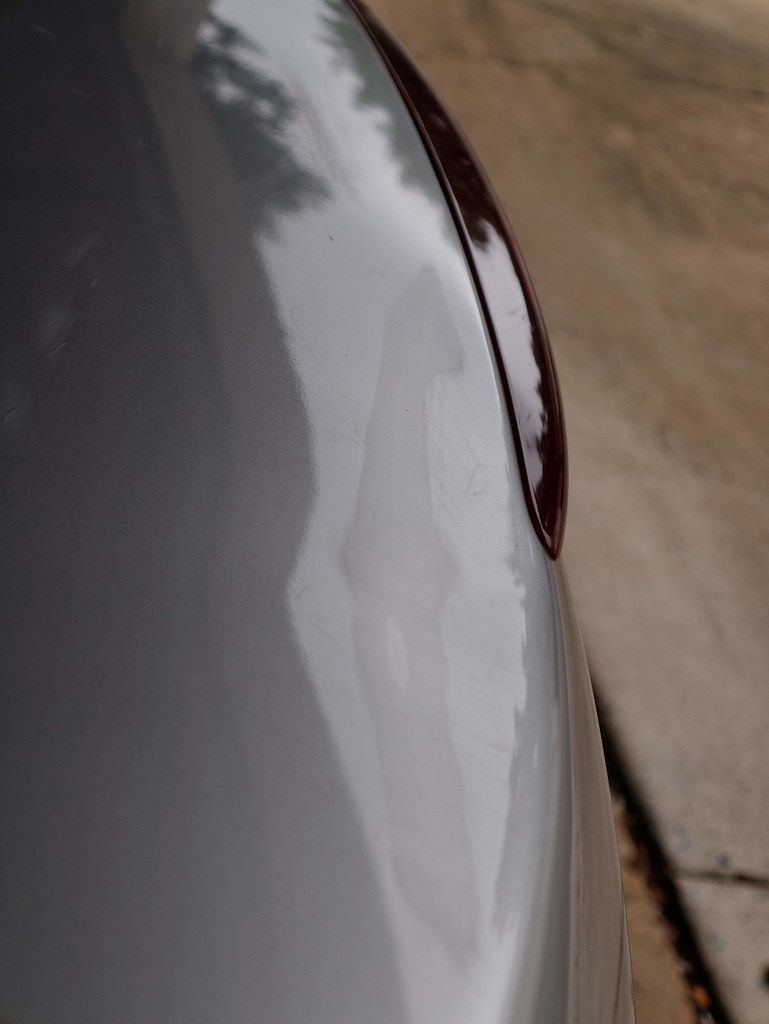
I am starting with the trunk, as it has a number of scratches of all kinds, and I figure the worst thing that can happen is I completely screw it up and have to pay to have it repainted.
Did some googling and youtubing and settled on this approach for the first set of scratches, those that don't or just barely catch a fingernail:
- wet sand with 1500, 2000, 2500, and finally 3000 grit 3M papers. Mixed up some soapy water in a spray bottle and used a 3M foam pad to do the sanding.
- hand apply rubbing compound with a Meguiar's foam pad (Turtle Wax "premium" in the bottle)
- hand apply polish with another Meguiar's foam pad (Meguiar's Ultimate Polish)
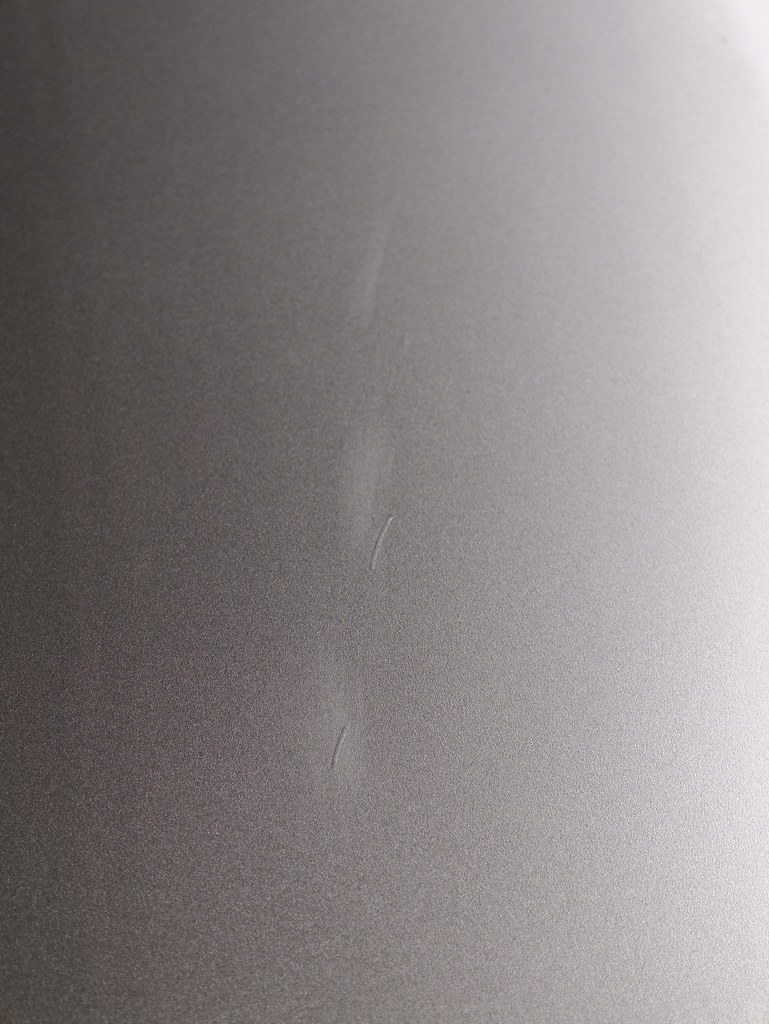
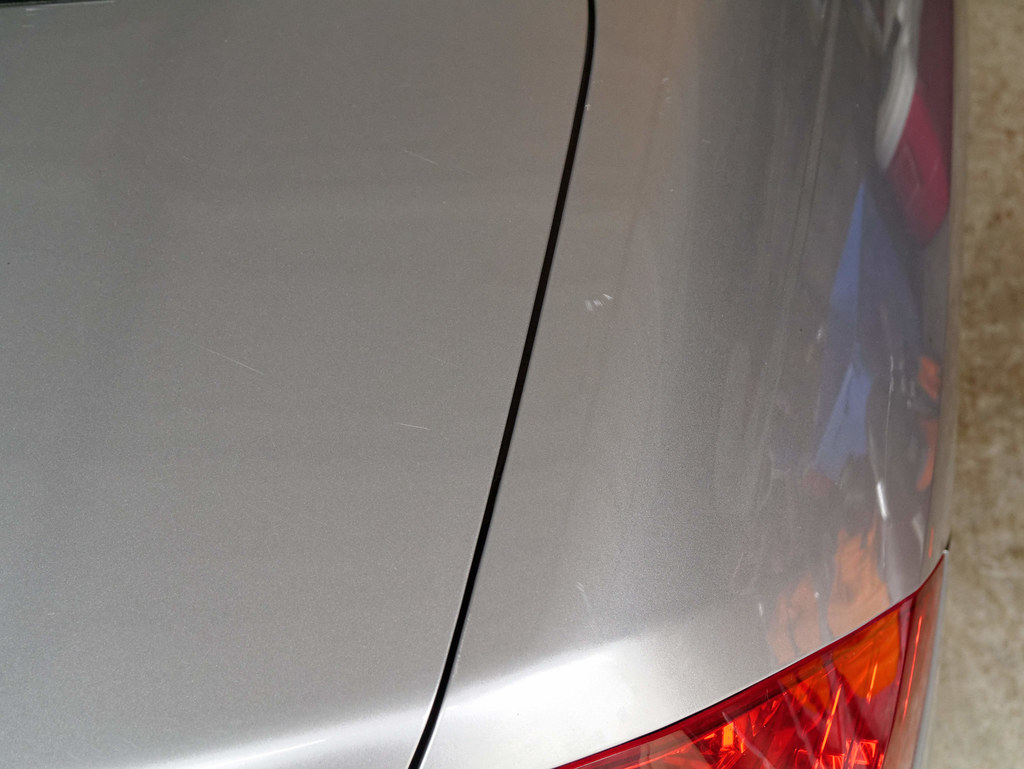
The first set of 3 scratches were removed by the 1500 and 2000 papers, the 2500 and 3000 reduced the haziness. The compound reduced it further and the polish reduced it almost altogether. The result looks OK from some angles, but in reflected light there's a pretty clear difference in the sheen for lack of a better word. Unfortunately in my haste I didn't take any good pictures.
Thoughts on how to get the end result to match the unblemished paint? I do not have a great sense as to how much pressure or for how long to sand during each step. I used what I'd call a moderate amount of pressure, not pressing very hard but certainly more than just sorta gliding the paper across the surface. Likewise I used a fair amount of pressure for the compound and polish, wiping both clean immediately after each application.
I do not have a DA polisher but am not opposed to getting one at some point if it would be a better tool for the job.
Any advice you guys have would be greatly appreciated. Thanks,
jeff
So I'm using this mess as an opportunity to learn about paint repair, starting with scratch "removal". Phase 2 will be scratch repair with touch up paints, and phase 3 will be major repairs with spray on paints.
I am starting with the trunk, as it has a number of scratches of all kinds, and I figure the worst thing that can happen is I completely screw it up and have to pay to have it repainted.
Did some googling and youtubing and settled on this approach for the first set of scratches, those that don't or just barely catch a fingernail:
- wet sand with 1500, 2000, 2500, and finally 3000 grit 3M papers. Mixed up some soapy water in a spray bottle and used a 3M foam pad to do the sanding.
- hand apply rubbing compound with a Meguiar's foam pad (Turtle Wax "premium" in the bottle)
- hand apply polish with another Meguiar's foam pad (Meguiar's Ultimate Polish)
The first set of 3 scratches were removed by the 1500 and 2000 papers, the 2500 and 3000 reduced the haziness. The compound reduced it further and the polish reduced it almost altogether. The result looks OK from some angles, but in reflected light there's a pretty clear difference in the sheen for lack of a better word. Unfortunately in my haste I didn't take any good pictures.
Thoughts on how to get the end result to match the unblemished paint? I do not have a great sense as to how much pressure or for how long to sand during each step. I used what I'd call a moderate amount of pressure, not pressing very hard but certainly more than just sorta gliding the paper across the surface. Likewise I used a fair amount of pressure for the compound and polish, wiping both clean immediately after each application.
I do not have a DA polisher but am not opposed to getting one at some point if it would be a better tool for the job.
Any advice you guys have would be greatly appreciated. Thanks,
jeff