Perfect Candidate for an AIO

Status
Not open for further replies.
Great idea to start charging for your expertise. I've mentioned this to the Critic a few times.
smile.gif
 
Come on Elje, even *I* will be able to make that one look respectable! Don't you have Harbor Freight in your neck of the woods and Meguiars UC at your local Walmart?
 
Originally Posted By: Vikas

By the way, please, please, please show me the haze pictures.


I totally forgot about that. Here you go.

Haze after compounding on the left side, when viewed under LED lighting:
10524686_10152560969227363_4268763249452734646_n.jpg


Haze removed:
10492201_10152560972522363_1689509202533186184_n.jpg


Source: http://attentiontodetailingpeoria.com/bl...ancement-detail

You will need different lighting sources in order to detect haze. LED lighting of the correct temperature, seems to be the best at this.

Ambient lighting conditions will also affect how well you're able to see it. It is more easily seen on dark, solid cars than on metallics, but don't be tempted to ignore it on lighter colors...because the presence of DA haze will affect the quality of your finish.
 
The above picture isn't what I'd consider haze. And that is unacceptable, I have never left a finish looking that poorly and my SMAT polishes and techniques even on a cutting step don't leave such a poor finish. The top picture is compounding swirls.

20.jpg


This first picture is what I'd call an acceptable level of haze for the majority of the population. After waxing especially with a cleaner wax and a DA it'll be invisible anyways. And that's accomplished with wool, and not finishing wool at that. Though it's not my work, it's very representative of what can be accomplished with wool and a rotary with proper technique and compounds. Some of the deeper marks are still there but the overall finish is basically what I'd call LSP ready, use a cleaner wax and a DA and you'll remove what minor hazing remains. And your paint finish can look as good as the second picture. For most that would be enough but look further into the original thread and you'll see it can be refined further but for most customers it's good enough. I would never shortchange customers with a poor finish. And your hazing pic is worse than anything I've seen, the cutting step might need work if it's leaving so much compound swirling likely not using enough compound so that the lubricants are flashing off before it can break down and refine or simply not working the compound long enough to fully break down. A large throw polisher like a Rupes also needs more compound than a tighter orbit like a normal DA if that's what was used. It's also why you need to apply so much more polish with a rotary, higher surface friction requires more compound for it's lubricity, hence on rotaries you often will get some slinging because of the amount you end up using.

22Orange.jpg


This heavy cutting pad's very good finish can be achieved with cooler temperatures and faster cutting with my finishing wool and rotary. And yes it will finish that well. And I could do that in one step with my assortments of wool, selection of which would depend on the paint hardness and condition.

http://www.autogeekonline.net/forum/product-reviews/47314-review-carpro-fixer.html

If you look on the thread you can see the progression.

http://3mcollision.com/the-edge-blue-wool-pad-w303-8-in-6-per-case-double-sided.html

This is real finishing wool, old school and barely anyone remembers it, you can ask your "pros" they've probably never handled it unless they've worked in collision repair. You can accomplish a lot of correction using a finishing polish and that pad on a rotary and finish off just fine with it ready for waxing. This is basically the old tech equivalent of Meguiar's microfiber DA but with the added advantage that it doesn't clog nearly as fast because of the volume of the material being so fluffy vs flat like Meg's DA.
 
Last edited:
I am really impressed with your 2nd picture showing the heavy cutting pad results. Does it imply CarPro Fixer is even better than M105 for this application?

I am really intrigued with that pad. It says it is double sided. What kind of attachment does it have? There must be threaded hole in the center. How do you prevent that rigid center from scratching the paint? Are the fibers that thick?
 
Qwerty, that looks good but I can't say how much lighting and angles play into a different look.

Further, there is no free lunch, so I suspect you took off more clear, which is scary.

Thoughts on these points?
 
For Vikas the pads are pretty thick and with rotary you shouldn't be pressing hard enough to force the nut on the paint. For all the years I've been using wool the nut hitting the paint was never an issue.

As for how much paint it takes off wool in the right hands takes off less than foam. The way foam works you have to press down harder with the aggressive pads and compounds. This tends to chase down defects making more material removal inevitable. The levelling power of wool and the very light pressure required just removes the high spots without getting down into the bottom of defects. Also anyone working on today's modern thinner finishes advertising compounding and swirl removal had better be using a paint thickness guage. But like I said in the proper hands wool will remve less material. But people without exprience either put too much pressure or don't move fats enough or don't apply enough compound and then blame wool for poor results.

As for the pictures those obviously were taken with a quality camera using proper photography technique not some amateur with a cheap cell phone camera. The user has shown ability to properly highlight defects so I don't think you can claim he's leaving lots of defects behind.
 
Last edited:
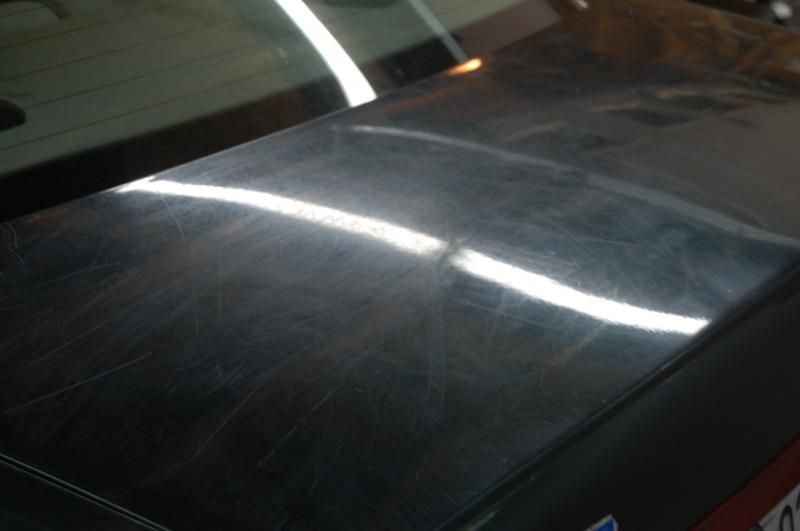
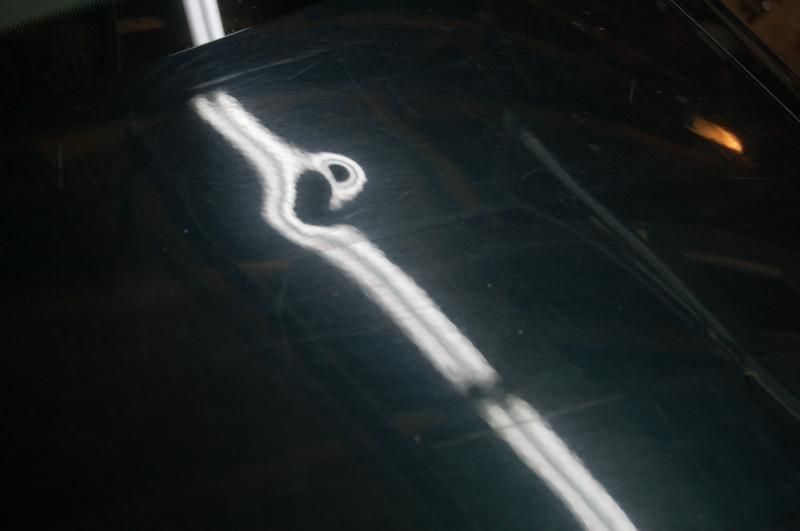
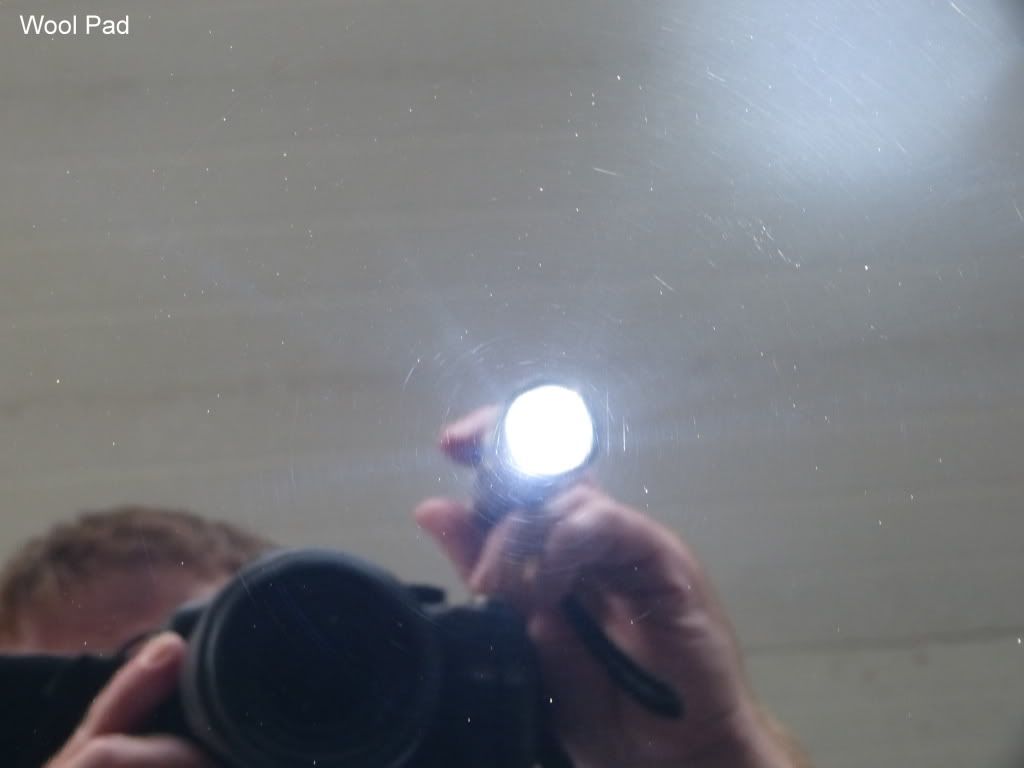
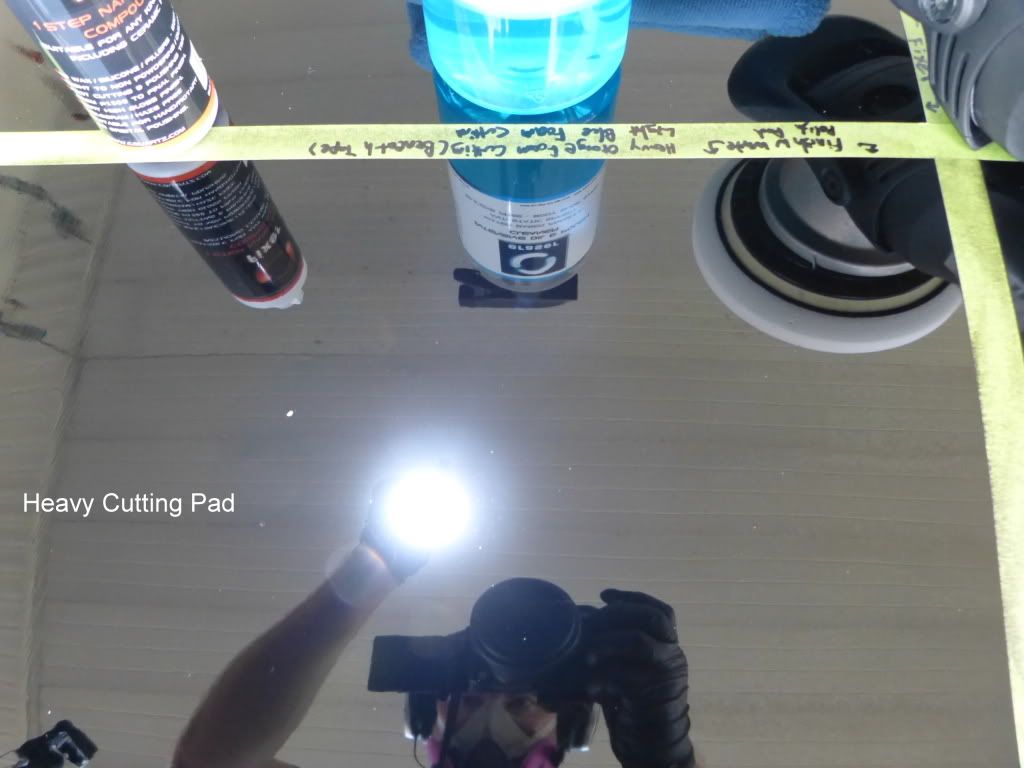
Thanks. Regarding the haze, "proper photography techniques" is a moot point, because it's all about what kind of an effect you do/don't want to show. Thus my point. Unless two panels are photographed in the exact same conditions, lighting, camera settings, angles, etc., it still is apples to oranges. I'm not saying anyone has an alternate motive here, but rather that differences in photography could cause differences here that go beyond the claims.
 
But that particular technique using a quality camera and photographing a point source reflection indirectly is about the most revealing way to reveal paint defects like hazing and swirling. Critics post with the photos uses a very similar technique which would reveal similar damage. Considering the severity of the swirling and their concentricity to the point source in both photos is can be pretty justifiable to say the hazing in the first is worse than the one in my post, that photographing technique especially with a good camera simply would not hide the swirling in critic's post.
 
Last edited:
Status
Not open for further replies.
Back
Top