JHZR2
Staff member
Posting this as a DIY in case anyone needs to do repairs on their non-digital odometer. This specific one is electric drive, but many older cars are mechanically driven off a speedometer cable.
This job is easy to tackle, and replacement gears are available all over the internet...
Remove screws:
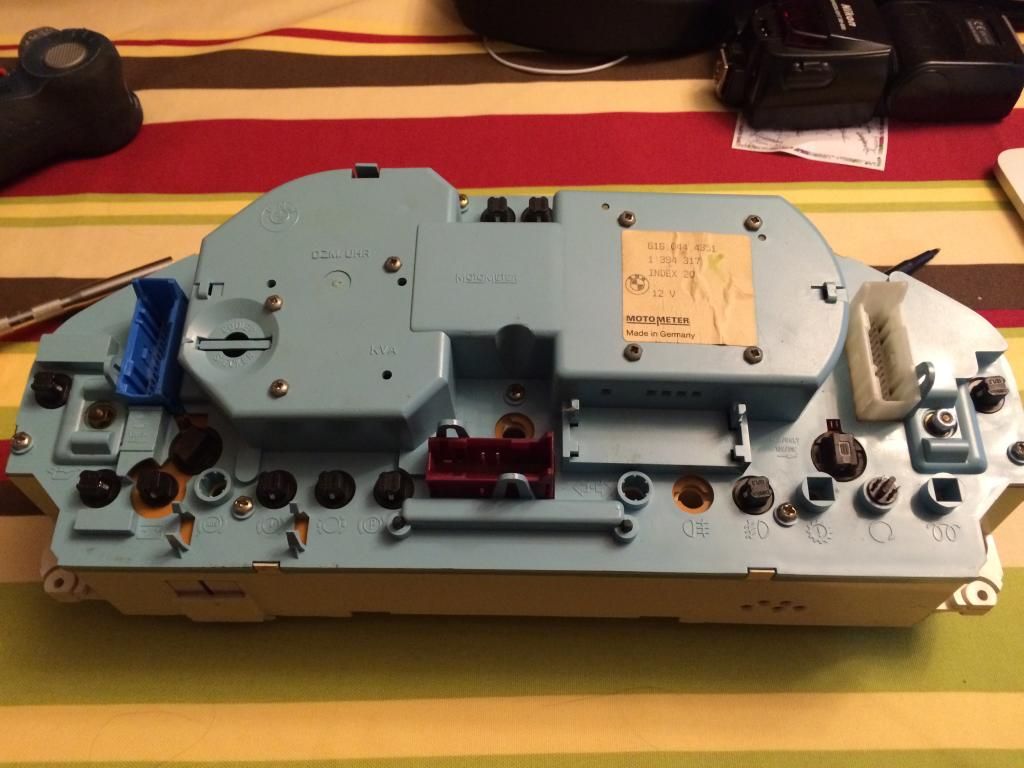
Check the board, odometer, bulbs, fuses, etc. as needed:
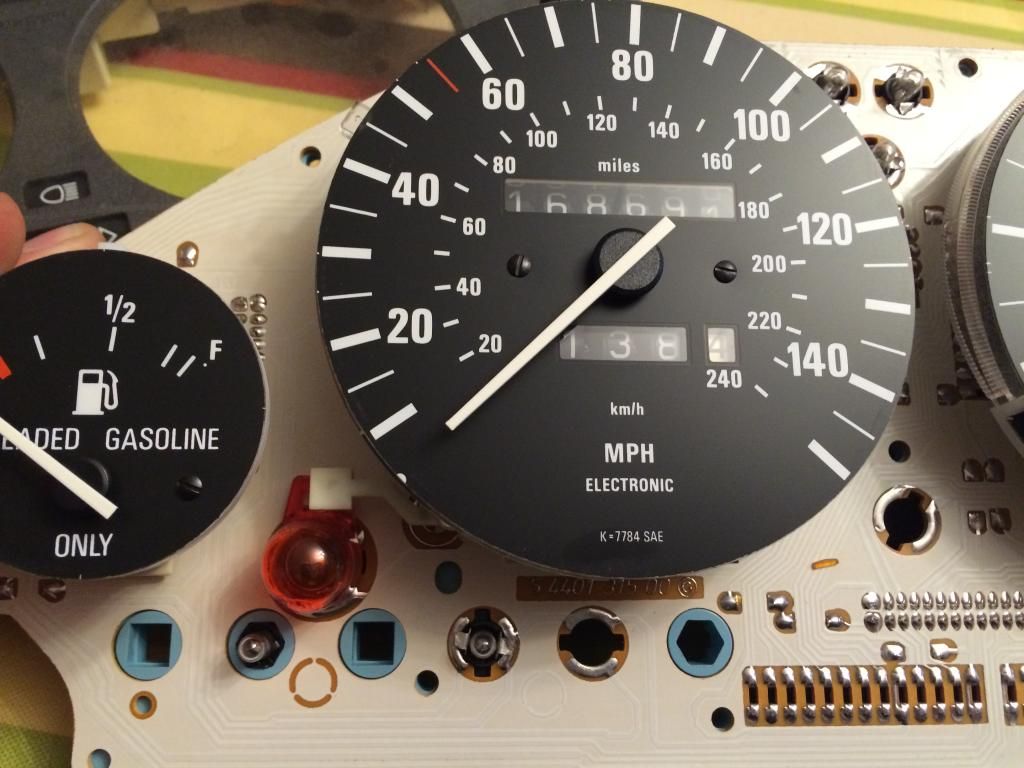
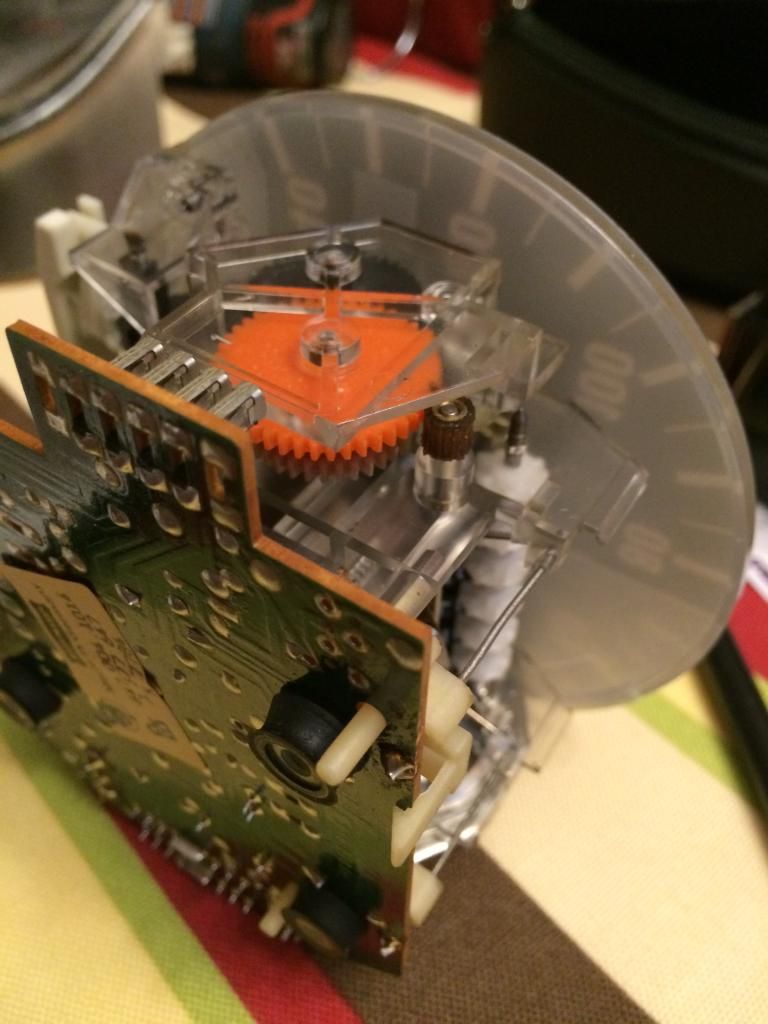
Unscrew speedometer/odometer:
Note remnants of gear from stepper motor shaft... Only two teeth were left on the gear...
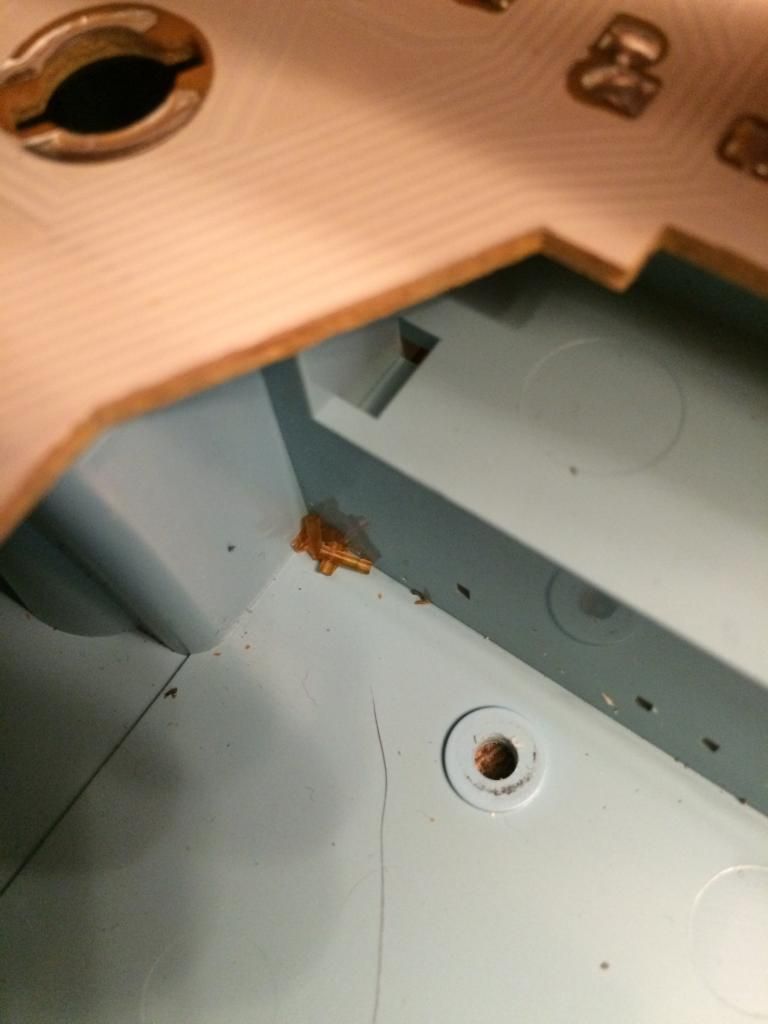
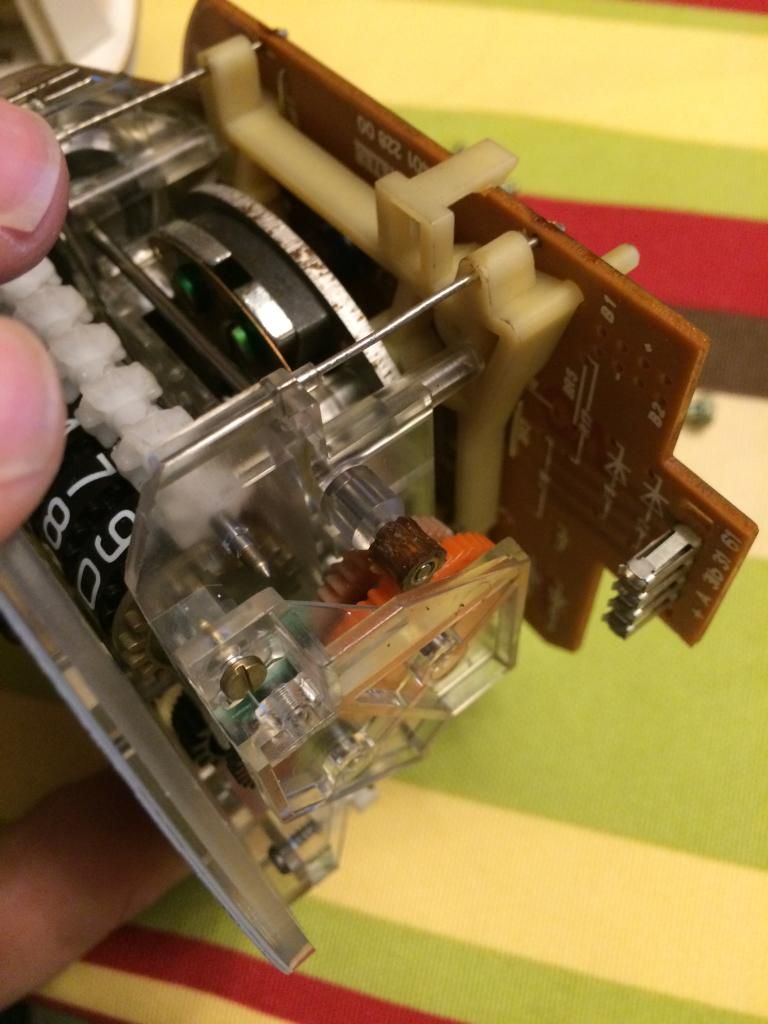
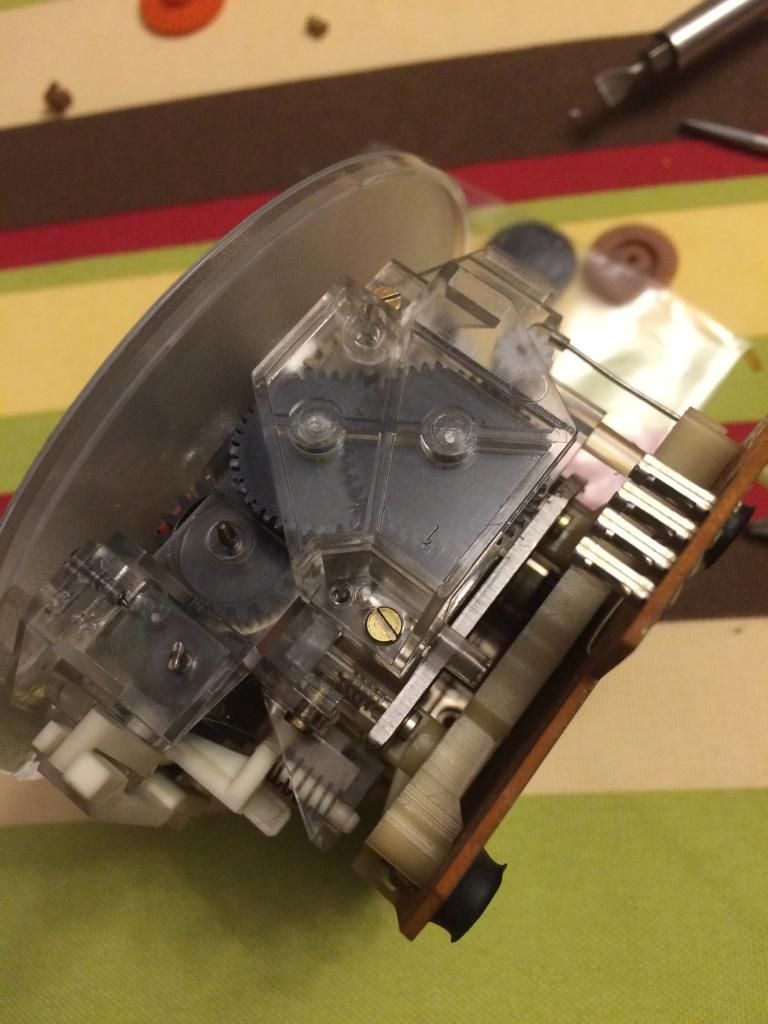
Note the brownish color gear... Often the other gears fail and crumble or crack, so though mine were just perfect, I replaced them too.
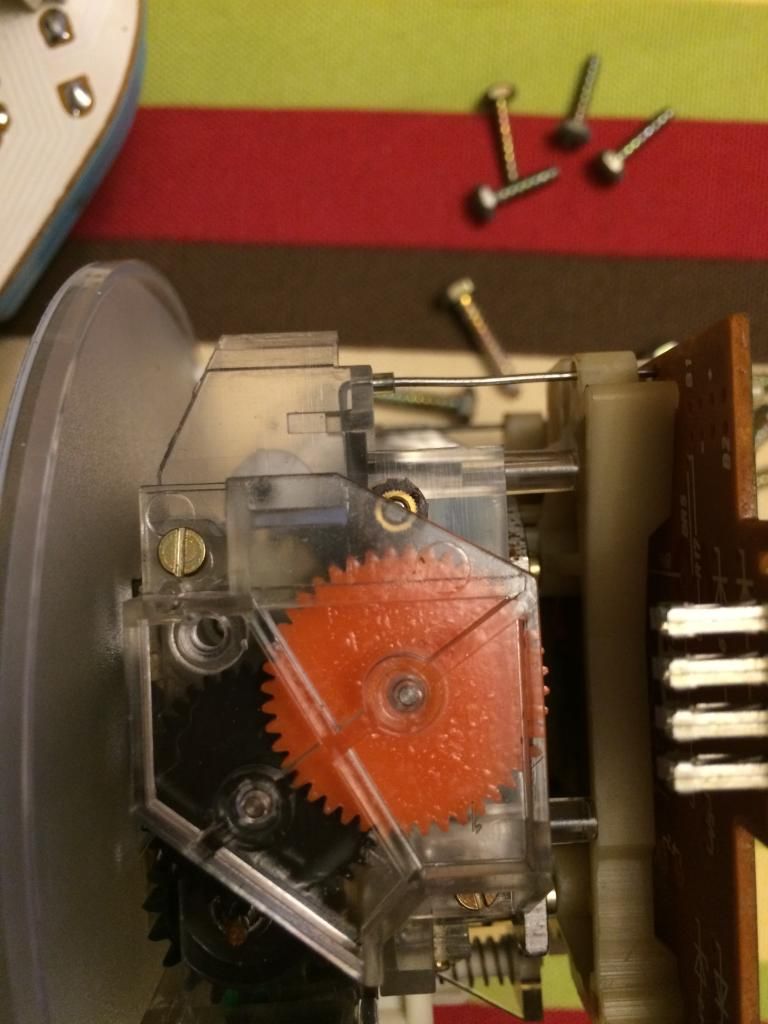
Remove protective cover, begin removing gears and check for dirt, damage, and small bits that could fall into the works.

The bad gear had a small bras bushing that was easily removed with a slight pinch of a pair of lineman's pliers on two sides. The others slid off and then the new ones could go right back on. The bottom most gear that interfaces with the actual number wheels in the odometer was not replaced as part of my kit for whatever reason. So I just cleaned, it, and give it a bit of Molykote 33 like I did for the rest of them.
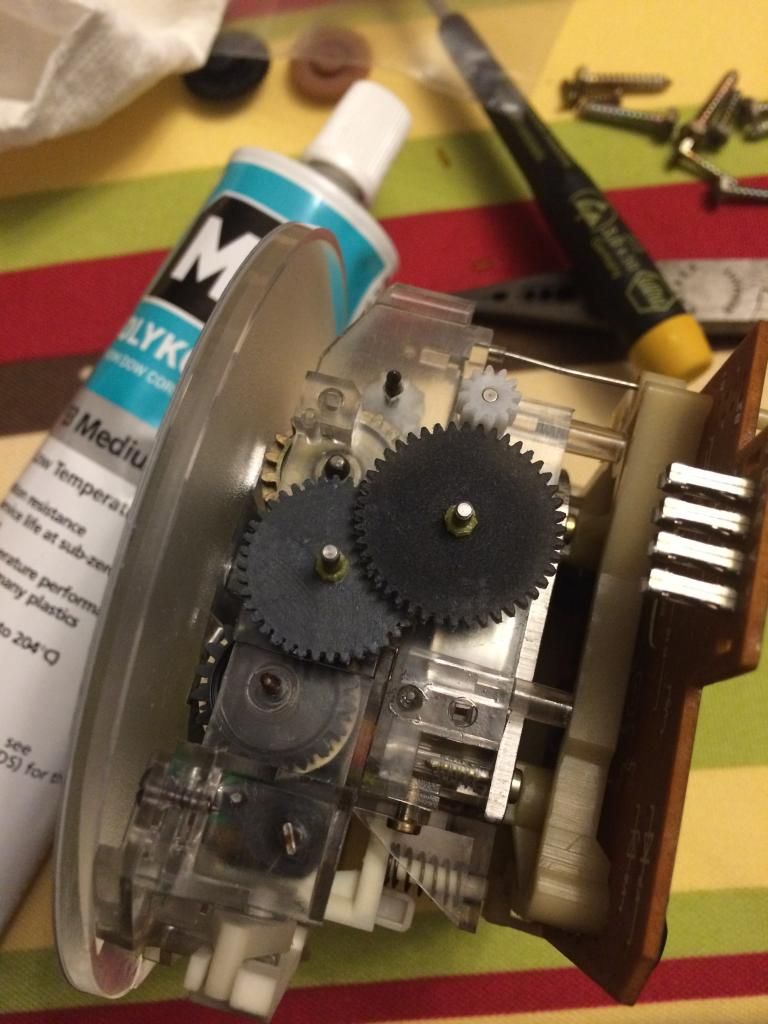
I put a slight amount of Molykote in the gear teeth and the gear surfaces where one may rub on the next. There were also small rings used to hold the gears in position on the shafts, which I installed onto both shafts.
Then put it back together, screwed it back, closed the cluster up, installed and tested... Perfect.
Removing the cluster from the car is the worst part of the job... The rest is easy...
This job is easy to tackle, and replacement gears are available all over the internet...
Remove screws:
Check the board, odometer, bulbs, fuses, etc. as needed:
Unscrew speedometer/odometer:
Note remnants of gear from stepper motor shaft... Only two teeth were left on the gear...
Note the brownish color gear... Often the other gears fail and crumble or crack, so though mine were just perfect, I replaced them too.
Remove protective cover, begin removing gears and check for dirt, damage, and small bits that could fall into the works.
The bad gear had a small bras bushing that was easily removed with a slight pinch of a pair of lineman's pliers on two sides. The others slid off and then the new ones could go right back on. The bottom most gear that interfaces with the actual number wheels in the odometer was not replaced as part of my kit for whatever reason. So I just cleaned, it, and give it a bit of Molykote 33 like I did for the rest of them.
I put a slight amount of Molykote in the gear teeth and the gear surfaces where one may rub on the next. There were also small rings used to hold the gears in position on the shafts, which I installed onto both shafts.
Then put it back together, screwed it back, closed the cluster up, installed and tested... Perfect.
Removing the cluster from the car is the worst part of the job... The rest is easy...