y_p_w
Thread starter
bought a lot of washer and dryer parts off of amazon and online places . non oem seem to work as good as oem at a fraction of the price .
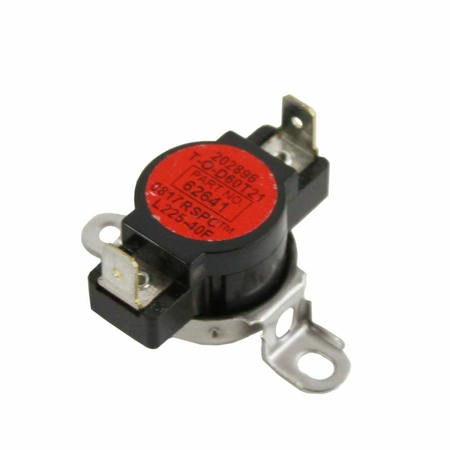
Depends on the part and the store of course, I couldn’t fine anything cheaper than what I paid for the OEM thermal fuse.
And after a bit of drama (like messed up assembly and wondering about getting a seal all around the door/bulkhead interface, I got it all in, plugged it in, and fired it up. Then I had to connect the exhaust tube, which didn’t seem to want to stay on the pipe. But it’s working now. Might need a new belt, but I can do that now.