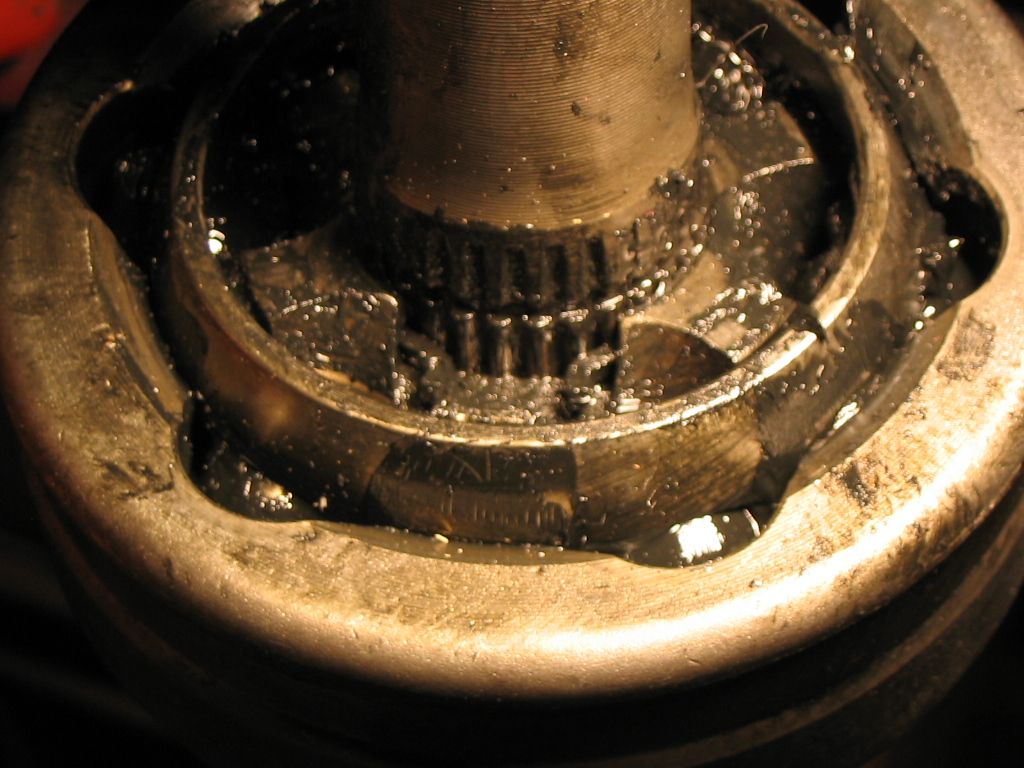
I recently noticed that both outer boots have small tears in them, about 1/2" (12mm) or so. The inners look OK. Also, the steering rack boots are also badly torn, nearly all the way through, on both sides.
These are not the original axles. My indy replaced them years ago when I also had torn boots because the overall cost was less than just replacing the boots.
However, this time I intend on doing the work. I don't hear any clicking/clunking at all. So I want to get after this before it gets worse and damages the joint.
After viewing a few video's it looks rather straightforward, if messy and greasy. I'll need a 18mm socket and open end. I'm also considering replacing both axle seals. Open to all suggestions/tips/tricks as well as who makes a reputable CV boot out of a quality material, that will go the distance.
TIA....