One of my co-workers owns a black, C5 Z06 Corvette. Ever since I began working with him, I have been trying to convince him to let me fix the nasty swirls on the Corvette's finish. Well, that day finally arrived last weekend-- we scheduled 8 hours together to make it happen.
While I did not take any before pictures, the paint's condition was very similar to the "before" pictures in this thread: http://www.tennspeed.net/forums/showthread.php?t=30687
As you can see from the "borrowed" pictures, the finish was in very bad shape. There was a lot of work to be done in only 8 hours. And even though we would be working together, my co-worker had never used a polisher before.
To make matters more challenging, most of this Corvette had been repainted. Some panels reacted differently than others. During polishing, I found lots of sanding pig tails and some strange swirl-like defects that would not come out.
Here were the combinations that we used for the various steps:
Menzerna FG400, Flex 3401, Lake Country Hybrid Blue Cutting Pad - Compounding Step
Menzerna FG400, Rupes 21, Meguiars MF Finishing Discs - Compounding Step
Meguiars M101, Flex 3401, Lake Country Hybrid Blue Cutting Pad - For the hood (due to severe defects) and a few stubborn areas
Meguiars M205, Flex 3401, Meguiars W8207 Polishing Pad - intermediate step to remove micro marring
HD Adapt, Flex 3401, Buff & Shine Orange Pad - for areas with heavy micro marring due to M101 usage
CarPro Reflect, Rupes 21, Rupes White Finishing Pad - finishing step
CarPro Reflect, Flex 3401, Lake Country HT Crimson Pad - finishing step
We used nearly all of the products and tools in my arsenal to find the most efficient and effective way to remove the defects. My co-worker did a pretty good job considering it was his first time with a polisher; although some of the areas he did could have turned out better if we had time to go over them again. Overall, I think we got about 60-70% correction. Personally, I am not fully pleased with the outcome considering the number of steps and the time spent.

Ultimately, the goal was to make a major improvement, and I think we accomplished this. Working on this car taught me a lot, as non-metallic black paint is absolutely brutal to work on. The toughest part about this project was to finish out the paint as well as possible. On this particular car, even M205 was leaving some extremely faint micro marring. In the end, doing the extra finishing step with CarPro Reflect was well worth it since it brought the finish to a new level of gloss.
Products Used:
Adam's Car Wash Shampoo
Meguiars D140 Wheel Brightener
Iron-X Spray
Nanoskin Medium Grade Wash Mitt
Optimum No Rinse diluted 1:5 (for Nanoskin Mitt)
Meguiars M101
Menzerna FG400
HD Adapt
Meguiars M205
CarPro Reflect
Meguiars DA Microfiber Finishing Discs
Meguiars DA Microfiber Cutting Discs (for testing only, no improvement in cut compared to Finishing Disc, it only resulted in more micro marring)
Lake Country Hybrid Blue Cutting Pad
Meguiars W8207 Polishing Pad
Buff & Shine Orange Light Cutting Pad
Rupes White Finishing Pad
Lake Country Crimson Finishing Pad
CarPro Eraser
CarPro CQuartz UK Edition
CarPro Reload (Applied over CQuartz UK per instructions)
Optimum Opti-Bond (tire dressing)
Tools Used:
Rupes 21
Flex 3401
Lake Country Changeable Backing Plate System
Brinkmann MaxFire Dual Xenon Light
Wheel Woolies
Various MF towels
By the time we finished, the sun was already setting. These pictures were taken after a single coat of CarPro CQuartz UK, but before Reload was applied as a topper.


Here are all of the pads that we used:

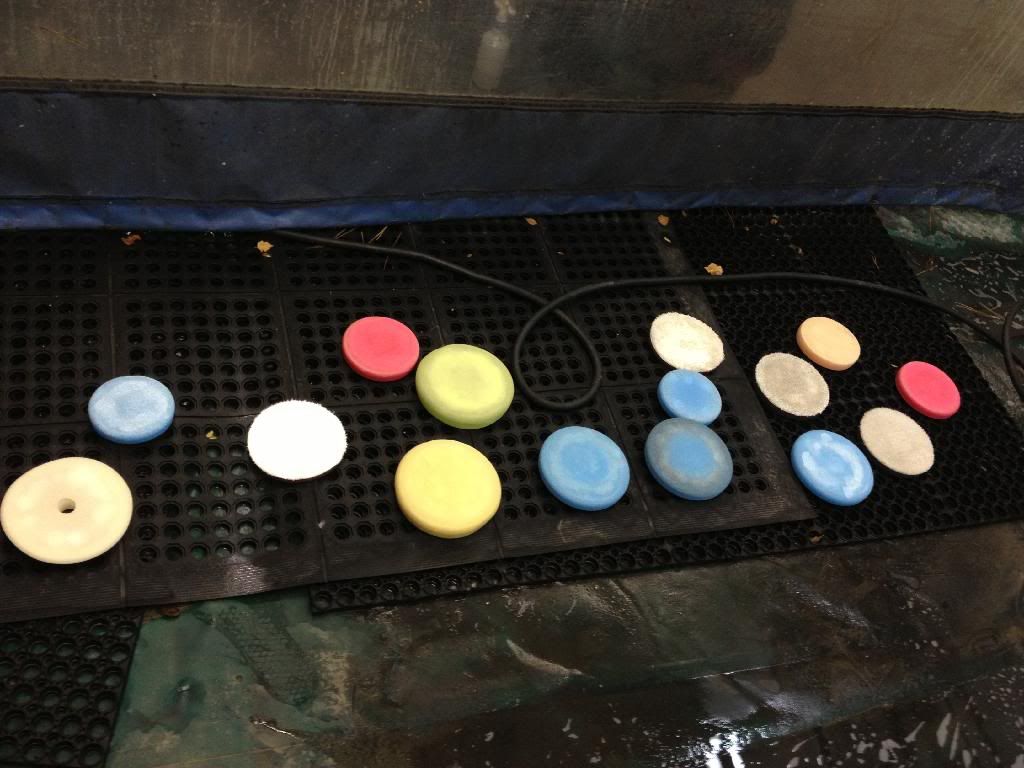
Total time = 8.5 hours.
I will try to get some pictures in the daylight.
While I did not take any before pictures, the paint's condition was very similar to the "before" pictures in this thread: http://www.tennspeed.net/forums/showthread.php?t=30687
As you can see from the "borrowed" pictures, the finish was in very bad shape. There was a lot of work to be done in only 8 hours. And even though we would be working together, my co-worker had never used a polisher before.
To make matters more challenging, most of this Corvette had been repainted. Some panels reacted differently than others. During polishing, I found lots of sanding pig tails and some strange swirl-like defects that would not come out.
Here were the combinations that we used for the various steps:
Menzerna FG400, Flex 3401, Lake Country Hybrid Blue Cutting Pad - Compounding Step
Menzerna FG400, Rupes 21, Meguiars MF Finishing Discs - Compounding Step
Meguiars M101, Flex 3401, Lake Country Hybrid Blue Cutting Pad - For the hood (due to severe defects) and a few stubborn areas
Meguiars M205, Flex 3401, Meguiars W8207 Polishing Pad - intermediate step to remove micro marring
HD Adapt, Flex 3401, Buff & Shine Orange Pad - for areas with heavy micro marring due to M101 usage
CarPro Reflect, Rupes 21, Rupes White Finishing Pad - finishing step
CarPro Reflect, Flex 3401, Lake Country HT Crimson Pad - finishing step
We used nearly all of the products and tools in my arsenal to find the most efficient and effective way to remove the defects. My co-worker did a pretty good job considering it was his first time with a polisher; although some of the areas he did could have turned out better if we had time to go over them again. Overall, I think we got about 60-70% correction. Personally, I am not fully pleased with the outcome considering the number of steps and the time spent.
Ultimately, the goal was to make a major improvement, and I think we accomplished this. Working on this car taught me a lot, as non-metallic black paint is absolutely brutal to work on. The toughest part about this project was to finish out the paint as well as possible. On this particular car, even M205 was leaving some extremely faint micro marring. In the end, doing the extra finishing step with CarPro Reflect was well worth it since it brought the finish to a new level of gloss.
Products Used:
Adam's Car Wash Shampoo
Meguiars D140 Wheel Brightener
Iron-X Spray
Nanoskin Medium Grade Wash Mitt
Optimum No Rinse diluted 1:5 (for Nanoskin Mitt)
Meguiars M101
Menzerna FG400
HD Adapt
Meguiars M205
CarPro Reflect
Meguiars DA Microfiber Finishing Discs
Meguiars DA Microfiber Cutting Discs (for testing only, no improvement in cut compared to Finishing Disc, it only resulted in more micro marring)
Lake Country Hybrid Blue Cutting Pad
Meguiars W8207 Polishing Pad
Buff & Shine Orange Light Cutting Pad
Rupes White Finishing Pad
Lake Country Crimson Finishing Pad
CarPro Eraser
CarPro CQuartz UK Edition
CarPro Reload (Applied over CQuartz UK per instructions)
Optimum Opti-Bond (tire dressing)
Tools Used:
Rupes 21
Flex 3401
Lake Country Changeable Backing Plate System
Brinkmann MaxFire Dual Xenon Light
Wheel Woolies
Various MF towels
By the time we finished, the sun was already setting. These pictures were taken after a single coat of CarPro CQuartz UK, but before Reload was applied as a topper.


Here are all of the pads that we used:

Total time = 8.5 hours.
I will try to get some pictures in the daylight.
Last edited:


