Originally Posted By: Trav
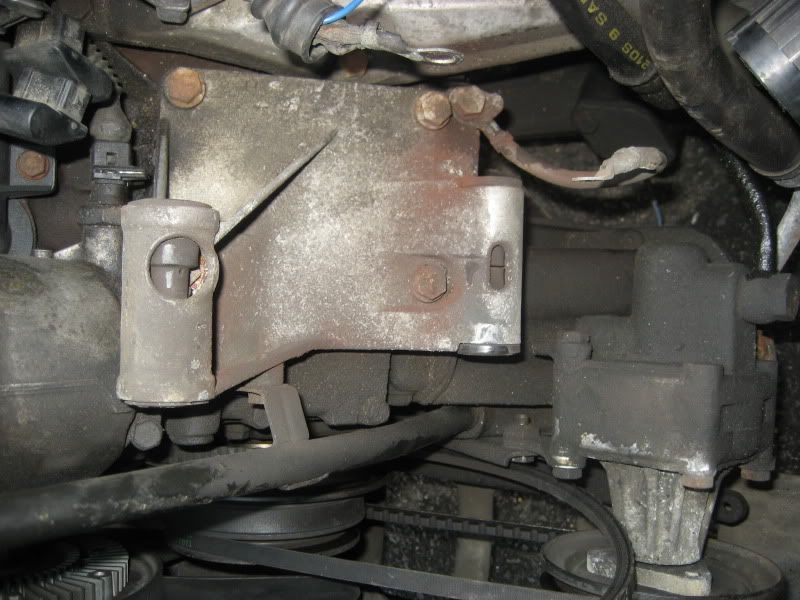
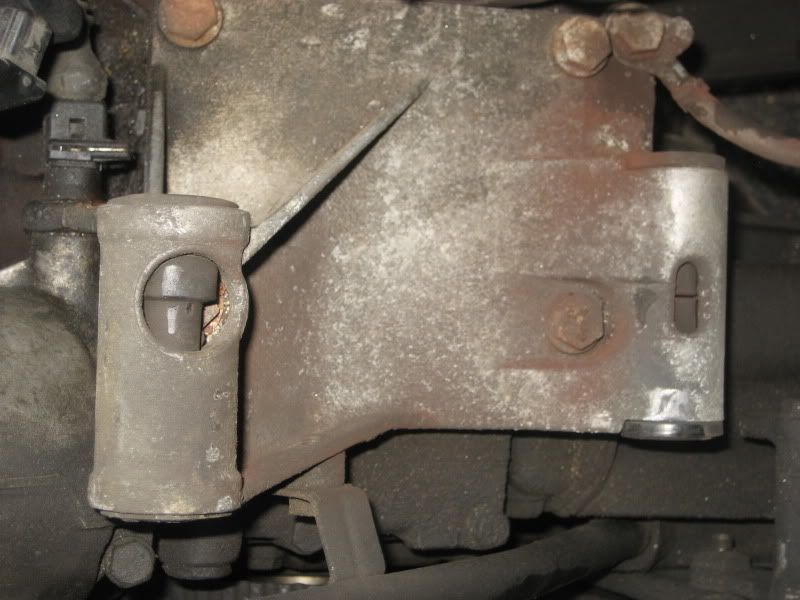
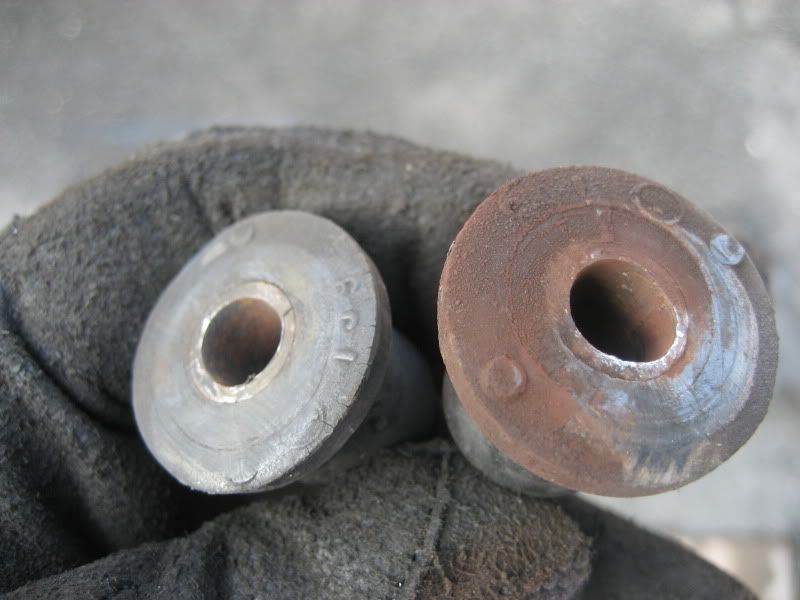
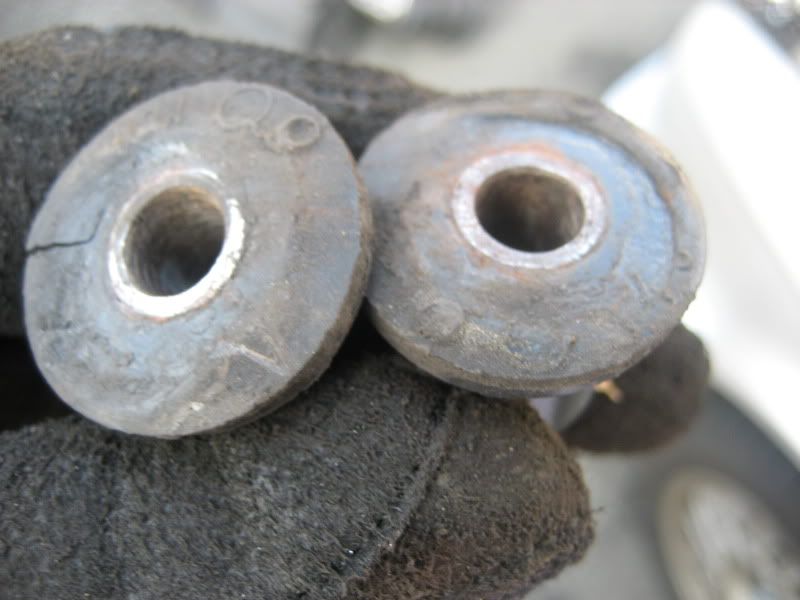
IIRC these are a two piece bushing like the 80’s models, the difference is the inner sleeve is molded to the rubber in 90’s models and separate on the older ones.
Just push a thin screwdriver down the tube inside and feel for a break in the inner tube indicating 2 separate pieces.
If it is then use an old screwdriver or punch to knock them outwards from inside.
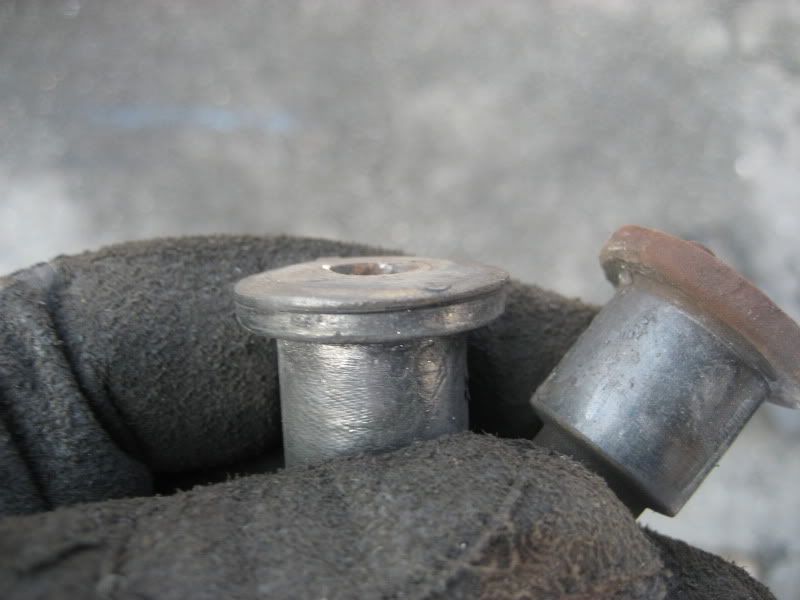
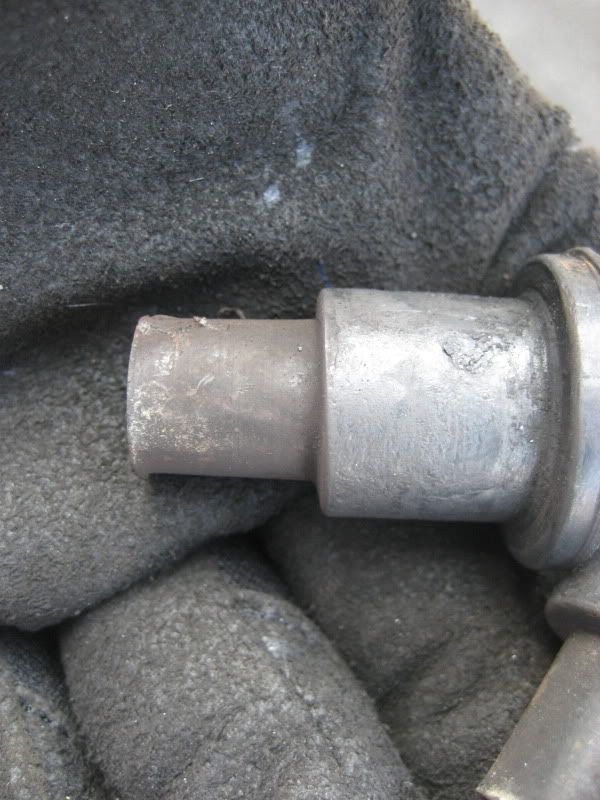
A solid tube needs to be pulled out, you take a piece of threaded rod and a washer just slightly larger then the inner tube but smaller than the bore.
Put the threaded rod through the bushing, put a washer and nut on the end, on the other end take a piece of pipe or deep socket slightly larger than the rubber and long enough to receive the bushing.
Place a washer over the pipe or socket and a nut, snug it down. Put two more nuts at the end of the threaded rod and lock them together, hold this with a wrench to stop the rod from turning while you tighten the nut on the socket, this will draw the bushing out into the pipe or socket.
The easier and faster way is just heat the tube inside front and rear with a propane torch till it gets hot enough to start the rubber burning then push the tube out with a dowel, the rubber can then be collapsed and pushed through. Do this outside, it stinks the high heaven.
To install the new ones even two piece may need to drawn in with threaded rod, just reverse the procedure doing one side then the other. Use some spray silicone on the bushing as it’s going in.
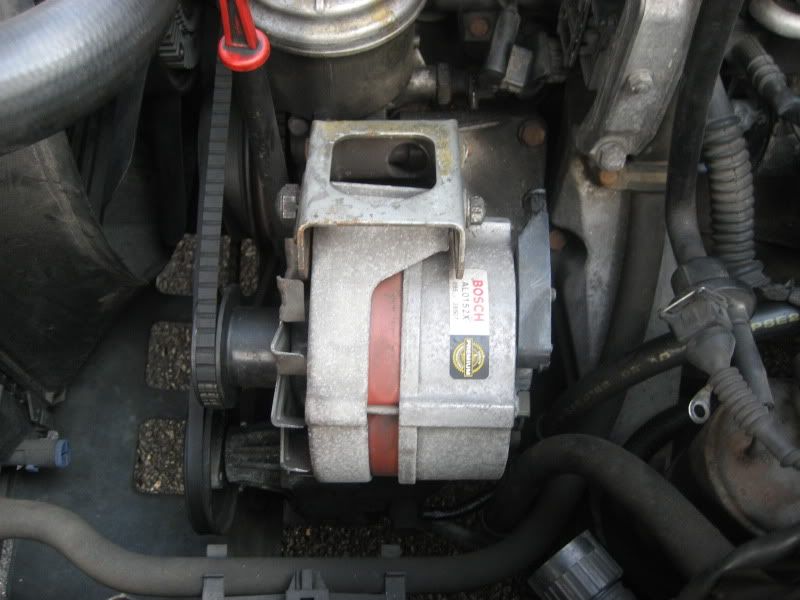
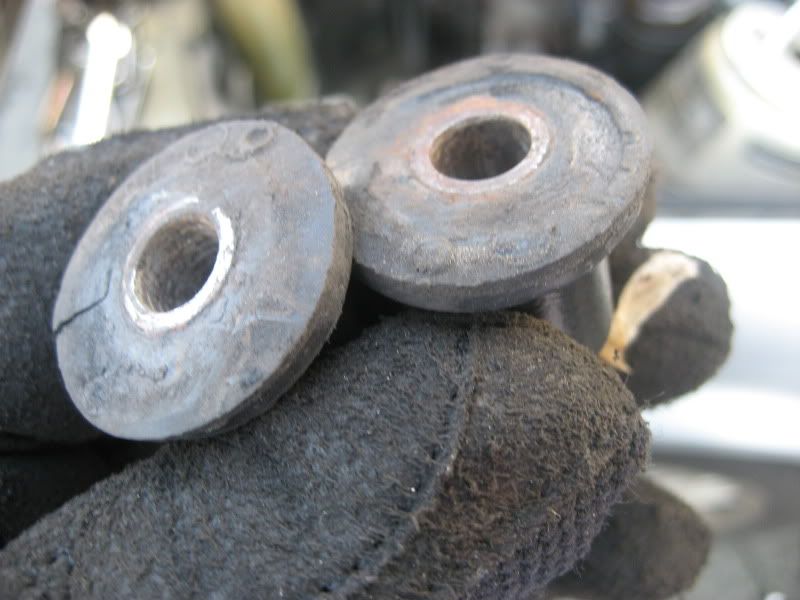
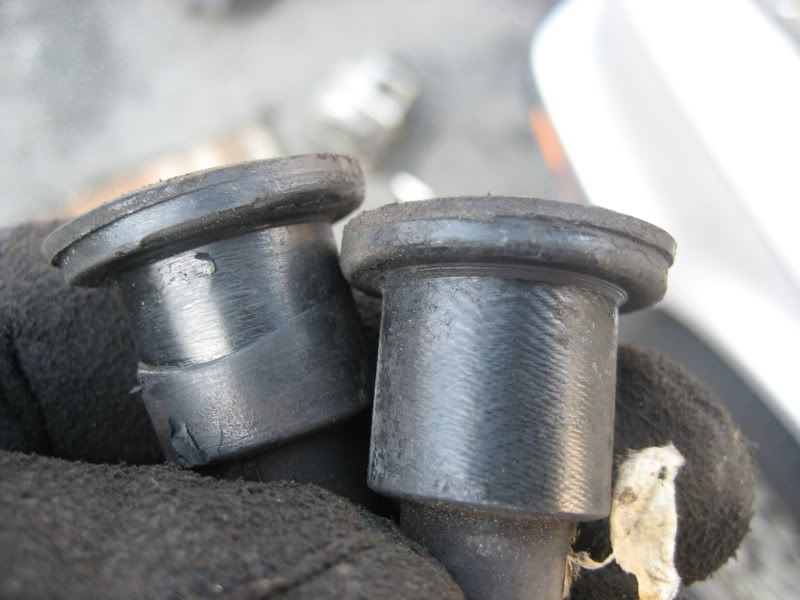
The new bushings are probably 4 pieces, 2 each for the upper and lower. I don’t recall seeing any clips on these but if there is just remove them before removing and reinstall when the new ones are in.
Sorry for making it sound more complex than it really is, once you get your home depot tool made and do one it will only take a couple of minutes.
OK, Im going to do this tomorrow. Just one question on technique... Mine are the two-piece bushings, no center tube that is separate.
How do I prevent gouging or damaging the body of the part that the bushings go into? Screwdriver at an angle pushing out bushings seems like a prime opportunity to have it slip off and slide through (frustrating and can be dangerous), or gouge the inside of the bore that the bushing sits in.
I assume just go around slow, with the bracket in a vice? Knock the screwdriver with a hammer? Im going to freeze the bushings and then use siliconme as stated. I assume I can lightly hammer them in with a drift?
Thanks again!