You are using an out of date browser. It may not display this or other websites correctly.
You should upgrade or use an alternative browser.
You should upgrade or use an alternative browser.
Some progress on my 62 Renault
- Thread starter widman
- Start date
- Status
- Not open for further replies.

I really forgot to update this. I've gotten back to Tarija a few times, although not enough since this update.
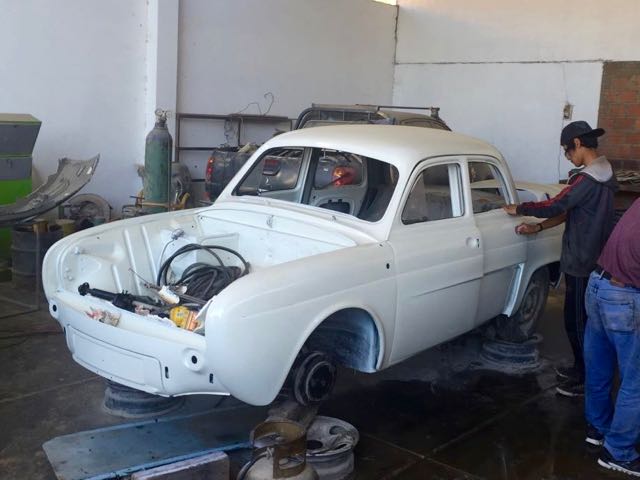
When I finally got back to Tarija I got going on the assembly. Good to have the car at home where I can work on it a few hours at a time, as time permits.
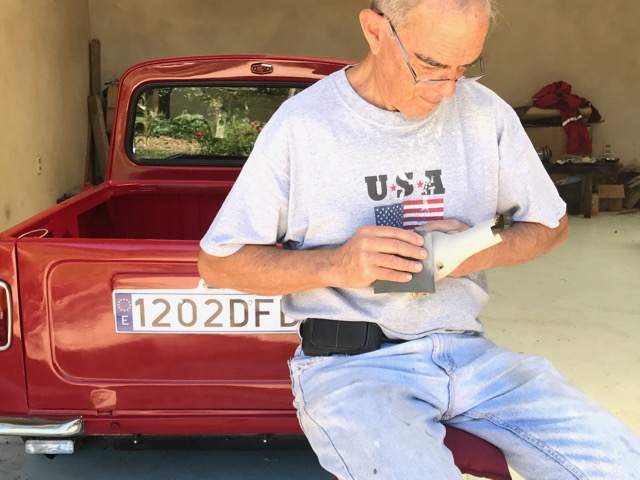
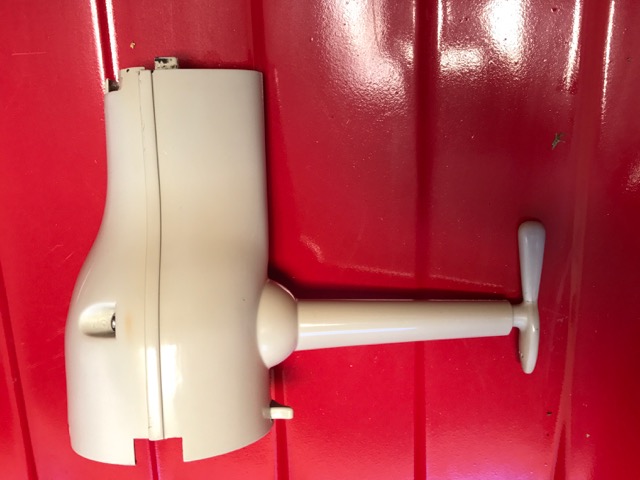
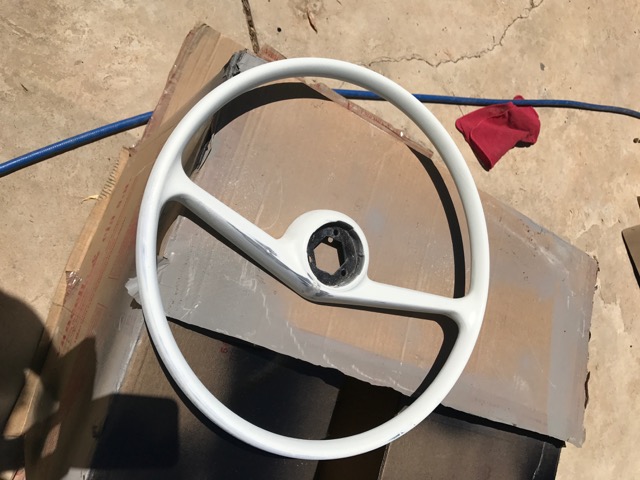
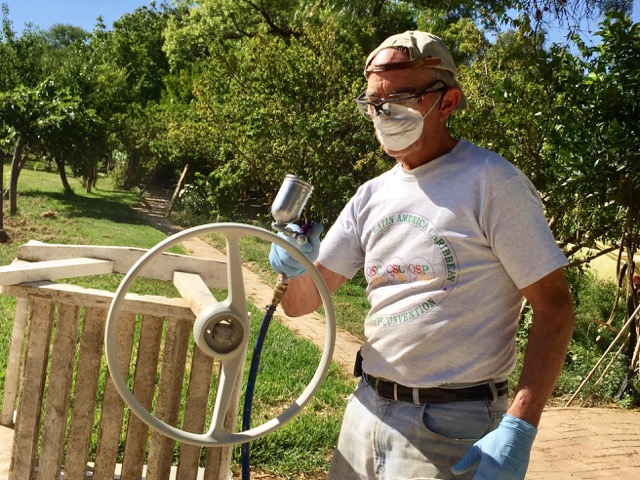
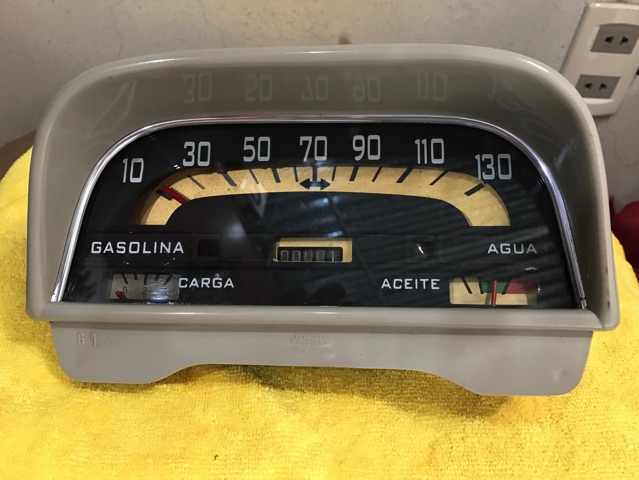
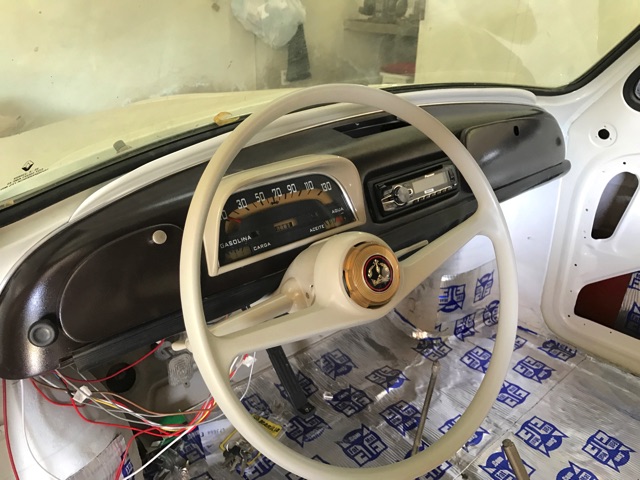
First I set out to restore and assemble the steering column controls (bought used), steering wheel, and dash parts.
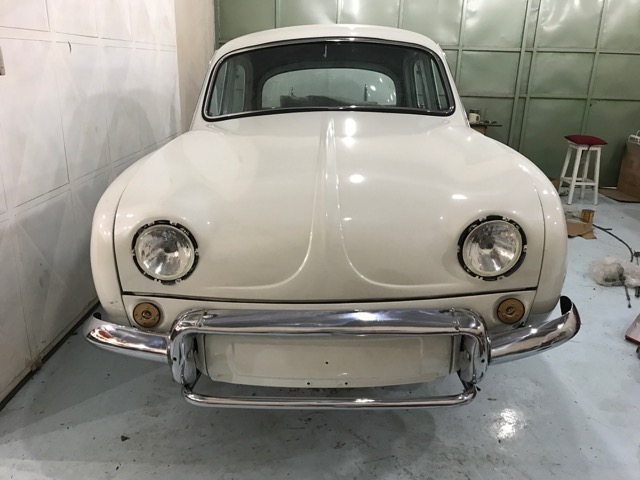
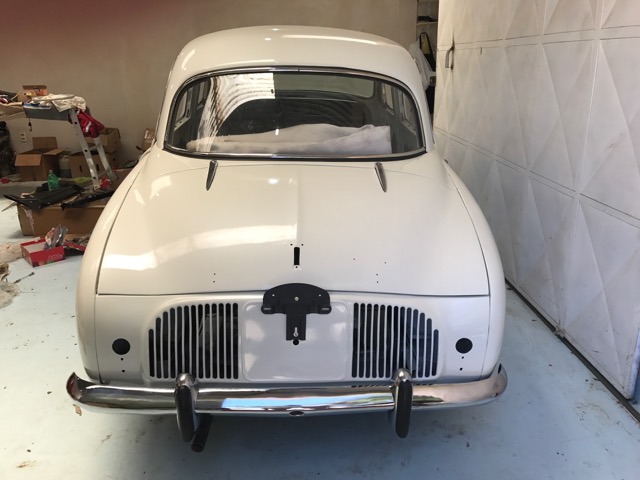
Then time to assemble the bumpers and align them, making a new joint cover from stainless steel.


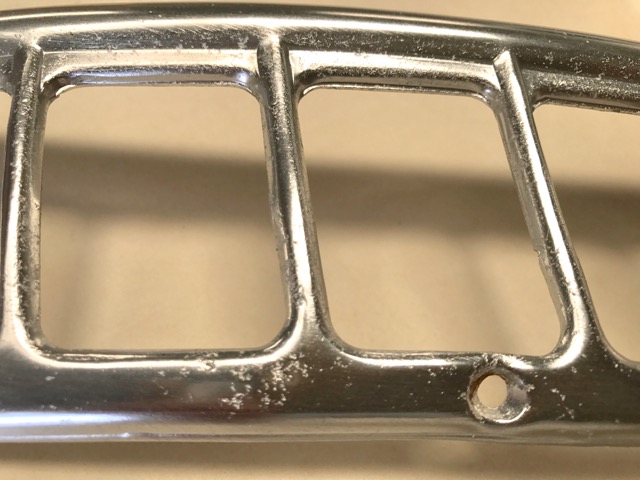
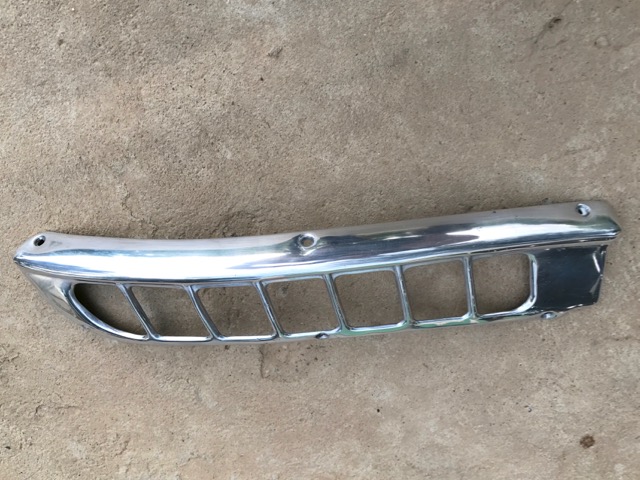
One of the side vents that I bought "restored" did not meet my standards, so I sanded it and polished it.
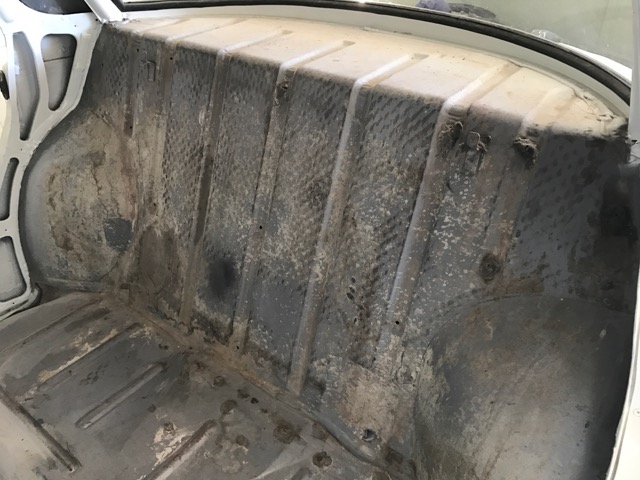
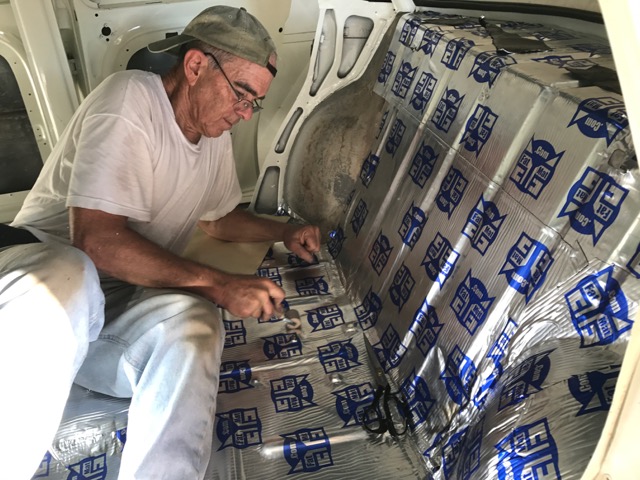
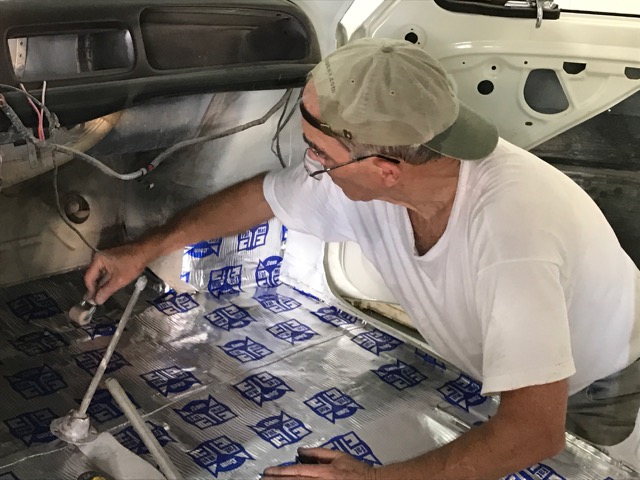
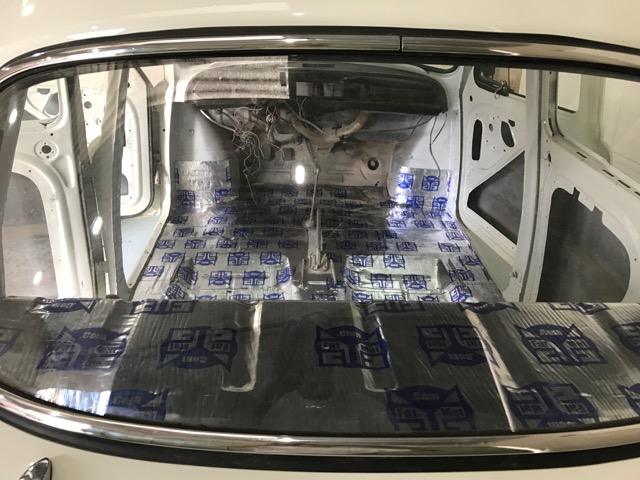
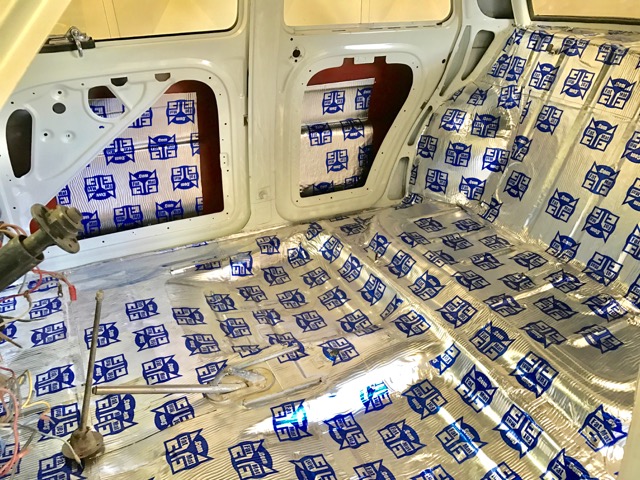
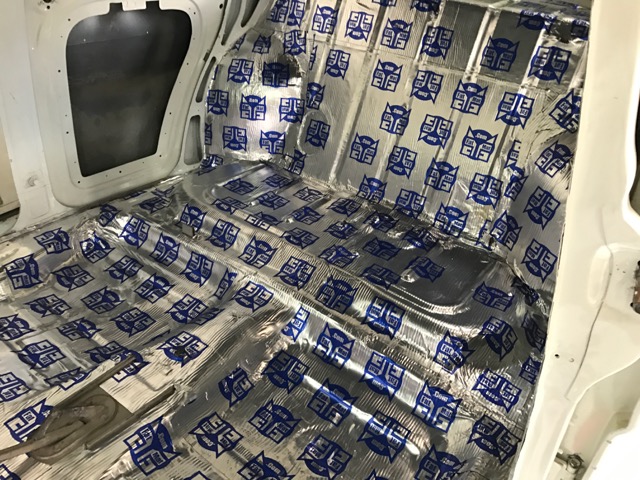
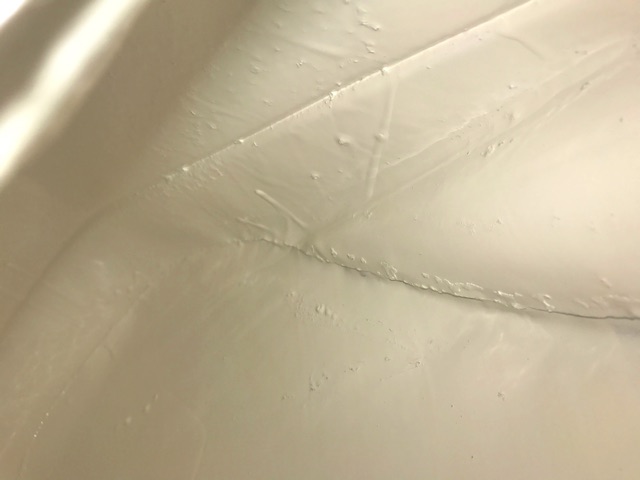
Also went through the inside, painting everything with an anti-corrosive and then covering with Fatmat for sound absorbance.


Then filled the sprayer anti-corrosive and then with undercoating, taking care of the undercarriage.
Turning to the electrical, the wiper arm pivots were stuck, so had to be taken apart and cleaned, lubed, etc.
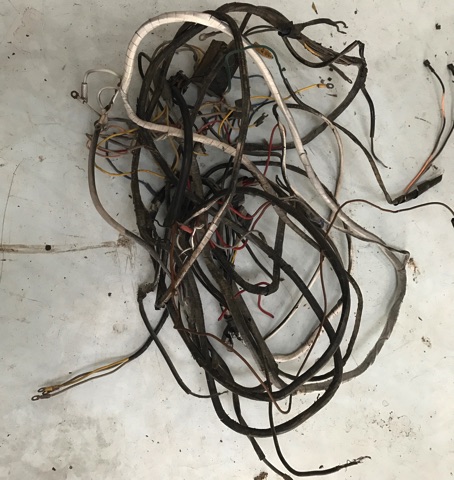
For the wiring I ripped out everything and started over with an assortment of wires and terminals from my local electrical supply store and a nice panel from Racers Inc that included the relays, fuses, and about everything in one place.

When I finally got back to Tarija I got going on the assembly. Good to have the car at home where I can work on it a few hours at a time, as time permits.
First I set out to restore and assemble the steering column controls (bought used), steering wheel, and dash parts.
Then time to assemble the bumpers and align them, making a new joint cover from stainless steel.
One of the side vents that I bought "restored" did not meet my standards, so I sanded it and polished it.
Also went through the inside, painting everything with an anti-corrosive and then covering with Fatmat for sound absorbance.
Then filled the sprayer anti-corrosive and then with undercoating, taking care of the undercarriage.
Turning to the electrical, the wiper arm pivots were stuck, so had to be taken apart and cleaned, lubed, etc.
For the wiring I ripped out everything and started over with an assortment of wires and terminals from my local electrical supply store and a nice panel from Racers Inc that included the relays, fuses, and about everything in one place.
continuing
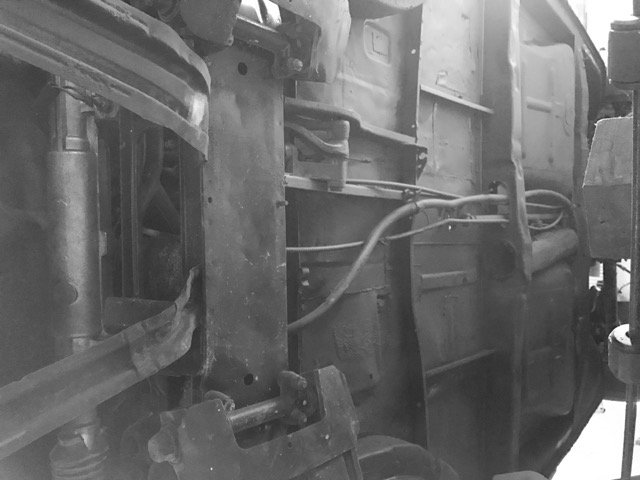
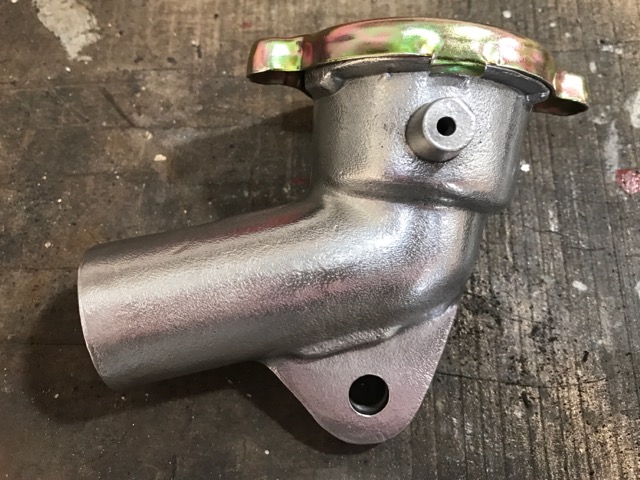
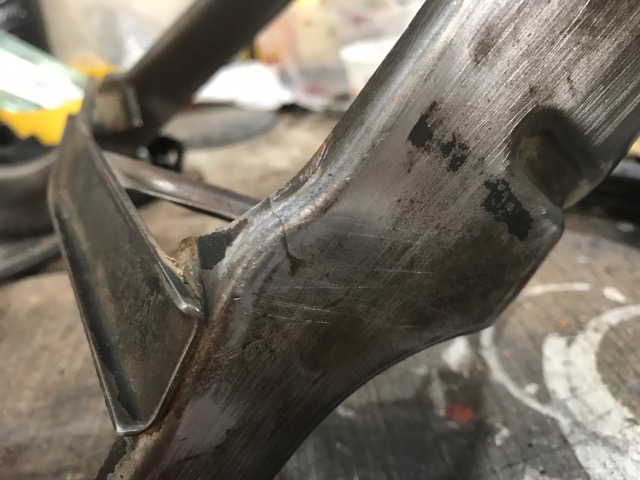
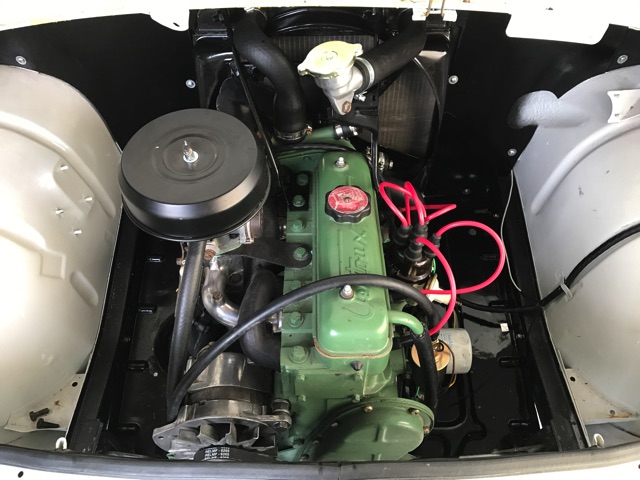
With the wires run I installed the radiator and it's side panels that divide the engine from the firewall, discovering a couple of small cracks in one of the supports, so a little welding was in order, then the install with the new spout that I had to correct rom manufacturing defects.
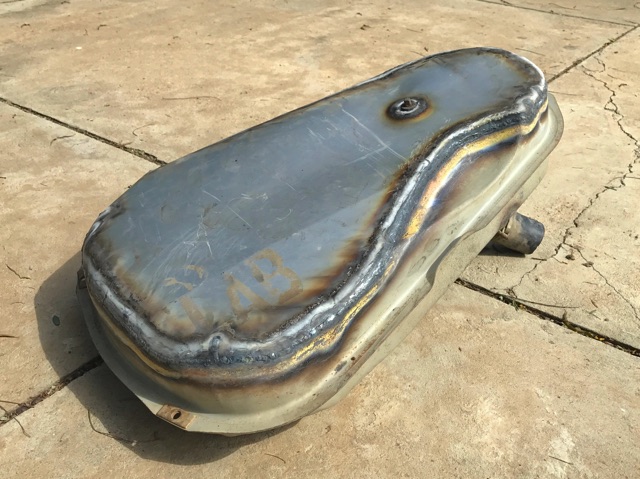
Then I remembered I had done nothing with my gas tank, so cut the bottom part off and fabbed a new bottom out of an old fender from the body shop, cleaning everything up with phosphoric acid and sealing it inside with epoxy.
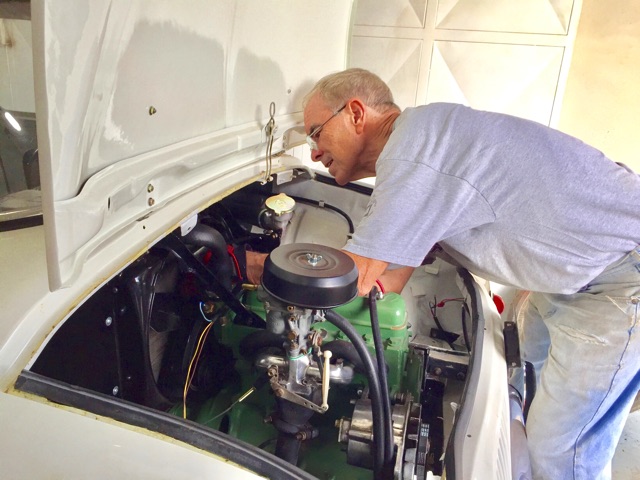
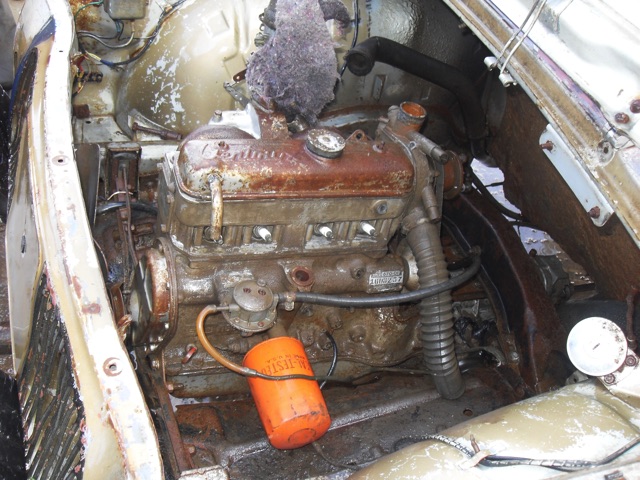
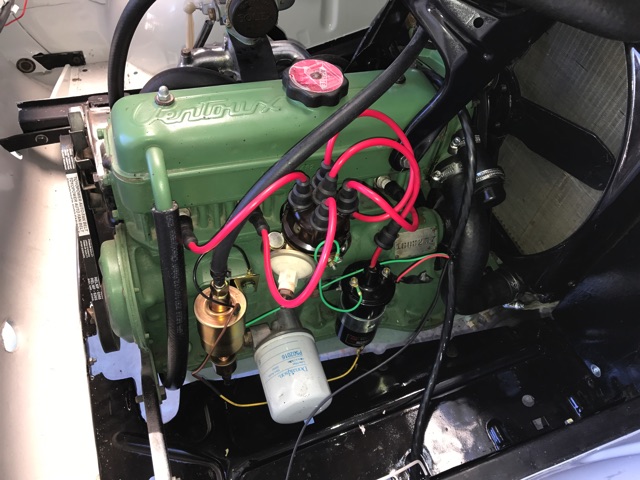
I'd like to say it is running, but I found that my supposedly rebuild starter was not rebuilt, so it is being rebuilt. I leave you with some pics of the engine compartment before and after.

With the wires run I installed the radiator and it's side panels that divide the engine from the firewall, discovering a couple of small cracks in one of the supports, so a little welding was in order, then the install with the new spout that I had to correct rom manufacturing defects.
Then I remembered I had done nothing with my gas tank, so cut the bottom part off and fabbed a new bottom out of an old fender from the body shop, cleaning everything up with phosphoric acid and sealing it inside with epoxy.
I'd like to say it is running, but I found that my supposedly rebuild starter was not rebuilt, so it is being rebuilt. I leave you with some pics of the engine compartment before and after.
I really appreciate someone who is into cars as a passion, not money. The US is overrun with the "classic/collector car flipping fad", as advertised on numerous terrible TV shows. Unfortunately my dad seems to subscribe to this fad. Cars are meant to be driven and enjoyed, not pawned like a cheap prostitute. Keep the passion alive widman.
totally awesome. I have such a soft spot for rear engine cars from that era
Beautiful workmanship, you sir you are a real craftsman. Respect!
Nice
Another update.
Managed to steal away for 4 afternoons this month, and got a little more done. Since it has been 5 years since I rebuild the power train, and the clutch material was lousy, it absorbed moisture and rusted to the pressure plate and flywheel, so had to pull it and resurface, replacing the facing.
Anyway, it runs as long as the new fuel pump will let it. I'll be buying an Airtex like I have in the Corvair when in the states next month, then finish up. (mostly still missing is the upholstery.
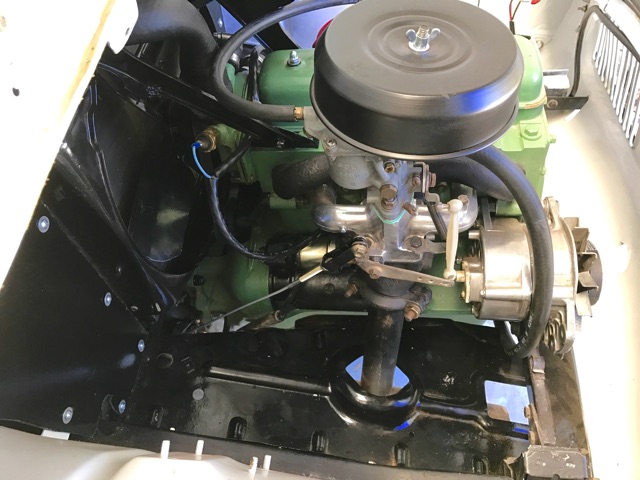
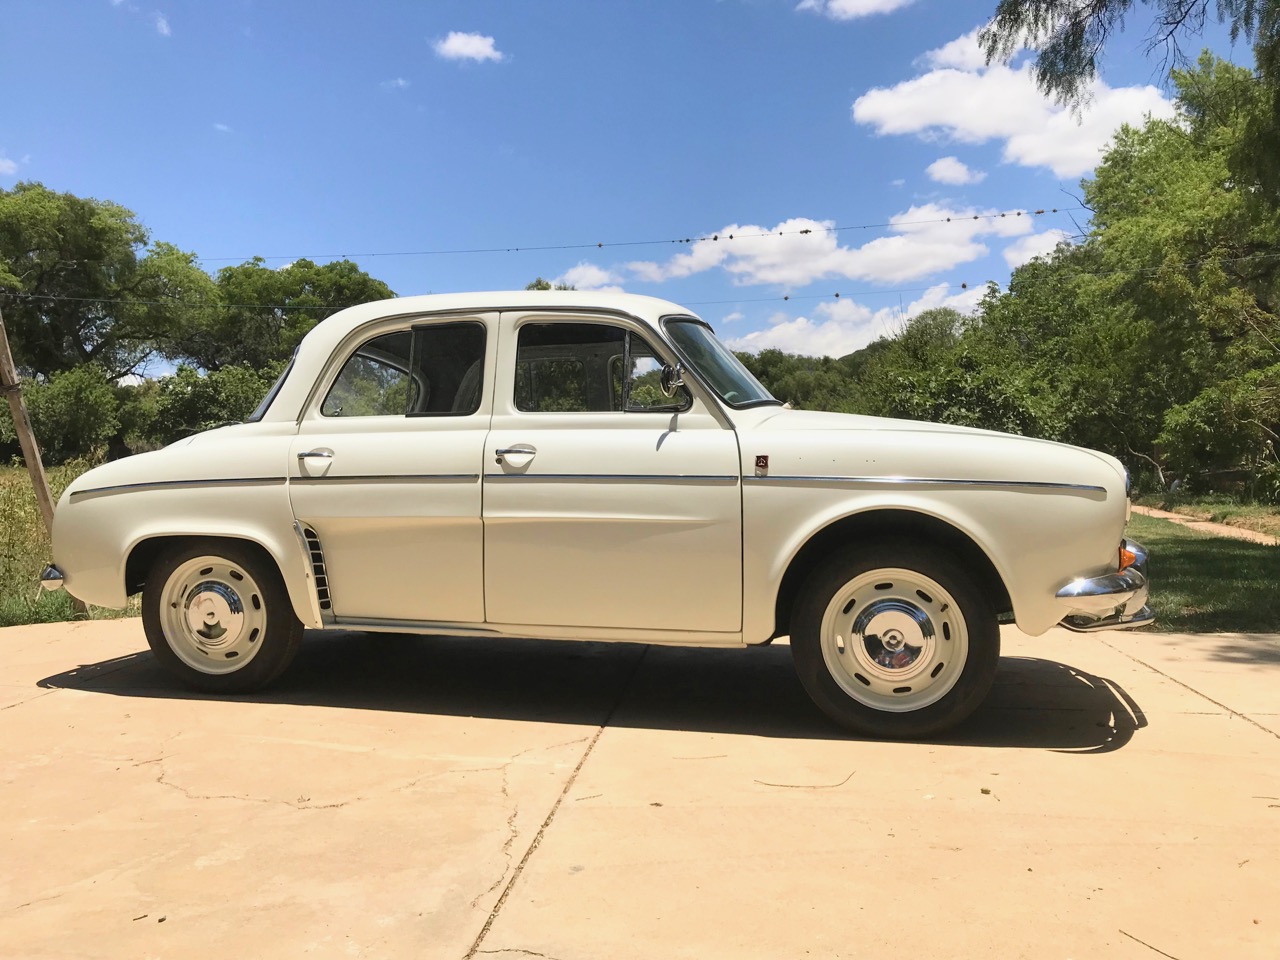
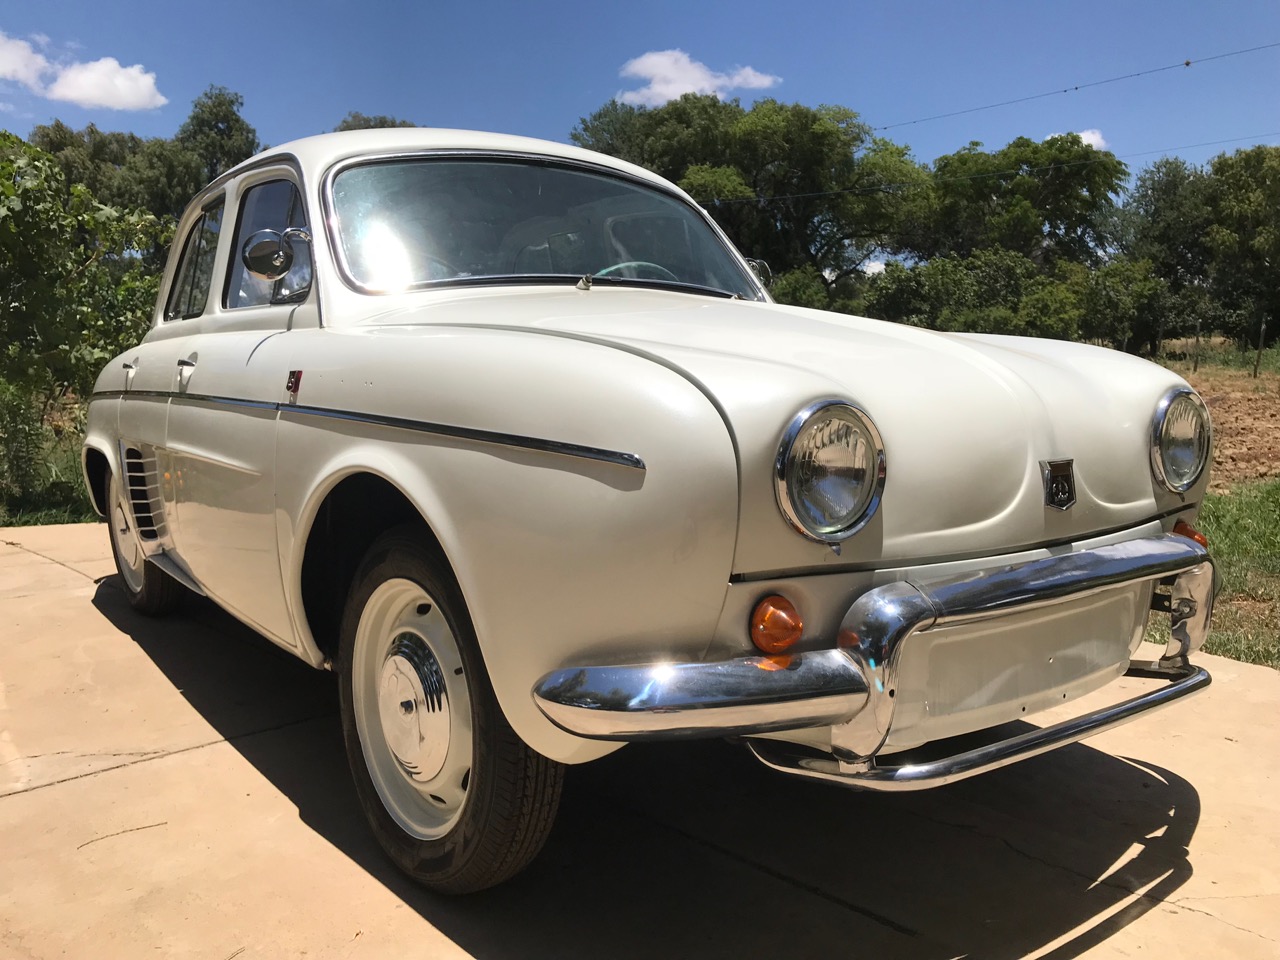
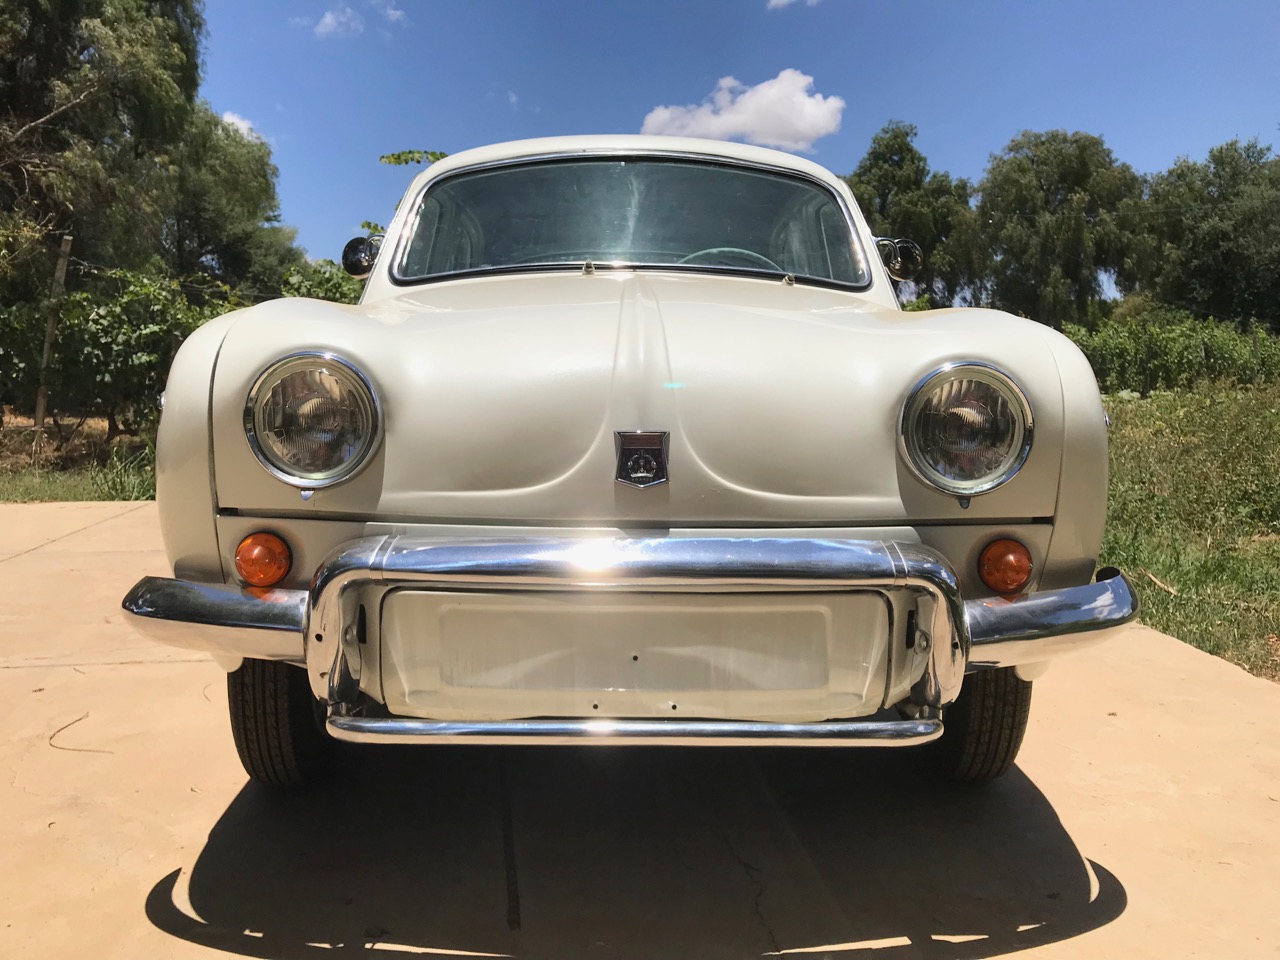
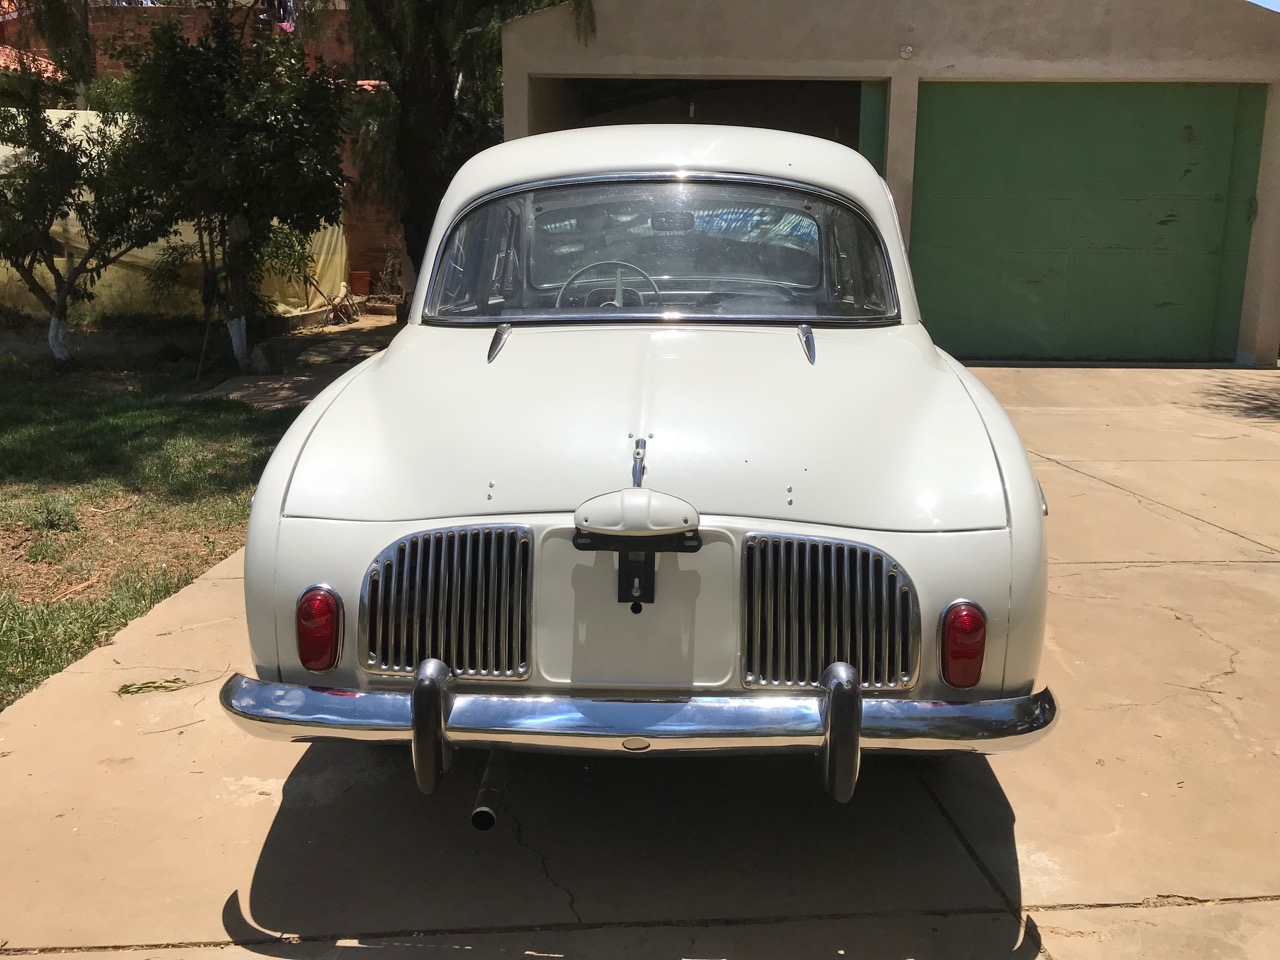
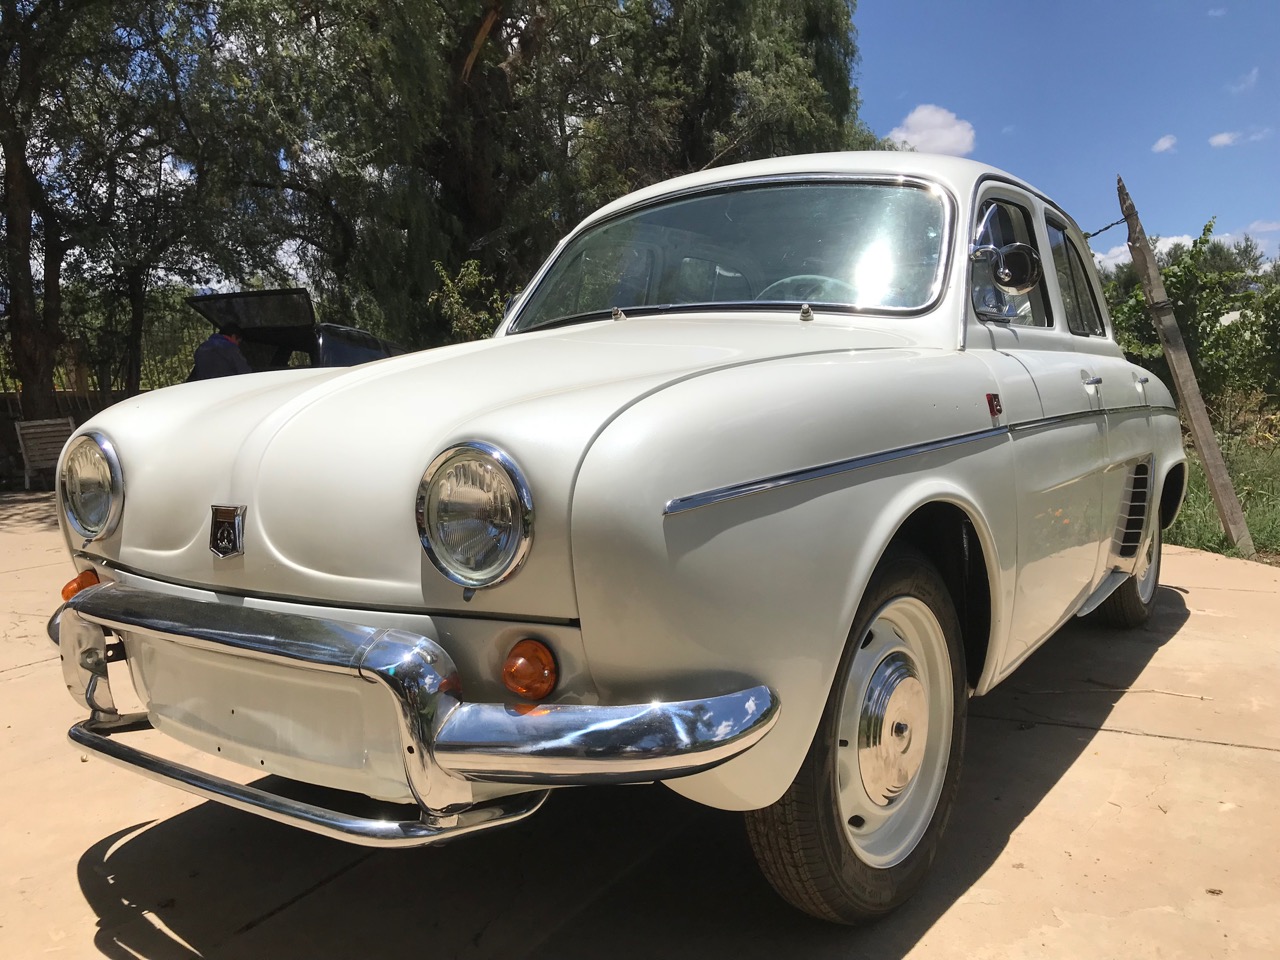
Here is how it stands today.

Managed to steal away for 4 afternoons this month, and got a little more done. Since it has been 5 years since I rebuild the power train, and the clutch material was lousy, it absorbed moisture and rusted to the pressure plate and flywheel, so had to pull it and resurface, replacing the facing.
Anyway, it runs as long as the new fuel pump will let it. I'll be buying an Airtex like I have in the Corvair when in the states next month, then finish up. (mostly still missing is the upholstery.
Here is how it stands today.
Pretty amazing!
- Status
- Not open for further replies.
Similar threads
- Replies
- 49
- Views
- 4K
- Replies
- 8
- Views
- 814