Anybody know Ford PTU's?

Status
Not open for further replies.
Joined
Apr 17, 2012
Messages
3,552
Location
West Michigan
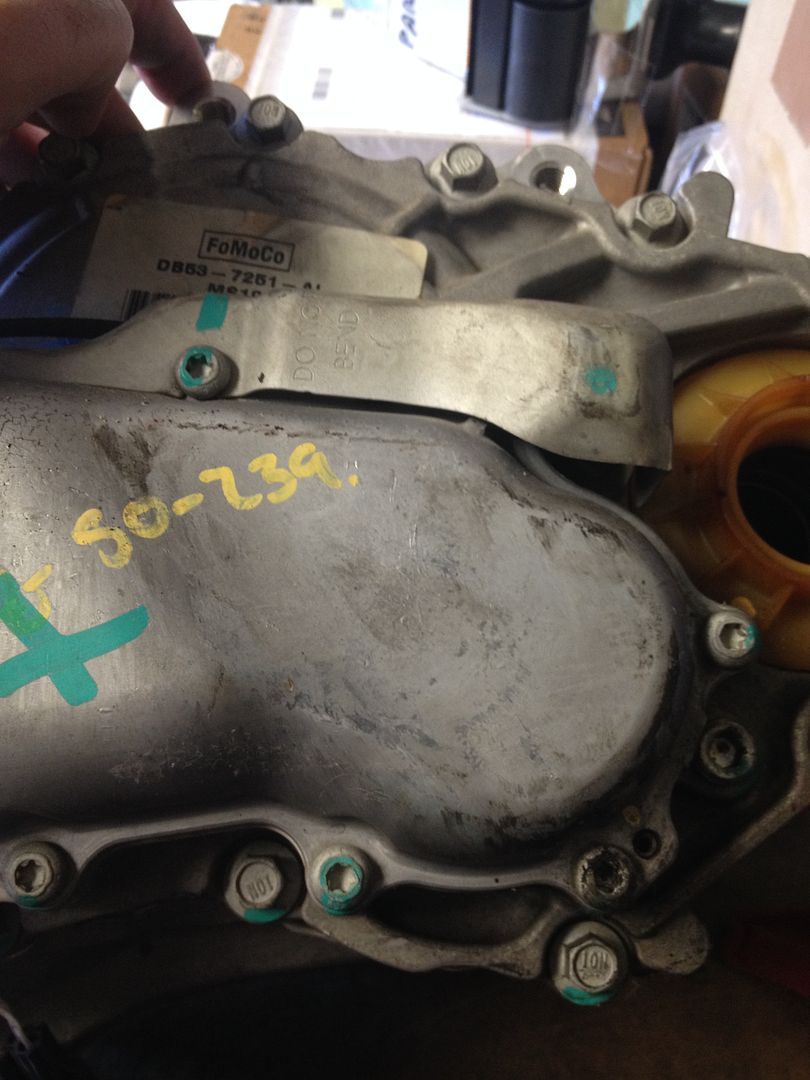
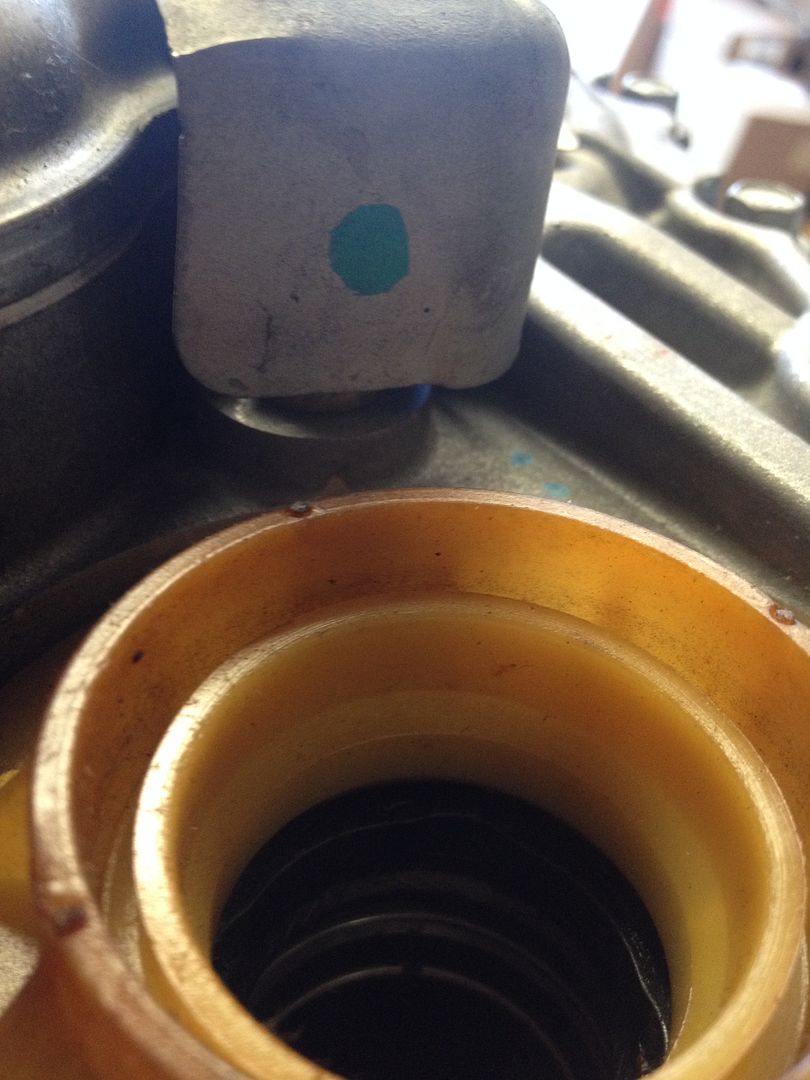
Was going to change the gear oil my our 2014 Explorer Sport's PTU today but just couldn't figure out how to fill it up! Luckily, I thought ahead and didn't drain it first. Anyways, it seems most vehicles with this set up actually have a fill hole and no drain hole. The Sport's and police packages have a drain hole and no fill hole, but some people use the vent tube and some use the sensor hole. Being a sport, I have the ecoboost and don't have the vent tube in the same spot and the police version. Looked as best I could but simply didn't find anything that looked right! So I figured I would just pull the sensor and pump the fluid in there- NO DICE! Its effectively covered by a piece of metal.

Anyways, looking for those who know this vehicle- is there a trick I'm missing? Where does the PTU vent hose route on the 3.5L ecoboost models? Definitely not under the intake infront of the driver side like on the police package.

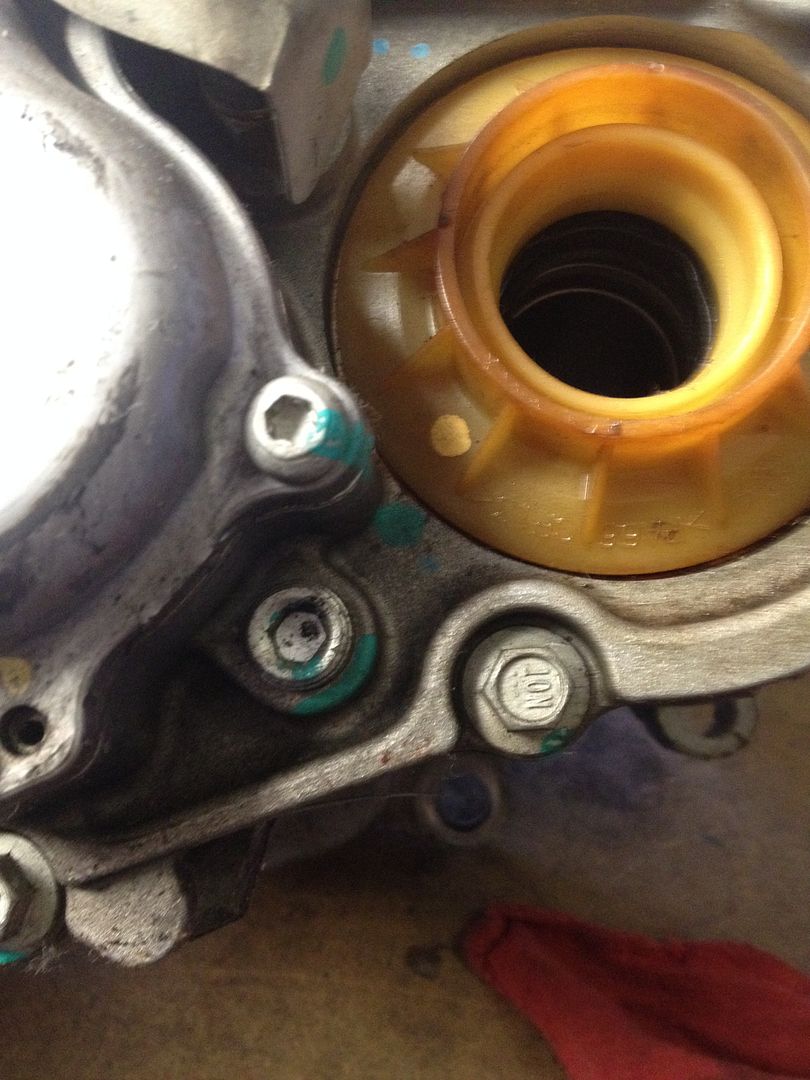
Pic of my PTU unit looking straight up from below. You can see the allen head drain plug as well as the sensor with metal shroud...

 
See the plug with the red thread sealant (it's in your picture)? Extractor/suction gun to drain, pump to fill.
 
308-07B Transfer Case — Power Transfer Unit (PTU) 2014 Explorer
GENERAL PROCEDURES Procedure revision date: 10/28/2013

--------------------------------------------------------------------------------

Power Transfer Unit (PTU) Draining and Filling

Special Tool(s) Oil Suction Gun
303-D104 (D94T-9000-A)

Material Item Specification
Motorcraft® SAE 75W-140 Synthetic Rear Axle Lubricant
XY-75W140-QL (US); CXY-75W140-1L (Canada) WSL-M2C192-A and GL-5
Motorcraft® Silicone Gasket and Sealant
TA-30 WSE-M4G323-A4

NOTICE: Install a new PTU any time the PTU has been submerged in water.

NOTE: Do not drain the PTU unless contamination is suspected. The fluid that is drained may appear black and have a pungent odor. Do not mistake this for contaminated fluid.

NOTE: Fill level checks are done in-vehicle only. Let the vehicle sit 10 minutes after the road test before checking the fluid level.

All vehicles

With the vehicle in NEUTRAL, position it on a hoist. REFER to Section 100-02, Jacking and Lifting, Lifting Points.
Vehicles with a PTU cooler

NOTE: All vehicles with a PTU cooler will have a drain plug.

Remove the drain plug and drain the PTU .
Torque to 20 Nm (177 lb-in).

Remove the RH catalytic converter. Refer to Section 309-00.
Remove the PTU temperature sensor heat shield bolts and the heat shield.

Disconnect the PTU temperature sensor electrical connector.

Unclip the PTU temperature sensor wiring harness from the retainer clip and position aside.

NOTE: Clean the area around the PTU temperature sensor before removing.

NOTE: The PTU temperature sensor can be removed using a 15mm crows foot and extension.

Remove the PTU temperature sensor.

With the vehicle on a flat, level surface, fill the PTU . The fluid must be even with the bottom of the PTU temperature sensor opening.
Fluid capacity is 0.53 L (0.56 qt.).

NOTE: Replace the O-ring before installing the PTU temperature sensor.

Replace the O-ring and install the PTU temperature sensor.
Tighten to 12 Nm (106 lb-in).

Clip the PTU temperature sensor wiring harness back into position.

Connect the PTU temperature sensor electrical connector.

Instal the PTU temperature sensor heat shield and heat shield bolts.
Tighten to 12 Nm (106 lb-in).

Install the RH catalytic converter. Refer to Section 309-00.
Vehicles without a PTU cooler

Remove the filler plug.

Vehicles without a drain plug

With the PTU fluid level even with the bottom of the fill opening, remove as much fluid as possible from the PTU using an Oil Suction Gun 303-D104 (D94T-9000-A).

Refill the PTU fluid level even with the bottom of the fill opening.

Install the filler plug hand-tight.

With the aid of an assistant, rotate the front tires a minimal of 3 times in the same direction.
Remove the filler plug. Using an Oil Suction Gun 303-D104 (D94T-9000-A), remove as much fluid as possible from the PTU .

Vehicles with a drain plug.

Remove the drain plug.
Apply silicone sealant to the drain plug threads and install the plug.
Tighten to 20 Nm (177 lb-in).
All vehicles

Fill the PTU with lubricant. The fluid must be even with the bottom of the fill opening.
Apply silicone sealant to the filler plug threads and install the plug.
Tighten to 20 Nm (177 lb-in).
 
bdcardnial, thanks! Looks like I would need to remove the cat to gain access. What a bunch of bone heads designing that! Wish I had just the fill plug, I could happily suction some out and refill each engine OCI!
 
Originally Posted By: Ramblejam
See the plug with the red thread sealant (it's in your picture)? Extractor/suction gun to drain, pump to fill.


That would be ideal, but it REALLY looks to be along the bottom of the housing. that leads me to believe its strictly a drain plug.
 
And some follow up info in case anybody runs into this thread searching later...

Looks like mine has the water cooling jacket for the PTU. I believe the police packages as well as HD towing came with this but it may be all Sport models?

Thread for 13+ Taurus "PP" with the same set up:
http://www.ecoboostperformanceforum.com/index.php/topic,4951.0.html

b573d325c5a5e6e68d062f165e566d5b.jpg
 
Engineers and designers rarely have ease of maintenance in mind. You really have to congratulate the ones who do.
 
I actually just happened to have one out of a 2013 CHP Explorer sitting on the counter. We were replacing the engine on it and the tech went to check the fluid and a bunch of chunks of metal and water came out. You can see the drain plug and where teh sensor hides under that cover.


Neat. So now I'm reading all types of scary stories about them failing! Since mine does have the water cooling, that has me worried. So far, I haven't heard of any times being associated with the removal, though it looks like on the Explorer you have to drop the entire sub frame? On the SHO I think the FSM just has one small sub frame bracket removed.

Anyways, I suppose thats getting ahead of myself. I need to find the vent hose and see if I can run a longer one to fill through, otherwise I've found some tips to getting the temp sensor out but it looks like a real PITA.
 
I should have taken some more pics but once I figured out the vent location it was all pretty straight forward. You can find it on the very top of the PTU from under on the driver side. Replace with longer hose (I used 5/16" ATF cooler line) and you can SLOWLY fill with oil of choice.

I flushed with Seafoam, then MMO and 80w90...THEN 75w140 valvoline... THEN FINALLY filled up with 16oz of Amsoil Severe 75w140. Left the longer hose on the vent and it actually fit in palce between a bent on the intake track pretty nicely. It will be very visible it I start puking PTU fluid!

The first two flushes came out pretty nasty but the Valvoline was coming out a little more gear oil like.
 
Status
Not open for further replies.
Back
Top