Who's a woodworker? How to fix a cherry furniture finish?

Joined
Sep 20, 2014
Messages
3,327
This is a very old Cherry four-post bed that has been in storage a long time. My parents are now well retired and want to convert a former home office back into a guest bedroom.


Two things to address:

1) Somehow some water(?) got on some parts of the footboard and removed the finish on the footboard. If it helps to ID the original finish, the bed was made in the 1950s by the Willett Furniture co., so whatever would have been the practice then. I need to know how to restore the damaged portion and clean and revive the other areas. (I have decent experience restoring gun stocks, I am not a "newbie" with wood but want to be careful here because of the age and sentimental value to my mother)

2) The glue holding the decorative parts of the headboard dried and weakened. Nothing is split or cracked. I want to know any special technique about gluing or type of glue I should use other than regular wood glue, and clamping technique.

Any advice appreciated.

IMG-3023.jpg
IMG-3024.jpg
 
Where are the other missing pieces for the headboard?? Glue them and secure with pipe clamps or Bessy clamps.

Are you going to remove the finish on everything and start new? I think I would do that if it was my project. Maybe go to a paint store and see what type of options are available to you before you strip the finish off.
 
It looks like the stain was in the finish, as there is no penetration, it was a cheap way of doing mass production furniture. Your best bet for a good outcome is to strip the entire thing and start over. Before doing this, be aware there is no easy & quick way - you need to take your time & not skip steps. Watch some youtube videos & pay attention to the real pros- not some hacks that post a video
 
  • Like
Reactions: JC1
It looks like the stain was in the finish, as there is no penetration, it was a cheap way of doing mass production furniture. Your best bet for a good outcome is to strip the entire thing and start over. Before doing this, be aware there is no easy & quick way - you need to take your time & not skip steps. Watch some youtube videos & pay attention to the real pros- not some hacks that post a video
I agree I've don't some refinishing and it takes time. Usually 2-3 coats sanding in between and using tack cloth etc. Use a wire brush with the stripped when getting into grooves and tight corners to get the hard to reach areas.

If you want you could even change the color to a dark grey or black in a satin finish. That would look sharp in my opinion.
 
You are going to have to remove the old finish , as some of it is gone, and as others said, its a finish with stain, not a penetrated stain. I would sand it carefully, i would not use a chemical stripper here, as the spindles look glued up and they might come apart in chunks with a chemical stripper. Sand it down, don't breath it. Wipe it down with mineral spirits and let it dry a bit. Then you can stain it as you wish, and apply a finish. A shellac finish would do well here. If you use an oil base stain, i'd wait a good 24 hours before shellac. If the gaps are large enough get some glue in the joints and wipe it off. You can also tap some glue coated tooth picks in a gap especially underneath the top row where it won't show. Do this before staining.

Shellac dries fast, you mix it from flakes with denatured alcohol. The second coat can be tricky as it can lift the first coat, if you brush too much, work fast .

The nice thing about shellac is you can wipe it back off with the denatured alcohol and redo it if necessary, and it dries fast. While shellac can be difficult to second coat, its also easier to fix for beginners. Mess up a finish with poly and you will have a lot of hard sanding to do!!

Even though its cherry, you can use a cherry stain to even up the wood, any sanding marks/wear marks before a finish.


EDIT. Some of the 3m sanding pads work well around the spindles and are not as aggressive leaving marks. You may need sand paper, i use sand paper,, but i also use the 3m scotch pads , contours well.
 
Last edited:
OK, got what you guys say. My feeling was if the water/etc. exposure would do that, (take it to wood), it was not robust.

Stripping the whole thing is just not practical with all that spindle. The only damaged part is the footboard. So perhaps strip that and refinish.

I have to say, I am familiar with gun finishes from this time (late 50s) and I looked at this and was just like "what?"

I apprecieate what spasm3 said and get it, but don't quite get this:

" Sand it down, don't breath it. "

Meaning, after sanding don't let it sit open too long before treating?

I have a good chemistry background and understand chemicals and treatment, just trying to follow that.

i use sand paper,, but also use the 3m scotch pads , contours well.

Ditto, I understand and do too, but thanks for reminding me.

Ugh, this is going to be harder than I hoped...

;)

Thank you all so far, I want to hear more.

To add background, my mom says this was in the house "since she can remember, when she was five or six," - that was like 1953. ;)

On the upside, the only portion damaged like this is the footboard so it shouldn't be too bad.
 
In your PM you said is from the 50's if so , its probably a lacquer finish. Sorry i though it was older, like the '20s. You could try wiping the spindles with a lacquer thinner soaked cloth and see if that helps, but don't let it soak in the wood.

If you don't want to strip the whole thing, rub it down with the 3m pads, wipe it with lacquer thinner and see how it looks, then you can work on a stain. You will have to find a stain thats close to what you are not removing. It will never match perfect, but may be close enough. After the stain sets 24hrs wipe id down again with lacquer thinner. If you get it stained, and did not strip it, forgo the shellac and use a lacquer spray to finish it.

Your Sherwin Williams store may have a wider selection of minwax stains than the home stores, i would use a oil base stain. let it dry overnight before the lacquer.
 
Last edited:
I do woodworking, but have no experience on antique restoration. Antique stores are numerous here and they have people with restoration experience. Have you considered consulting a restoration service? Show them some pictures and ask for an estimate or maybe they will offer free advice.
 
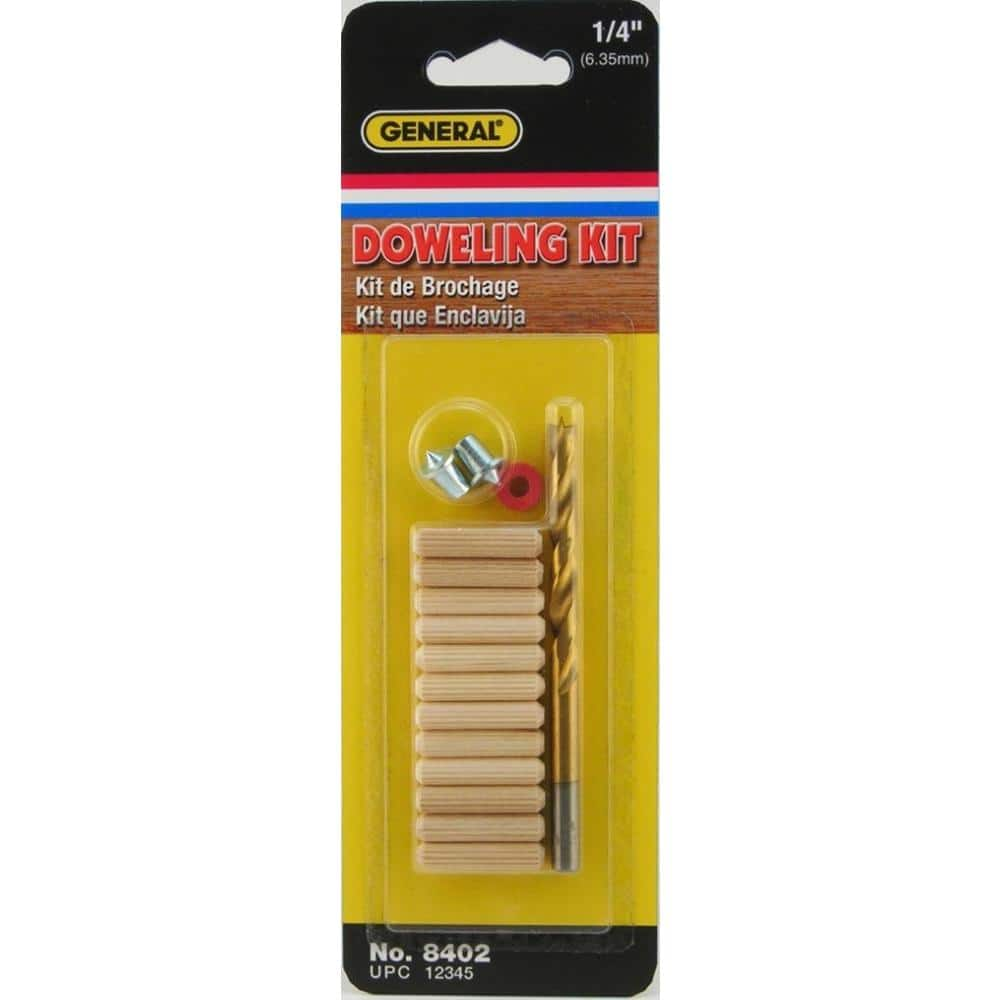
In your second pic, if there is a board to be glued to the head board, i would use small dowels, and glue it up. Just line up where to drill the dowels, there dowel kits at lowes or home depot for this.


Use the smallest dowel you can get. There is in the moulding section of lowes, home depot, oak dowels that may be smaller in diameter, and you cut the length you need from a 4 ft piece. You just have to make sure you line up where you drill the holes.
 
Last edited:
OK, this is all good advice. Talking with my mom right now about what she wants to do with it, and relaying this advice. It's not a very valuable antique at all (or not quite an antique yet - probably 70 years old), but it has been around a long time.

Probably we will used the pads and thinner, staining, and then see where we are. She was contemplating painting it - I'm a little against that since if the natural wood can be brought back to a decent sheen, that would be nicer. Thanks for reminding me about the dowels, good point to reinforce the headboard detail.

PS - I saw the picture of the walnut dining cabinet Spasm3 refinished (he sent me via pm), nice!
You can always try the partial stain and refinishing, and if you don't like it, then go the paint route.

Good luck ! Post pics when you are done.
 
Well this is all good and I'm glad for your advice. Today I messed with the sideboards a while. The results were quick, easy, and will be good when done.

I used a Scotchbrite pad and solvent. There was a qt. can of Lacquer thinner in the garage, but it was empty. I had gallon cans of Acetone, Xylene, and Mineral spirits so I mixed a 60:40 little batch of Mineral Spirits:Xlyene to replicate Laquer Thinner's composition (roughly). Bit of scrubbing (photo 1), One coat of Varathane traditional cherry (photo 2), then a 2nd coat (last photo). The MS/xylene mix pulled out enough finish pretty quickly and removed stains/contaminants so the wood would take the stain nicely and evenly.

I will let that sit a day, sand it and give it another coat if needed and then some clear polycrylic clear coat(s). If that all looks great (pretty certain it will), then I'll do the end boards and we'll get it set up in the room next week some time. The bed will take some work but this will let me get the finish even on the spindles and it will look pretty good. The smallest dowel kits (fluted small pieces) were 1/4" which I thought was maybe too thick, I bought smooth 3/16" and will figure that out soon.

This is great because my mom was leaning towards paint as she didn't think we could even out the damage. This will be a more satisfying finish than that for not really THAT much more effort.


IMG-3074.jpg
IMG-3076.jpg
IMG-3077.jpg
 
I apologize for not reading your post thoroughly the first time. I missed the made in the 50's part, otherwise i would never brought up the shellac.
( i was getting over my 2nd vaccine shot, and was pretty exhausted and brain foggy). But it really looks good so far!
 
Back
Top