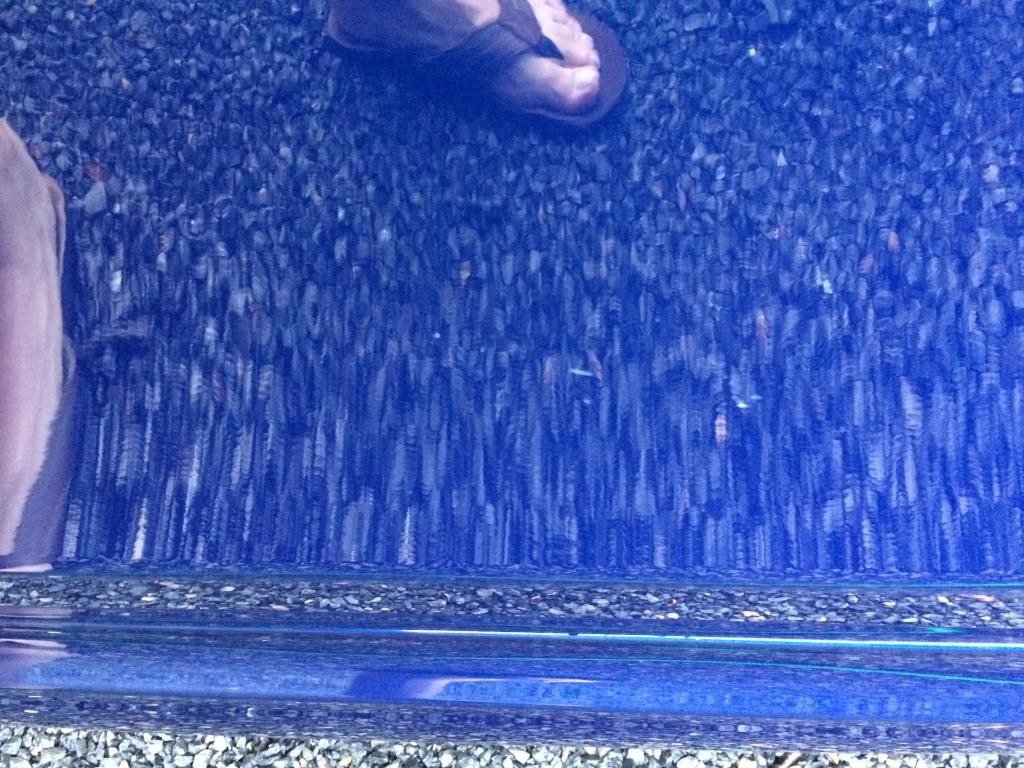
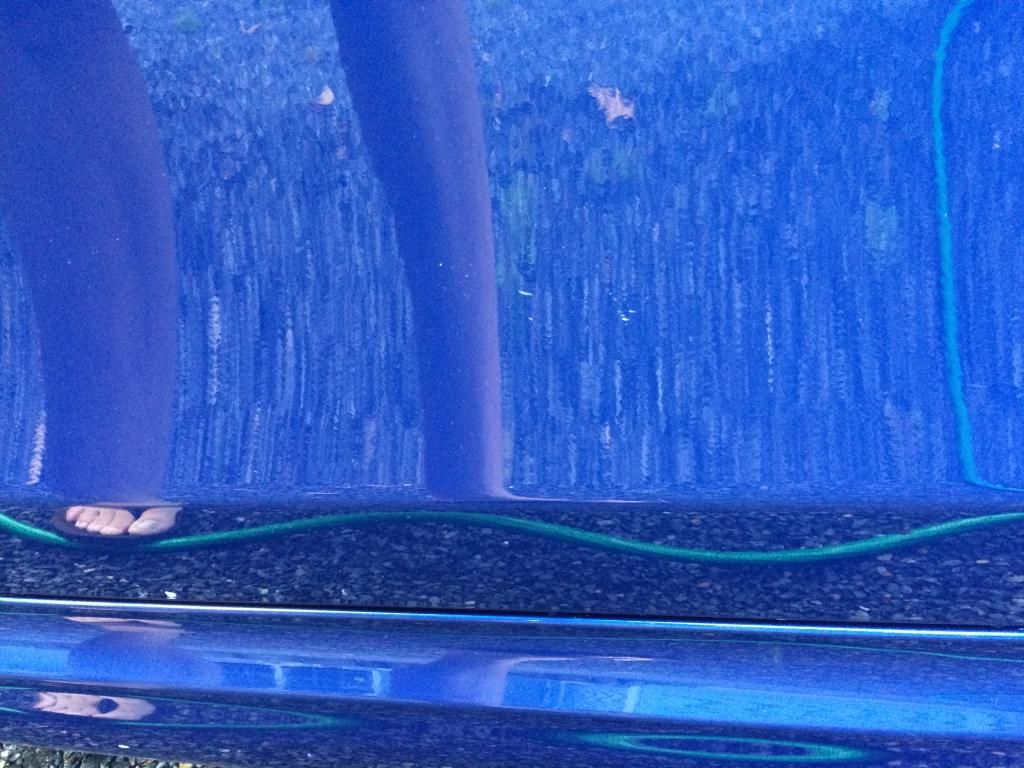
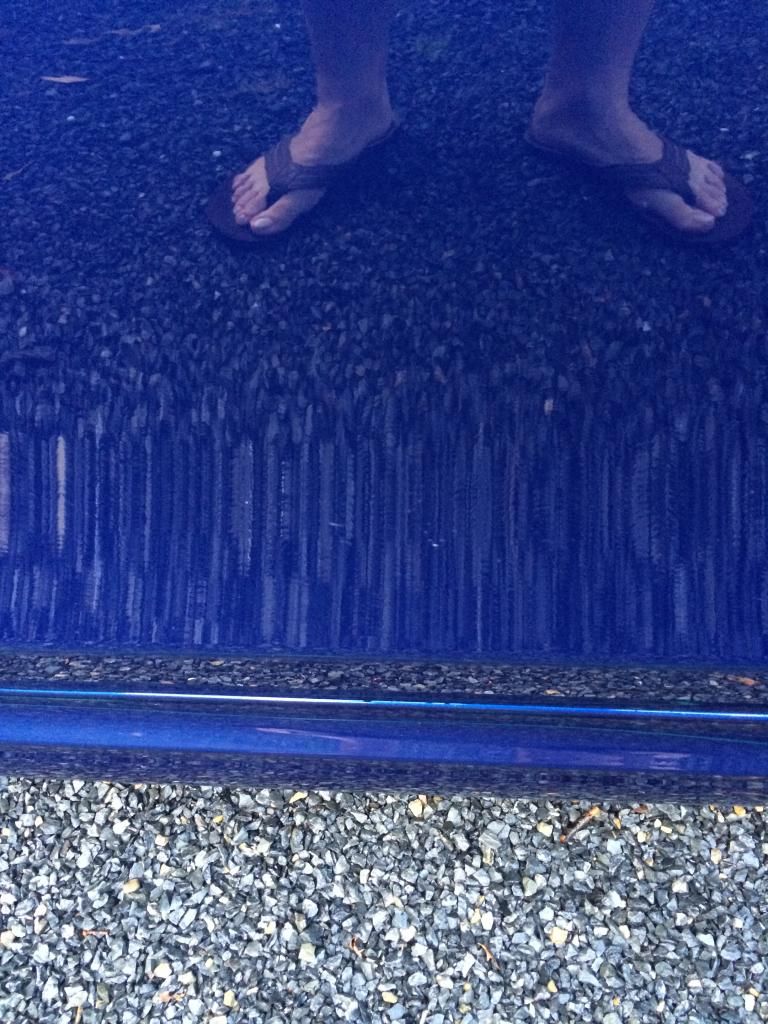
Shallow chips on door

Status
Not open for further replies.

JHZR2

Staff member
Joined
Dec 14, 2002
Messages
52,795
Location
New Jersey
Lemans blue 135i. Paint is otherwise really nice. No idea what did this, it's not a scratch, seems like a glancing shot from a rock, or something else. Most of the marks are very shallow, only one can solidly take a fingernail.

Tough to get pictures. But recommendations on how to deal? Should I even try to touch up? If so, given the shallow nature, what's the best technique?

Thanks!


4F201875-56D1-4FFA-8011-FC5C3F84D42B_zpsas1mchvm.jpg


FAC22C3A-C704-4096-9CBB-07FCA0494AB2_zpsvnnniyyl.jpg


492EB5C6-4682-431C-80FB-06D4F7F2BCA9_zpsv6lfkr5g.jpg
 
I've touched up hundreds of rock chips with just the touch-up paint in the 1/2 oz bottle with the brush in the cap. It takes a little finesse, and I use a 10X magnifier to really see where I'm putting the paint. Build it up a little above the paint surface, let it dry a day, then buff it out smooth. You probably won't be able to see it unless you know where the chips originally were.

One thing to try before touching up is take a rag with rubbing alcohol on it and wipe the chip area. If the chip disappears then the chip is only in the clear coat. If the chip is still visible when wet with rubbing alcohol, then the chip is beyond the clear coat. If your clear coat is pretty thick, you might be able to rub out the flaws without touching up.
 
I would first try some Meguiars Ultimate Compound and see if you can minimize it, eventually you'll stop noticing it. It's a car you're driving, not a museum showpiece. Step back and think about it, it's gonna face far worse. Over the years I've seen so many over zealous amateur attempts at repairs for all sorts of damage that over the long term made paints look worse and did more damage than leaving well enough alone.

As long as the chip hasn't gone to bare metal I usually just live with it knowing more than likely I'll get more down the road. I'll obviously try to minimize it by compounding it so there's no sharp edges to catch light and to catch wax, this tends to minimize the look of the damage.

People claiming it's so easy to just touch these chips up obviously have never actually done them in real life. Or did and got poor results and just stuck with the just live with it attitude, well it would have been easier and definitely would have looked better to just live with the chip in the first place than live with the zit.

I've seen people attempt to cover up a few dozen of them on their hoods only to end up with a hood that looks like it's breaking out in zits. Which were far more obvious than the chips.

Shallow chips are difficult to repair correctly because the repair process involves wet sanding to blend the touched up clear, which if you don't know what you're doing will do more damage to the paint than the original chip.

Touch up paints, unless two part paints are also much softer than the original paint and on very shallow chips don't tend to adhere all that well so either the wet sanding simply removes the touch up or you end up leaving extra material forming those so called zits on the paint.

So before attempting to fill in the chip if you're dead set, buy a scrap panel from a junkyard and put a few chips in it and practice your chip touch up. Believe me it's harder than just touching it with some paint et voila!
 
Thanks. That's why in asking and not just going paint crazy.

My main concern isn't that it is there. These do just happen on hoods and other places, but rather that compromised paint could be a spot for other issues down the line, so sealing, enclosing the area may be prudent.

I have no idea if one later of paint is more resilient than another, or what's needed to ensure full protection of the sheet metal.
 
Originally Posted By: qwertydude
People claiming it's so easy to just touch these chips up obviously have never actually done them in real life.


I've done my own touch-ups for years, and have done literally hundreds of chip touch-ups. Some come out so good I tell someone about where the chip was, and after a couple of minutes of them searching, I have to point out where it was. It's really not hard to get a good result, just need to know the correct process and have some finesse and patience.

I haven't tried this method, but it looks like it works well, Dr. ColorChip. Kind of expensive, but if it works as advertised it would be a lot faster and easier then the way I do it.

http://www.drcolorchip.com/
 
If you've done hundreds then you've got the practice to do them well. For someone to attempt their very first time, the chances of it coming out right are a lot less likely than it coming out wrong.

The chip doesn't look to be down to bare metal so it's really only cosmetic at this point.
 
Those look very shallow. I would not use touch-up paint as it will likely look worse after you are finished.

They sell the scratch remover pen in the "as seen on tv" aisle and I think it would work well in this situation. It will fill in the light scratches and make them almost invisible.

If you decide to try touch-up paint, don't use the brush that it comes with. Use a toothpick. Take your time and only fill inside the chips. Keep a wet rag handy so you can wipe it off and start over if any overlaps onto the paint.
 
Last edited:
Most of the touch-up paints I've used can be easily removed with rubbing alcohol if you're not satisfied with how it looks. That's how you get practice. Try it, if it doesn't look good wipe it off and try again, and again until you like how it looks.
 
Status
Not open for further replies.
Back
Top